How To DIY A Homework Station With The Home Depot Canada

With September coming up fast, we are very lucky to be living in a province where our kids are safely returning to school full time. But with the way that everything is right now, we also need to prepare for lots of school-from-home days and also lots of homework now that our kids are getting older.
During the spring while we homeschooled, we knew we needed to create a space for schoolwork to happen that wasn't always at the dining table. But, in a small Century home where not everyone can just work in a different room, we needed to figure out where that would be. Rob and I have always been work-from-home (life of a photographer and blogger) and created a home office in what the previous owners used as a library. It is such a lifesaver for us and it had just enough space to add a low profile desk to the side for the kids.

Now came the planning stages. We wanted something simple that could attach right to the wall and float so that it didn't add bulk to an already small room, and we wanted to make a custom chalkboard above it for the homework to do list. We also wanted to add lighting in the form of a wall sconce so that it didn't take up any space on the small desk. We headed over to The Home Depot Canada because we knew they would have everything from the wood for the desk and chalkboard, to the light and accessories.


We fell in love with one of the live edge 4ft boards that fit the space perfectly and brought it home with a few other goodies like a Google Hub Max to help with getting answers, and a super comfortable desk chair that will help with their growing bodies if they need to sit for long periods. It’s actually completely ergonomic and customizable for them (I guess my former life as an Occupational Therapy Assistant is showing).
How We Built The Floating Desk
Supplies:
- 4 ft live edge pine slab (we ripped one of the live edges off)
- 4 ft 2x4 ends sanded
- 2 x 16 inch 2x4 with ends cut at a 45 degree angle inward
- 3 inch Wood deck screws
- A level
Directions:
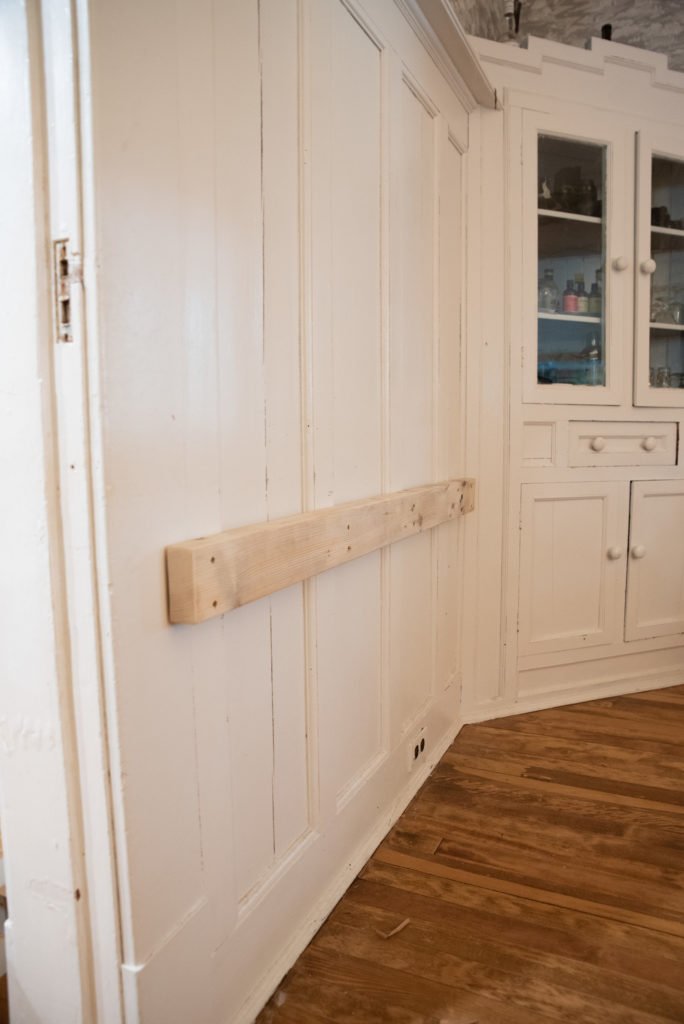
- Start by finding the studs in your wall so that you know where to attach your boards to the wall. Mark these. We skipped this step as we are attaching ours straight to solid wood wainscoting.
- With everything cut and rough ends sanded, take your 4ft 2x4 and attach it to your wall at the studs 2 inches below where you want the table to sit. We made it so that the table would be 30 inches tall overall, so this board’s top edge is 28 inches from the floor. Make sure to use a level as you attach this board to ensure the table will be level.

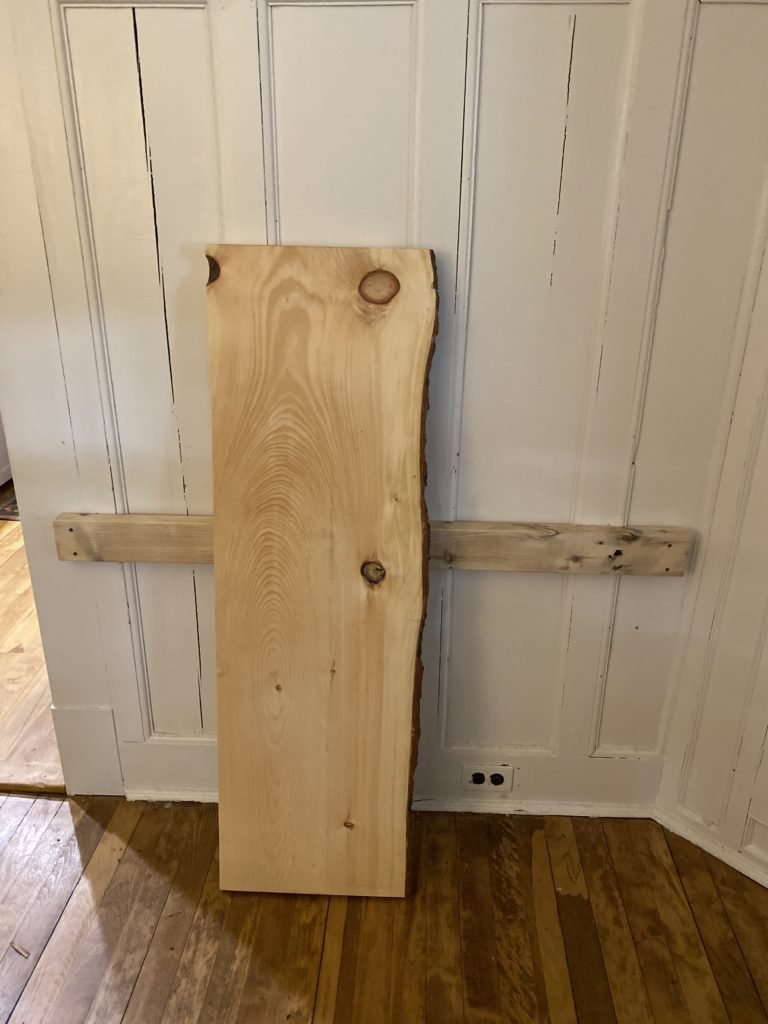
- Next, set the table top onto the top end of the board and, using a level to make sure it’s level from front to back, begin to screw the live edge board to the top of the 2x4. Use 4 screws evenly spaced.
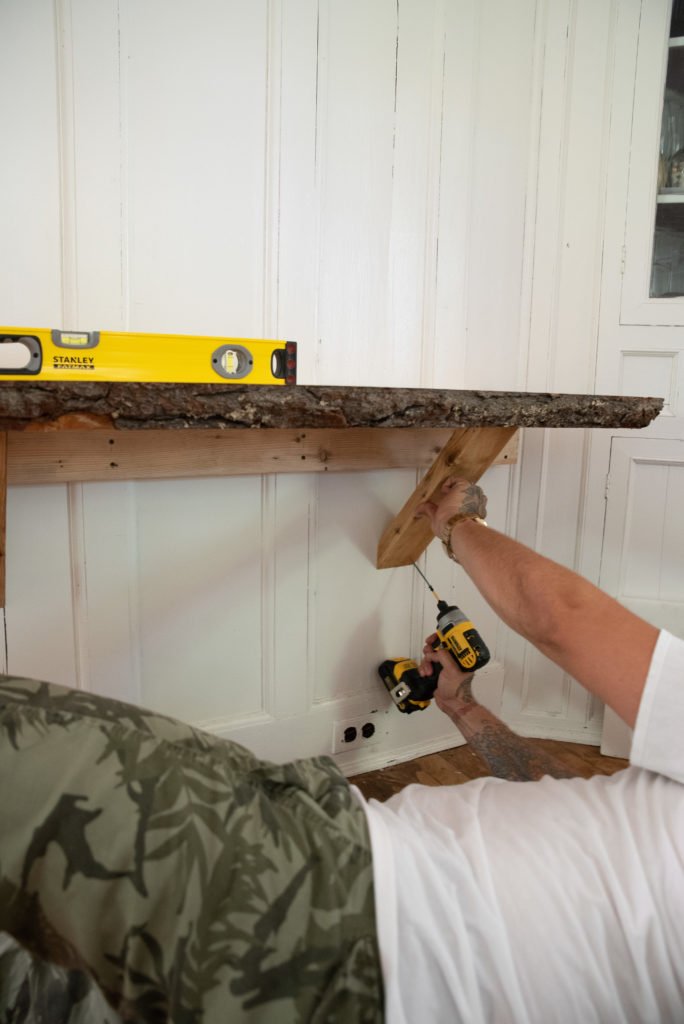
- Now grab your braces cut at 45 degrees inward. Place them so that the angled cuts are sitting flush against the wall and the table top and are also at the studs on either end of the table. Attach two screws at either end both into the wood and the wall and the wood and the table top.
- You’re Done!
(Instagram Reel will be embedded)
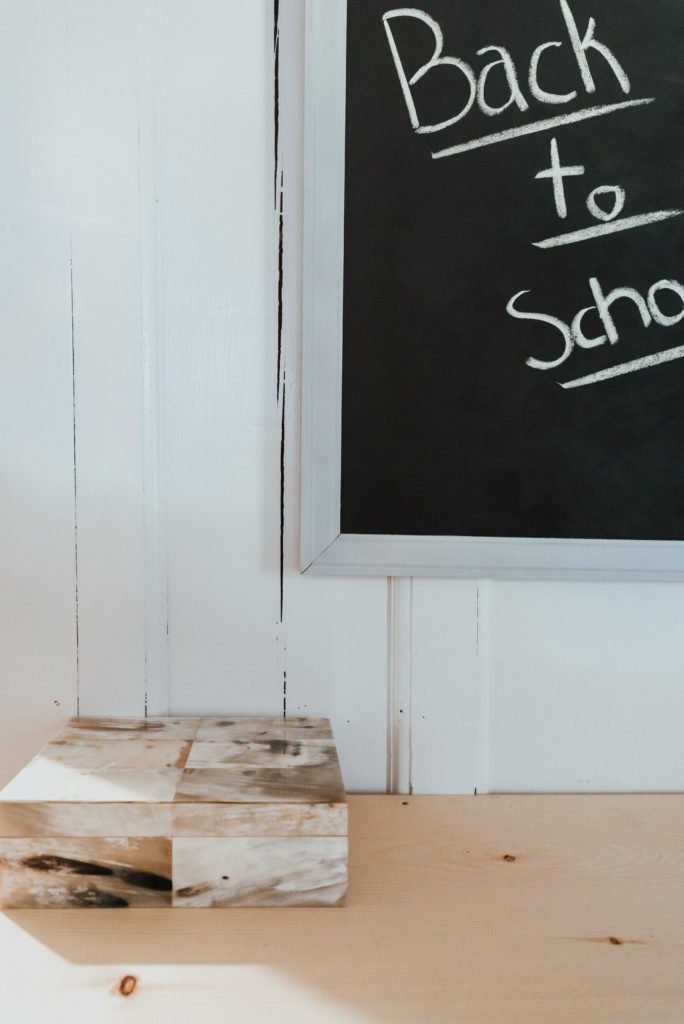
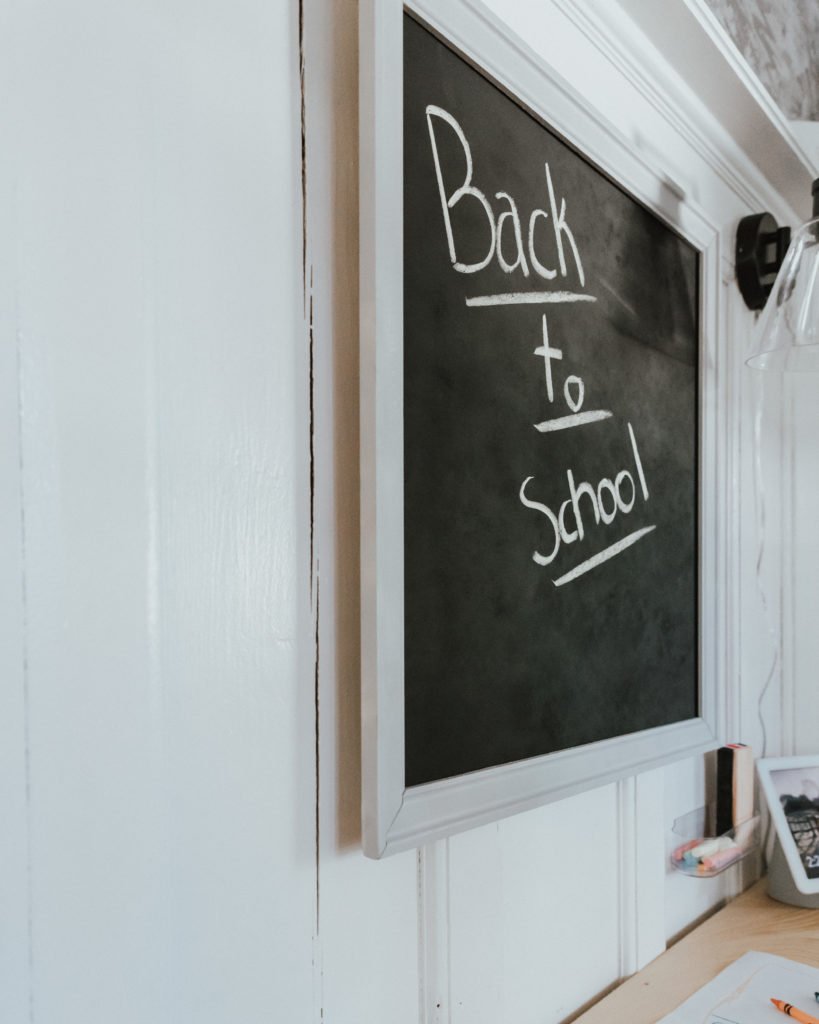
How to DIY a Simple framed Chalkboard
Supplies:
- Chalk board paint
- Smooth Plywood, we used RevolutionPly
- 8 ft Moulding of your choice for the frame
- Wood glue
- Painters tape
- Spray paint of your color choice
- Staple gun
- Picture hanging kit
Directions:
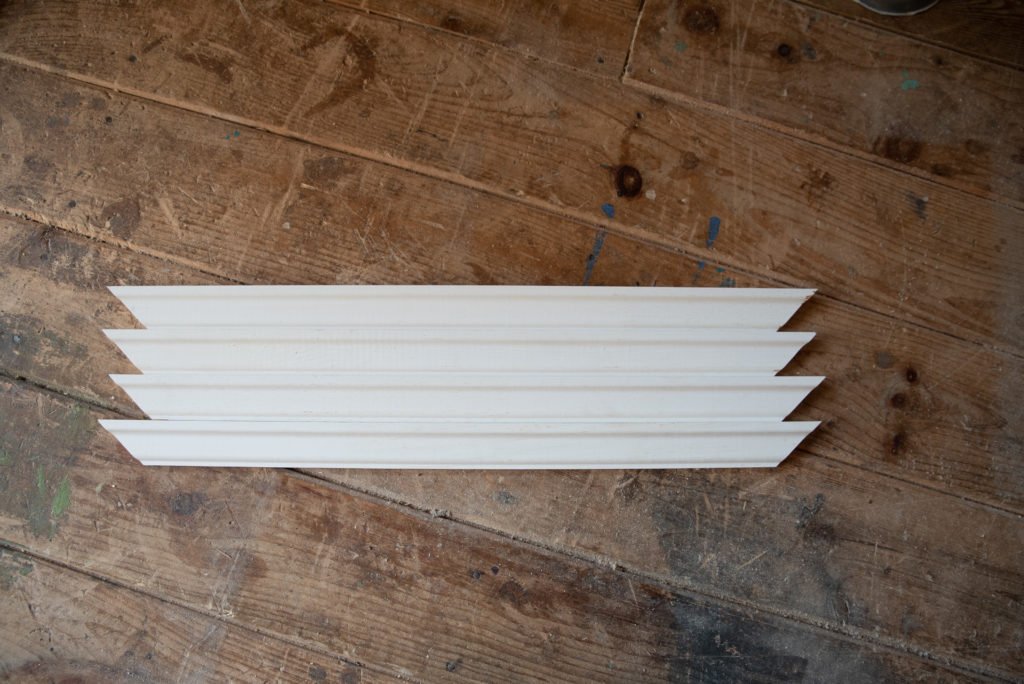
- Cut your moulding down to the size board that you want. To save on waste, we are making ours square and 24” x 24”. So we cut four 24” boards from the moulding with ends cut at 45 degree angles angling in.
- Cut your plywood to a size a ½ an inch to an inch shorter than the frame will be. For this, we cut it to be 23”x23”
- Take your 4 pieces of moulding and glue angled edges together to make a frame. Use painters tape to secure until glue dries.

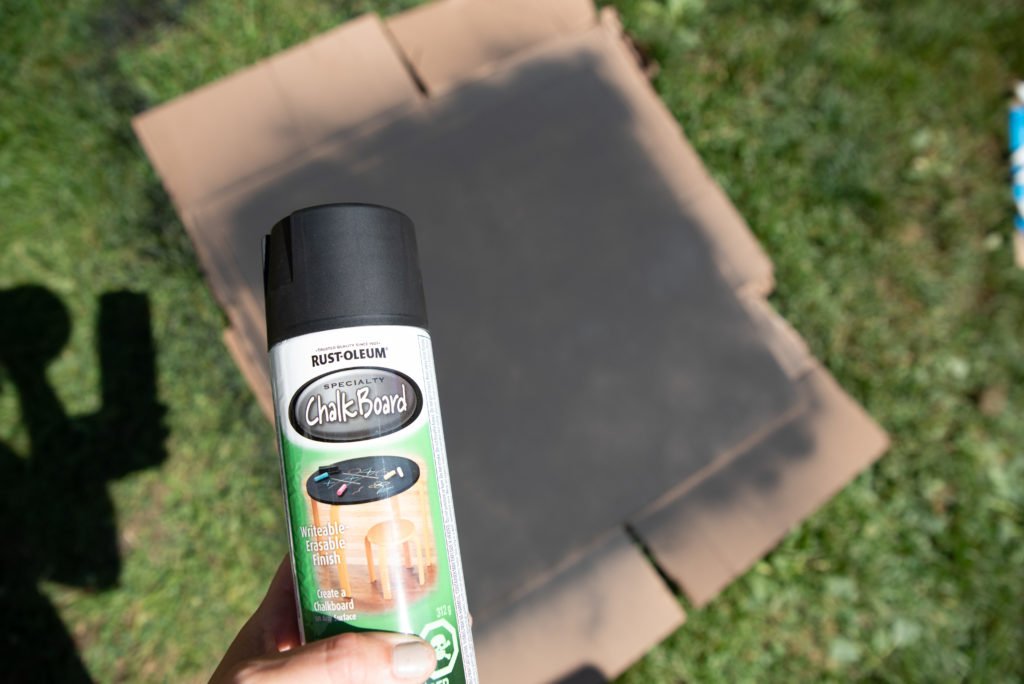
- While waiting for glue on the frame to dry, begin painting your plywood with the Chalkboard Paint. You should only need 2-3 good coats but if using spray paint like us, it will take a few more.
- Once frame glue is dry, remove painters tape and spray or paint it the color of your choice. We went with a light grey to match the wallpaper in our office.
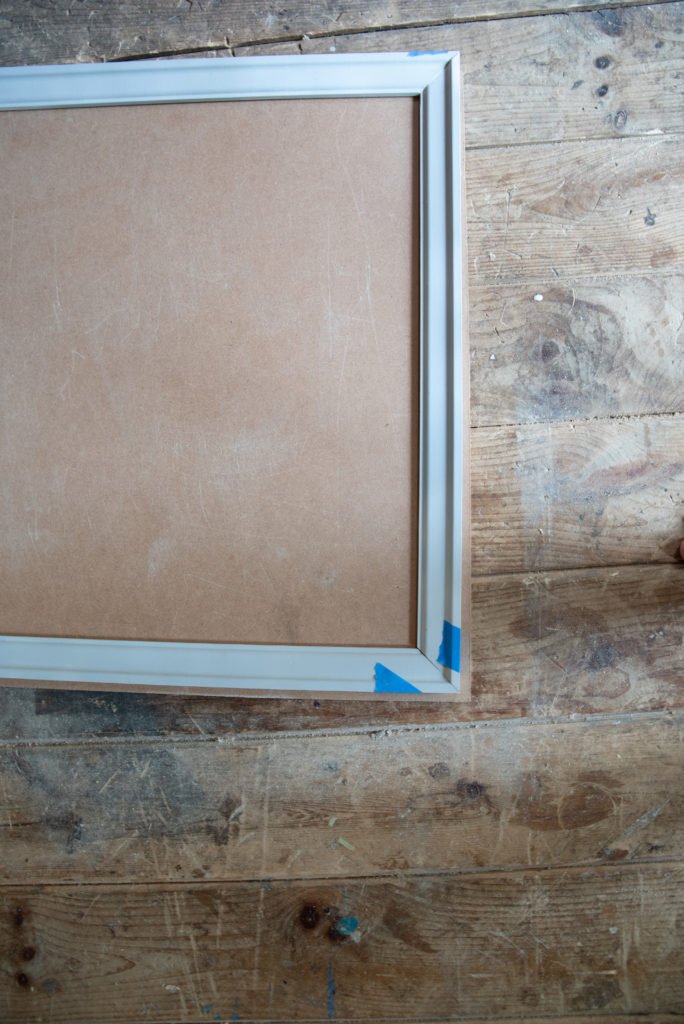
- With both the chalkboard paint and frame paint being dry, flip frame face down, place plywood painted side down into frame and evenly centred.
- Attach plywood to frame with staple gun starting at corners and then along sides, making sure to stay close to the edge so that you don't go through the frame,
- Use a picture framing kit to attach a wire to the back for hanging.
- Hang and use! ;)
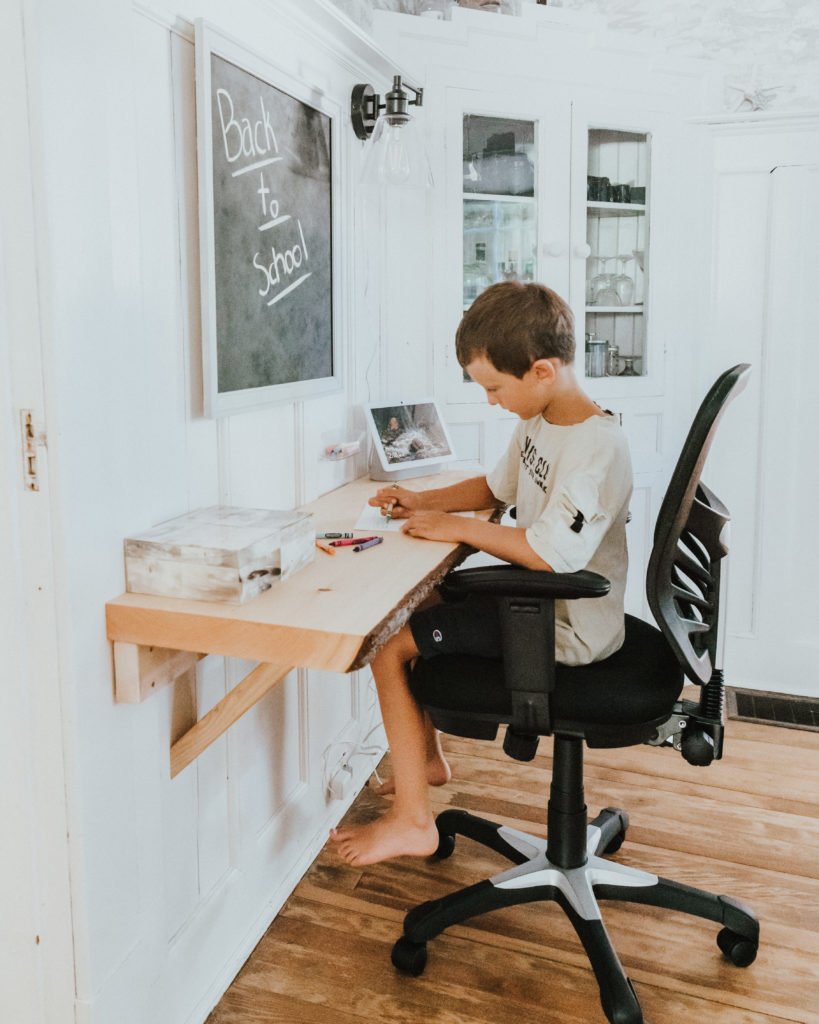
We are so happy with how the projects turned out and that we easily completed this corner in just a day. Even though we are a few weeks away from school starting, Aubrey is already using the desk for drawing which is his new hobby.
And the best part is that we are able to keep our eye on them from our desk as we do our own work. Having a dedicated work space is seriously one of the best tips we can give for working from home. It puts you in the right mindset to get things done and also doesn't stop your regular flow like when dinner time comes and the table needs to be cleaned off. This desk is great to fit even in the smallest areas so that you can create a space, even if you don't think there's room.

Thanks to The Home Depot Canada for supporting our family by sponsoring this post.
For a full list of The Home Depot Canada products used, click here. https://cur.lt/pruTry4o