How To: Our Raised Vegetable Garden On a budget
 After trying our a vegetable garden in our backyard last year, we came to the conclusion that our soil is just too rocky for the types of vegetables we enjoy to eat and grow. So, with planting season here, we needed to try our hand at something different for us. As a daughter of a hobby vegetable farmer who used to have a fully working livestock and vegetable farm, gardening is in my blood, but we have never had to put the work in to try above ground gardens. I seriously wasn't sure where to start. Many hours on Pinterest later and asking so many of you on Pinterest for tips an tricks, we devised a plan.The first thing we researched was what wood to use. You can't use treated lumber like you would for your deck because the chemicals will soak into the ground and your food. So what was the best option? Cedar and hemlock will last the longest, but they also are the most expensive. Knowing that a. we rented so didn't need it to last longer than 5 years, and b. we were trying to do this on a tight budget, we came to decide on spruce. It is the cheapest soft wood on the market, but will still last you a good 5 years in this situation. If you were wanting it to last even longer, you could always line it with gardening plastic as well (just on the inside of the wood)
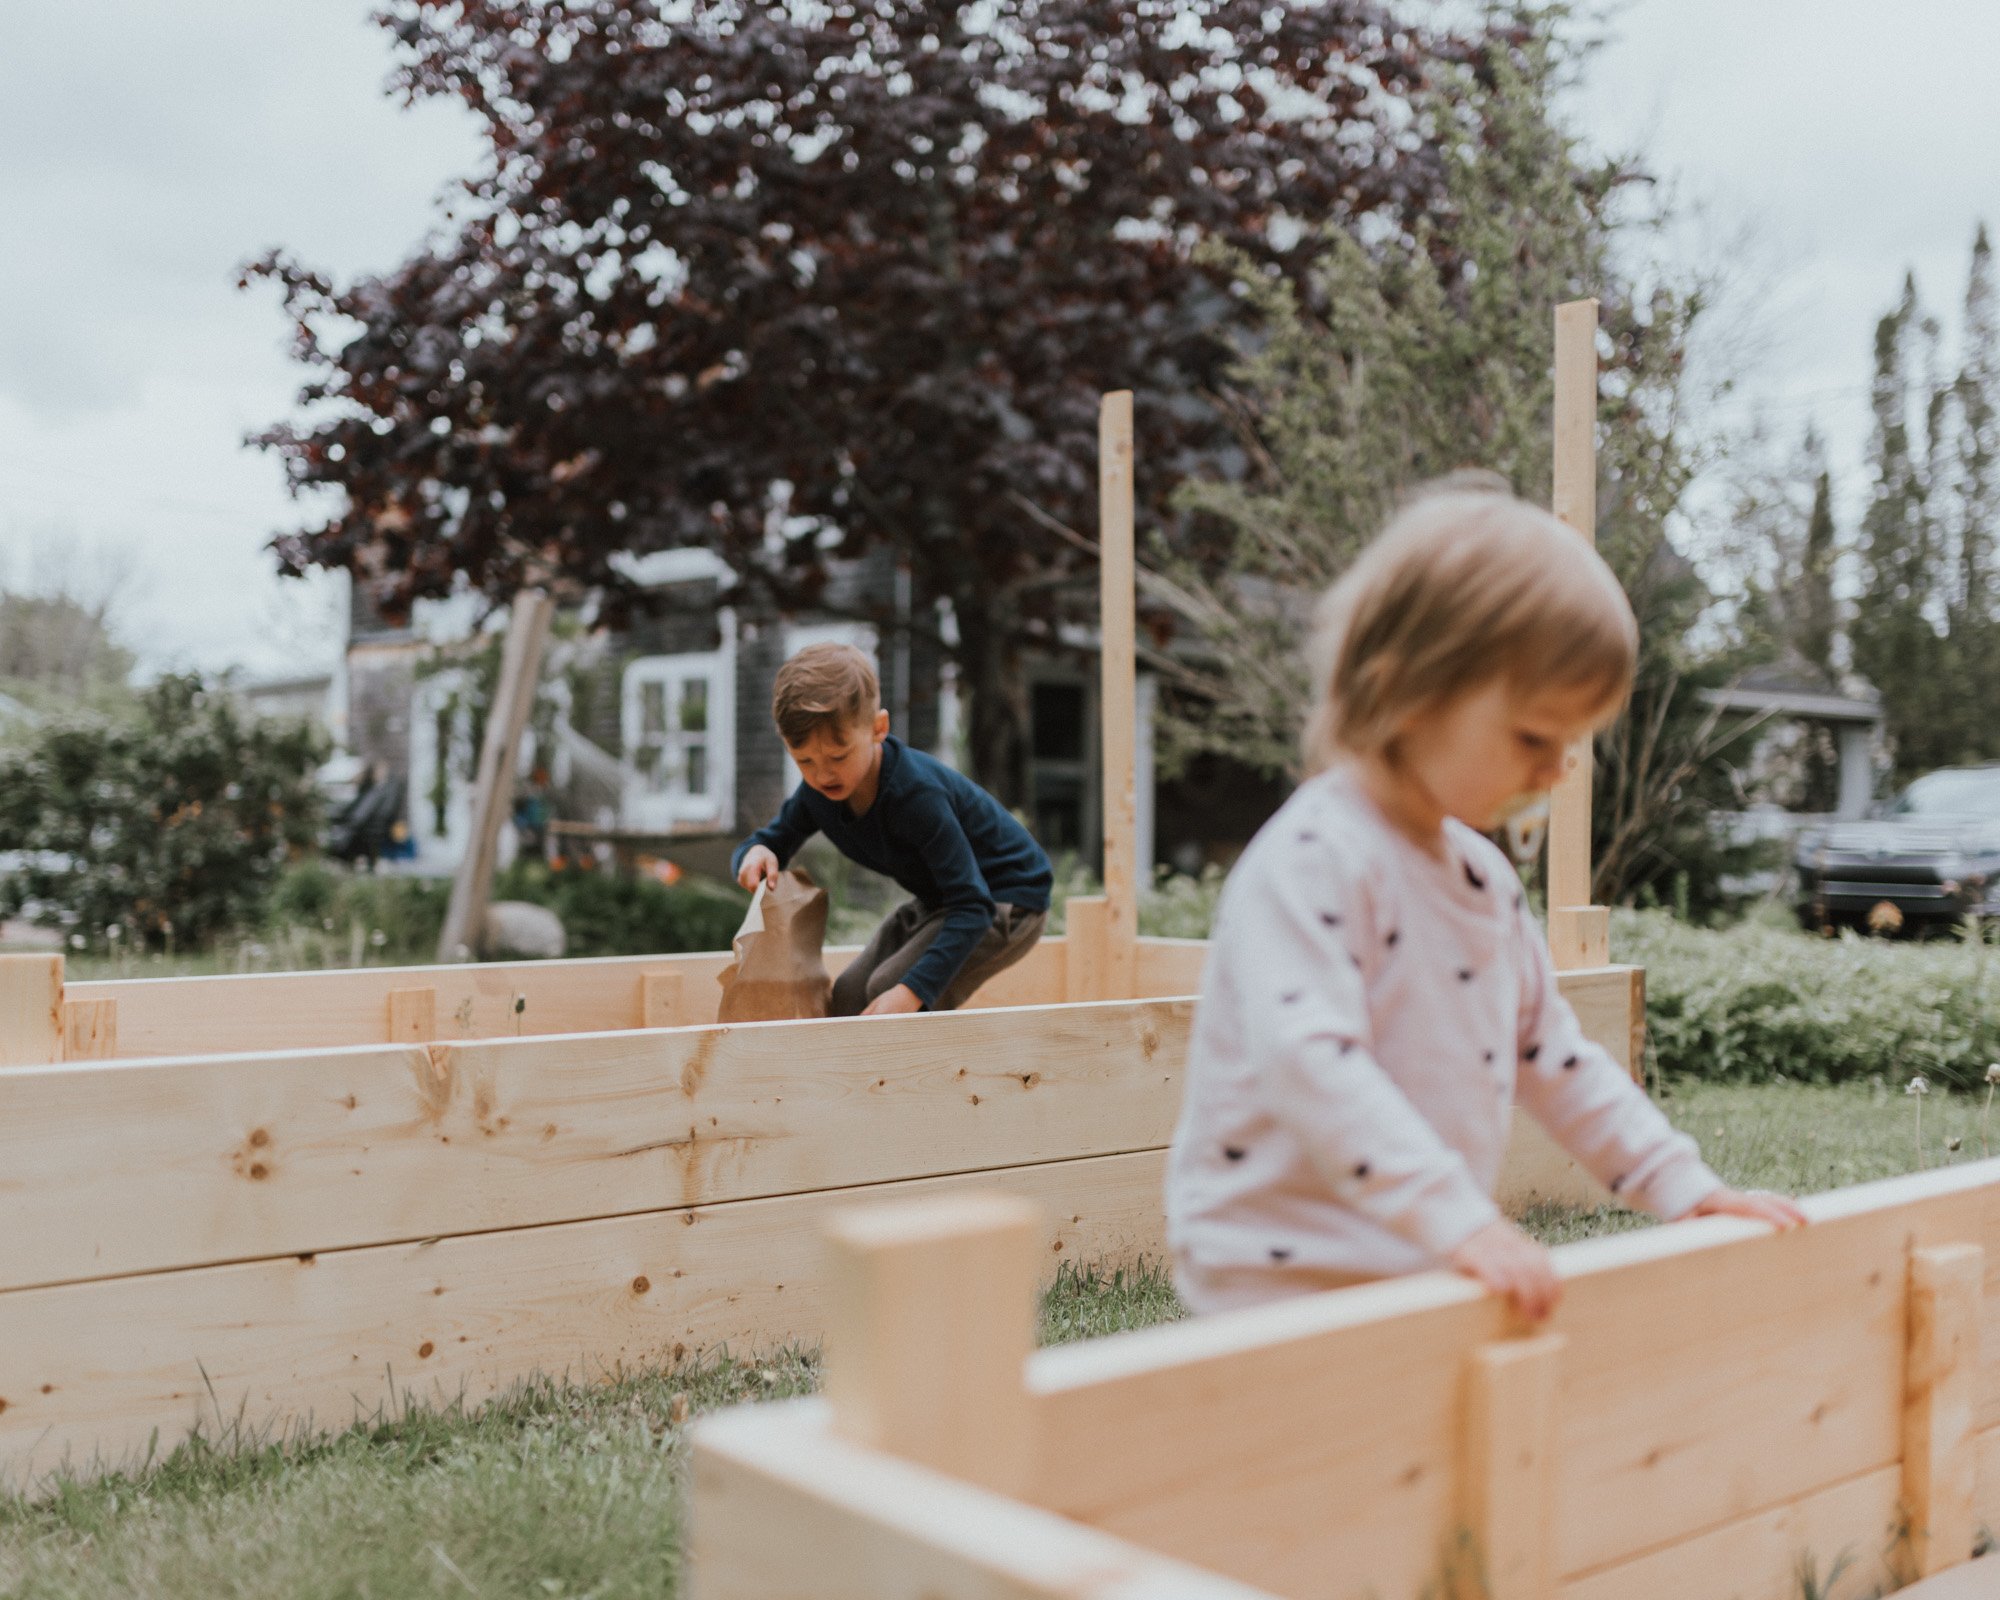 So, the next thing to do, it to build it. Now looking back, we probably should have documented the steps or filmed the process, but after showing sneak peaks on instastories, it seems to be project many of you are wanting to undertake.
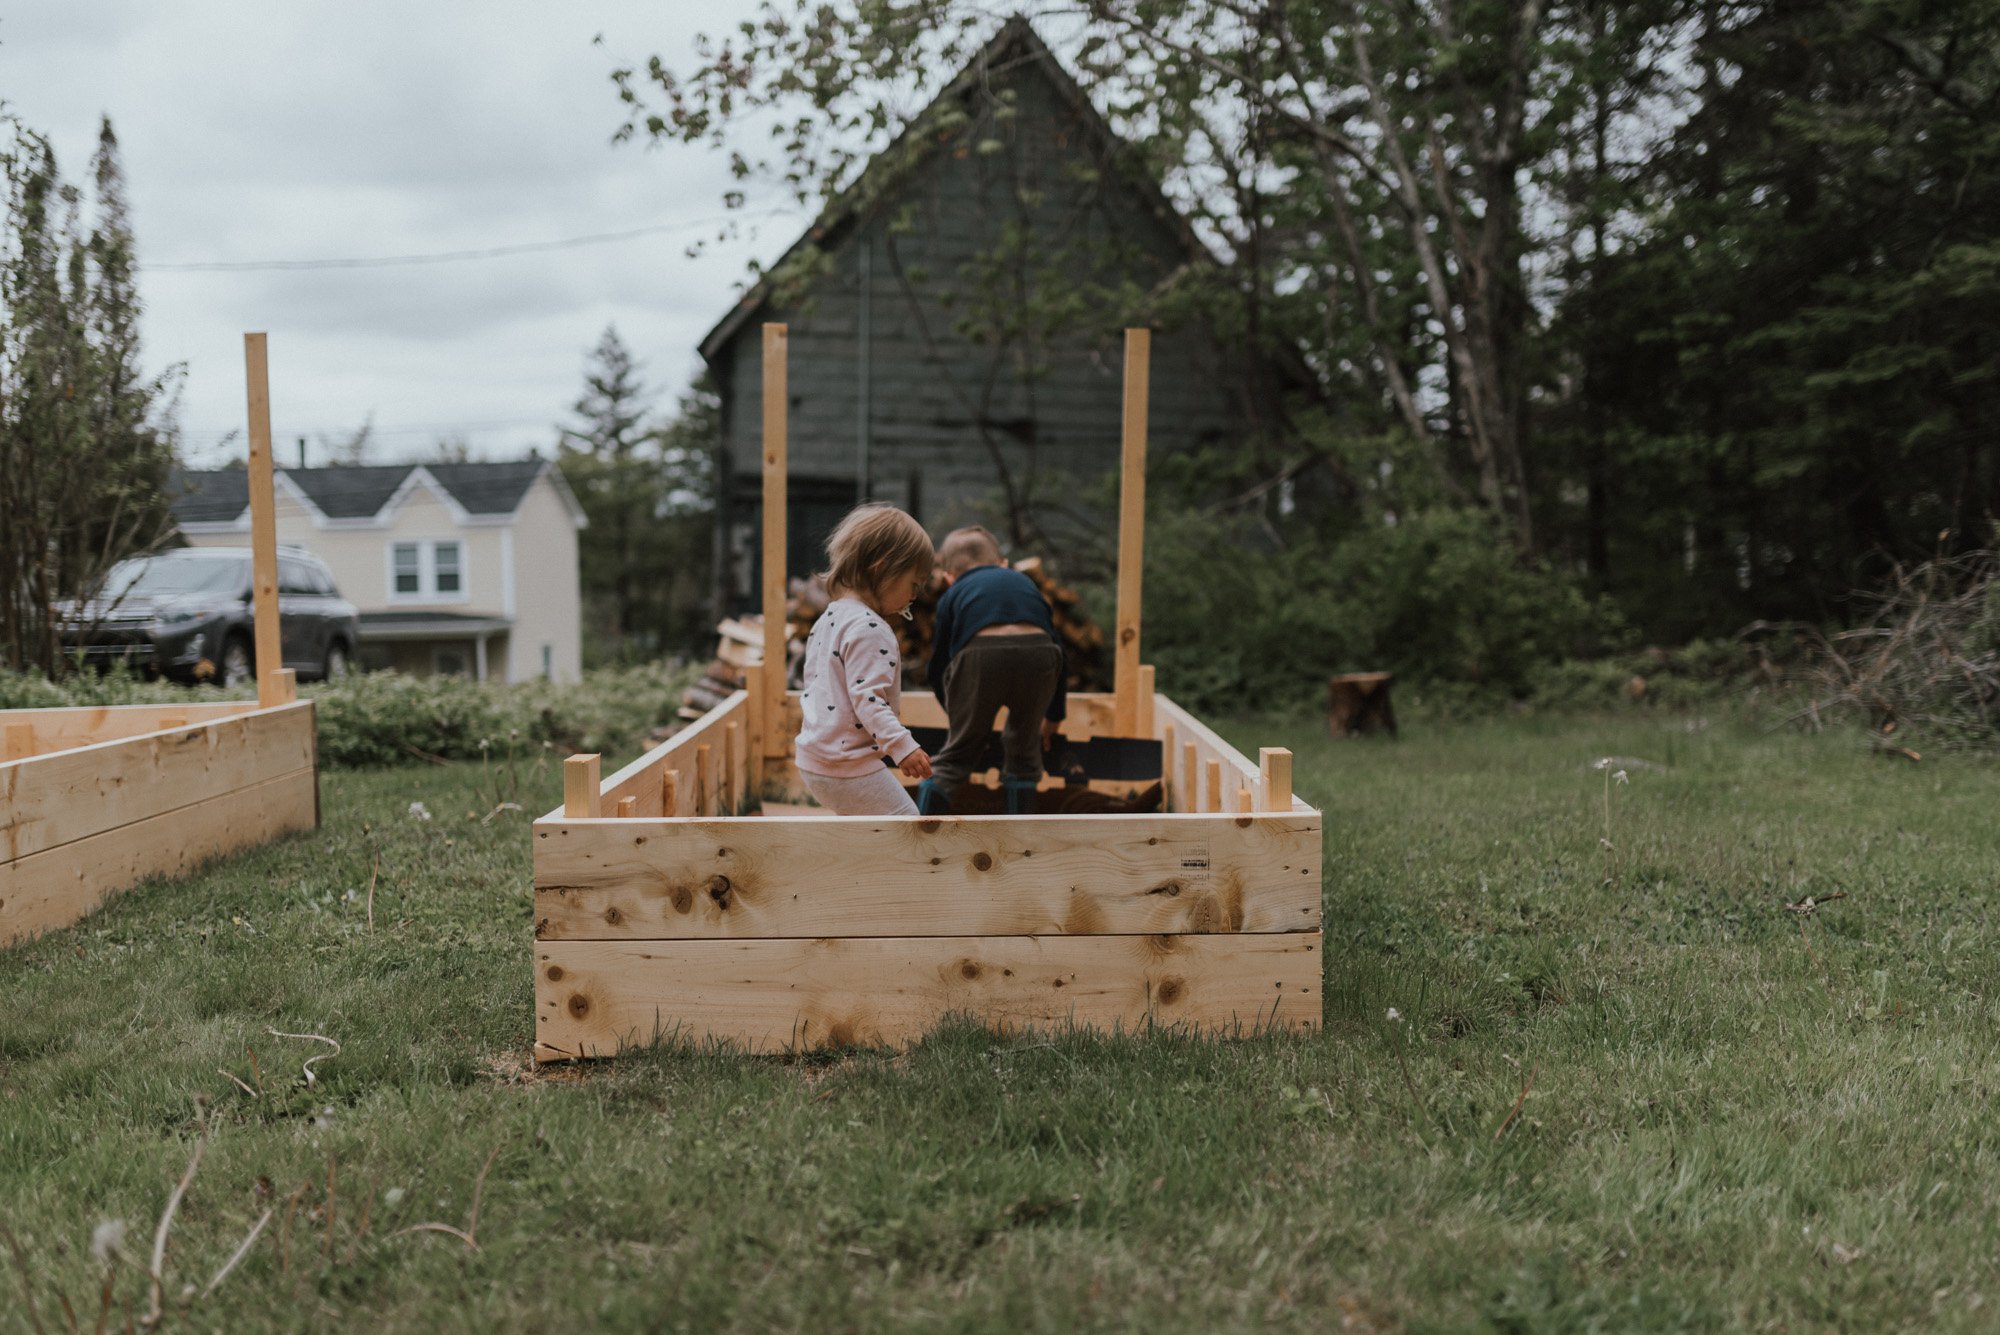
How To Build Raised Garden Boxes
What You Need For One 8 foot by 4-foot box:
- 4 boards of 2x8 spruce cut to 8ft
- 4 boards of 2x8 spruce cut to 4ft
- 4 boards 2x4 spruce cut to 16 inches
- 12 boards of 1x3 spruce strapping cut to 12 inches
- bag of 3 inch wood screws (we purchased 1 lb)
- bag of 2-inch wood screws (we purchased 1 lb)
- 2 wood clamps that can be used on 16 inch wide boards
Directions:
- Measure and cut your wood to the above measurements
- Take two of your 8-foot boards and use clamps on either end to clamp boards together side by side making sure that they are lined up perfectly.
- Take 2 of your 16-inch boards and with the 3-inch screws, attach them flush to the end of each side of the boards with two screws side by side on each board
- Repeat those steps on the other two 8ft boards
- Take 4 pieces of your strapping and spread them out evenly between the two anchor boards that you just attached. Using the 2 inch screws, attach strapping to boards
- Repeat on other 8ft board
- Take two of your 4ft boards and clamp the same way you had the 8ft boards. This time only attach together with 2 pieces of strapping evenly spaced. repeat with the last two 4 ft boards and strapping.
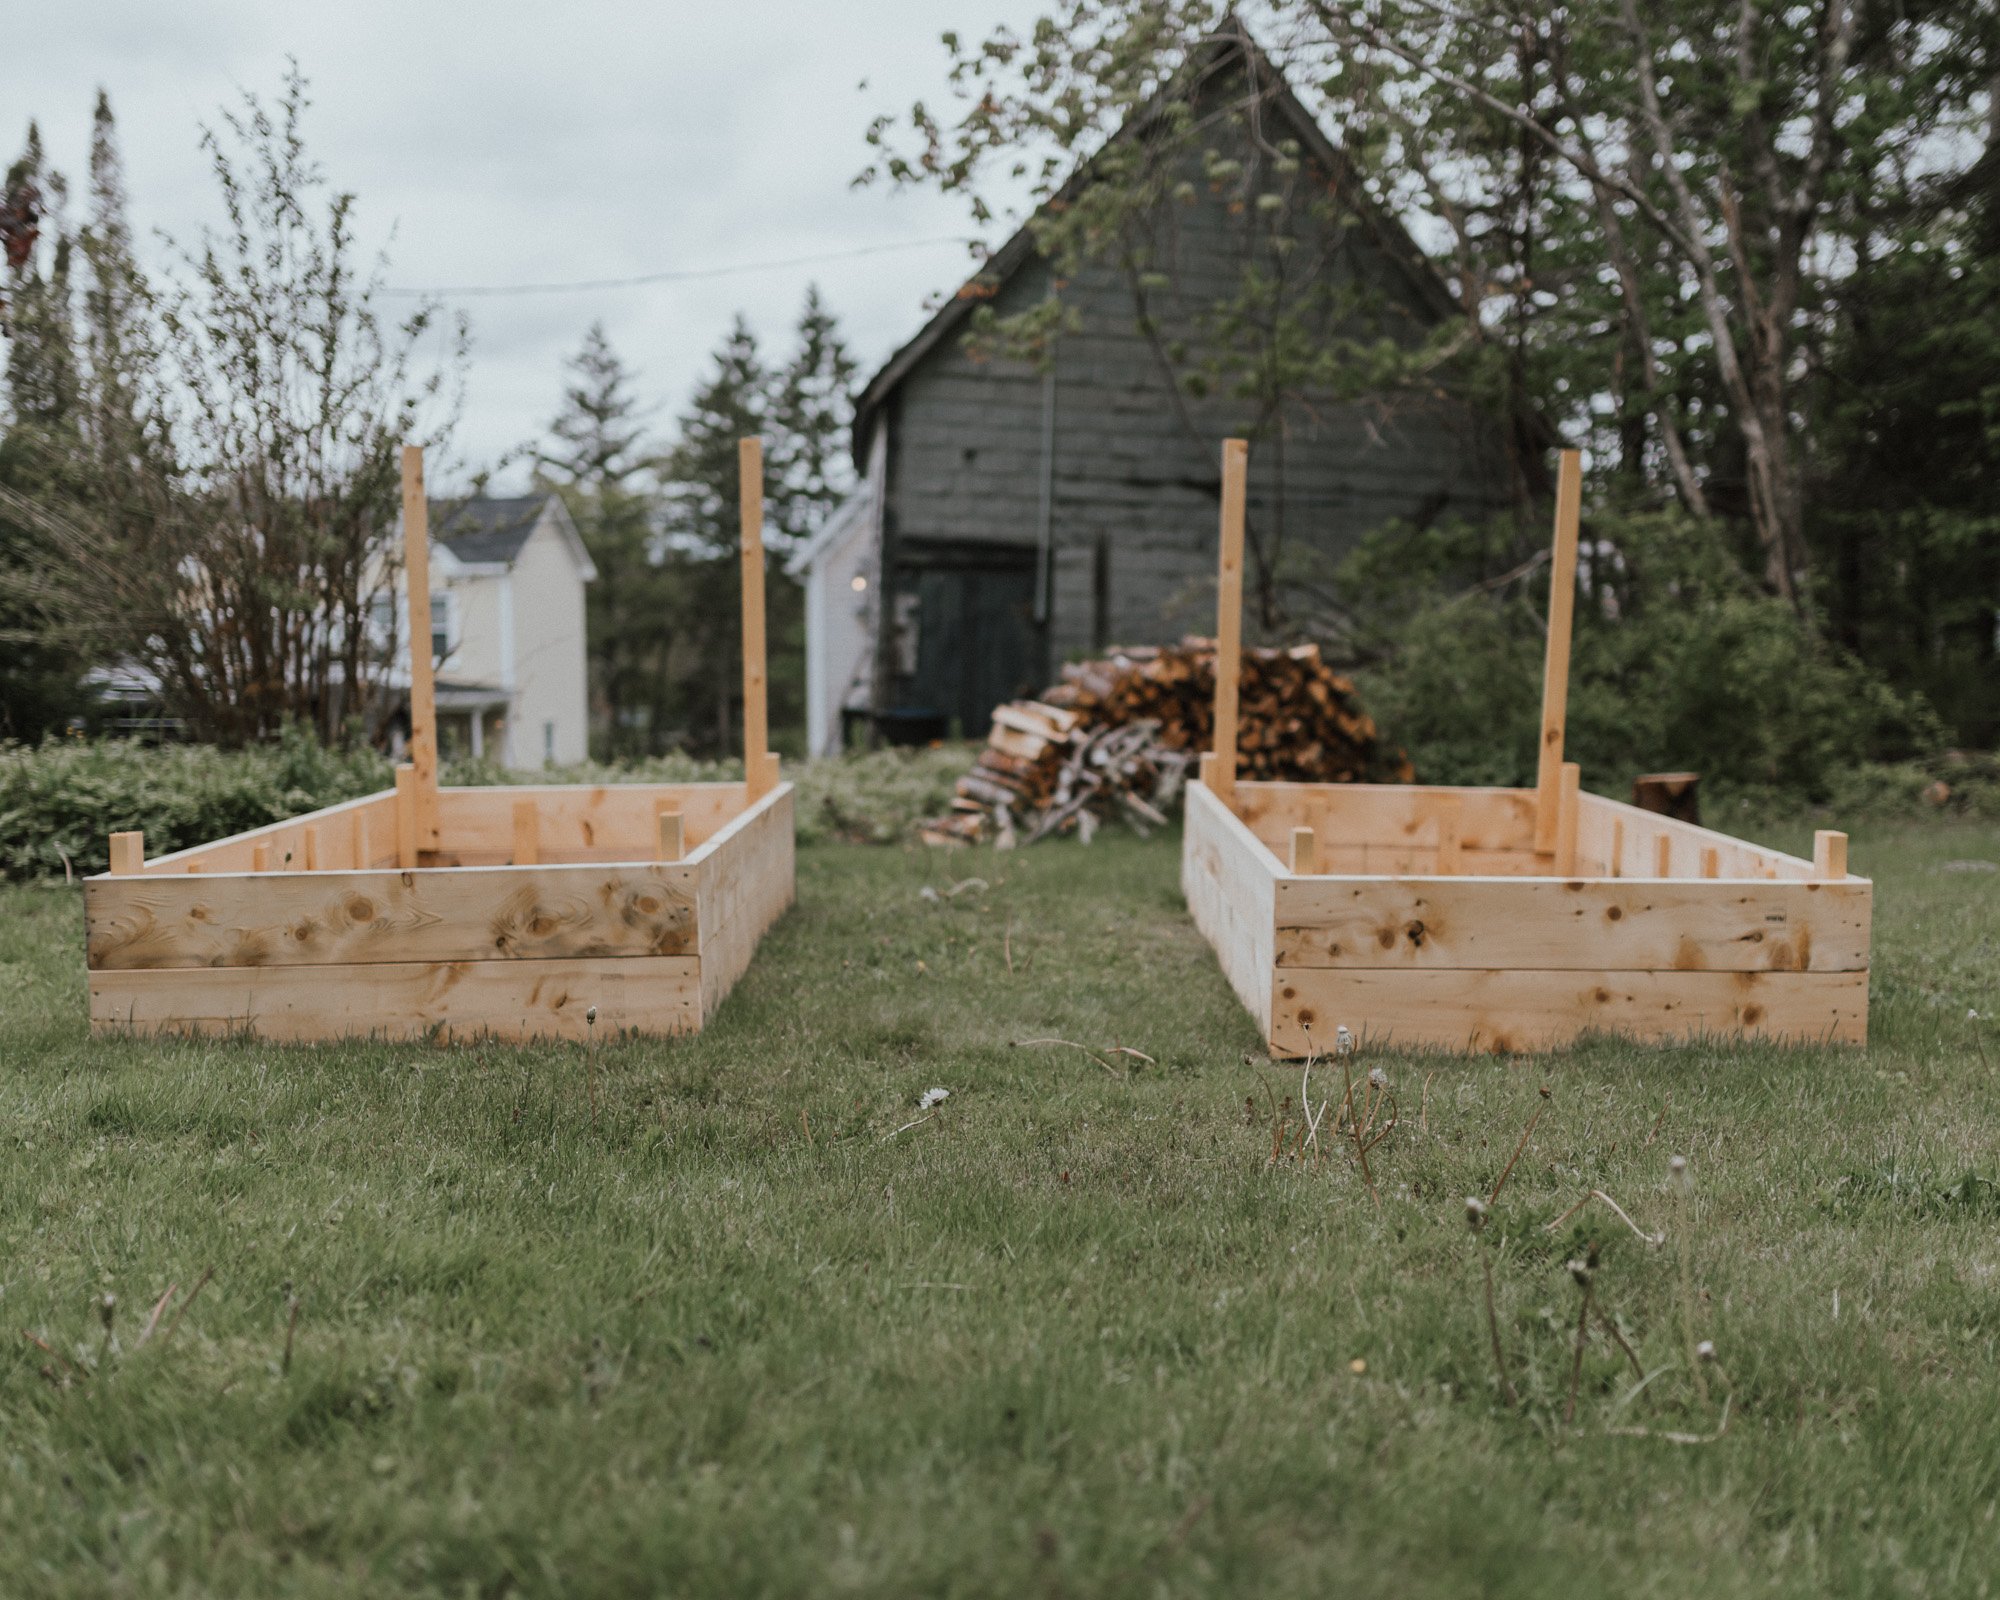
- Bring wood to the area that you are wanting to have the garden set up. Once there, place 8ft board upright as one of the sides. Take 4ft board and line up as an end at 90 degrees to the 8ft board and flush with the end. Using the 3-inch screws, attach 4 ft board to 8ft board by screwing into the 2x4 anchoring board.
- Repeat with all other sides until you have a rectangle.
- We are growing pole beans and peas so, at one end, we added our fencing and attached it to the garden box itself for security.

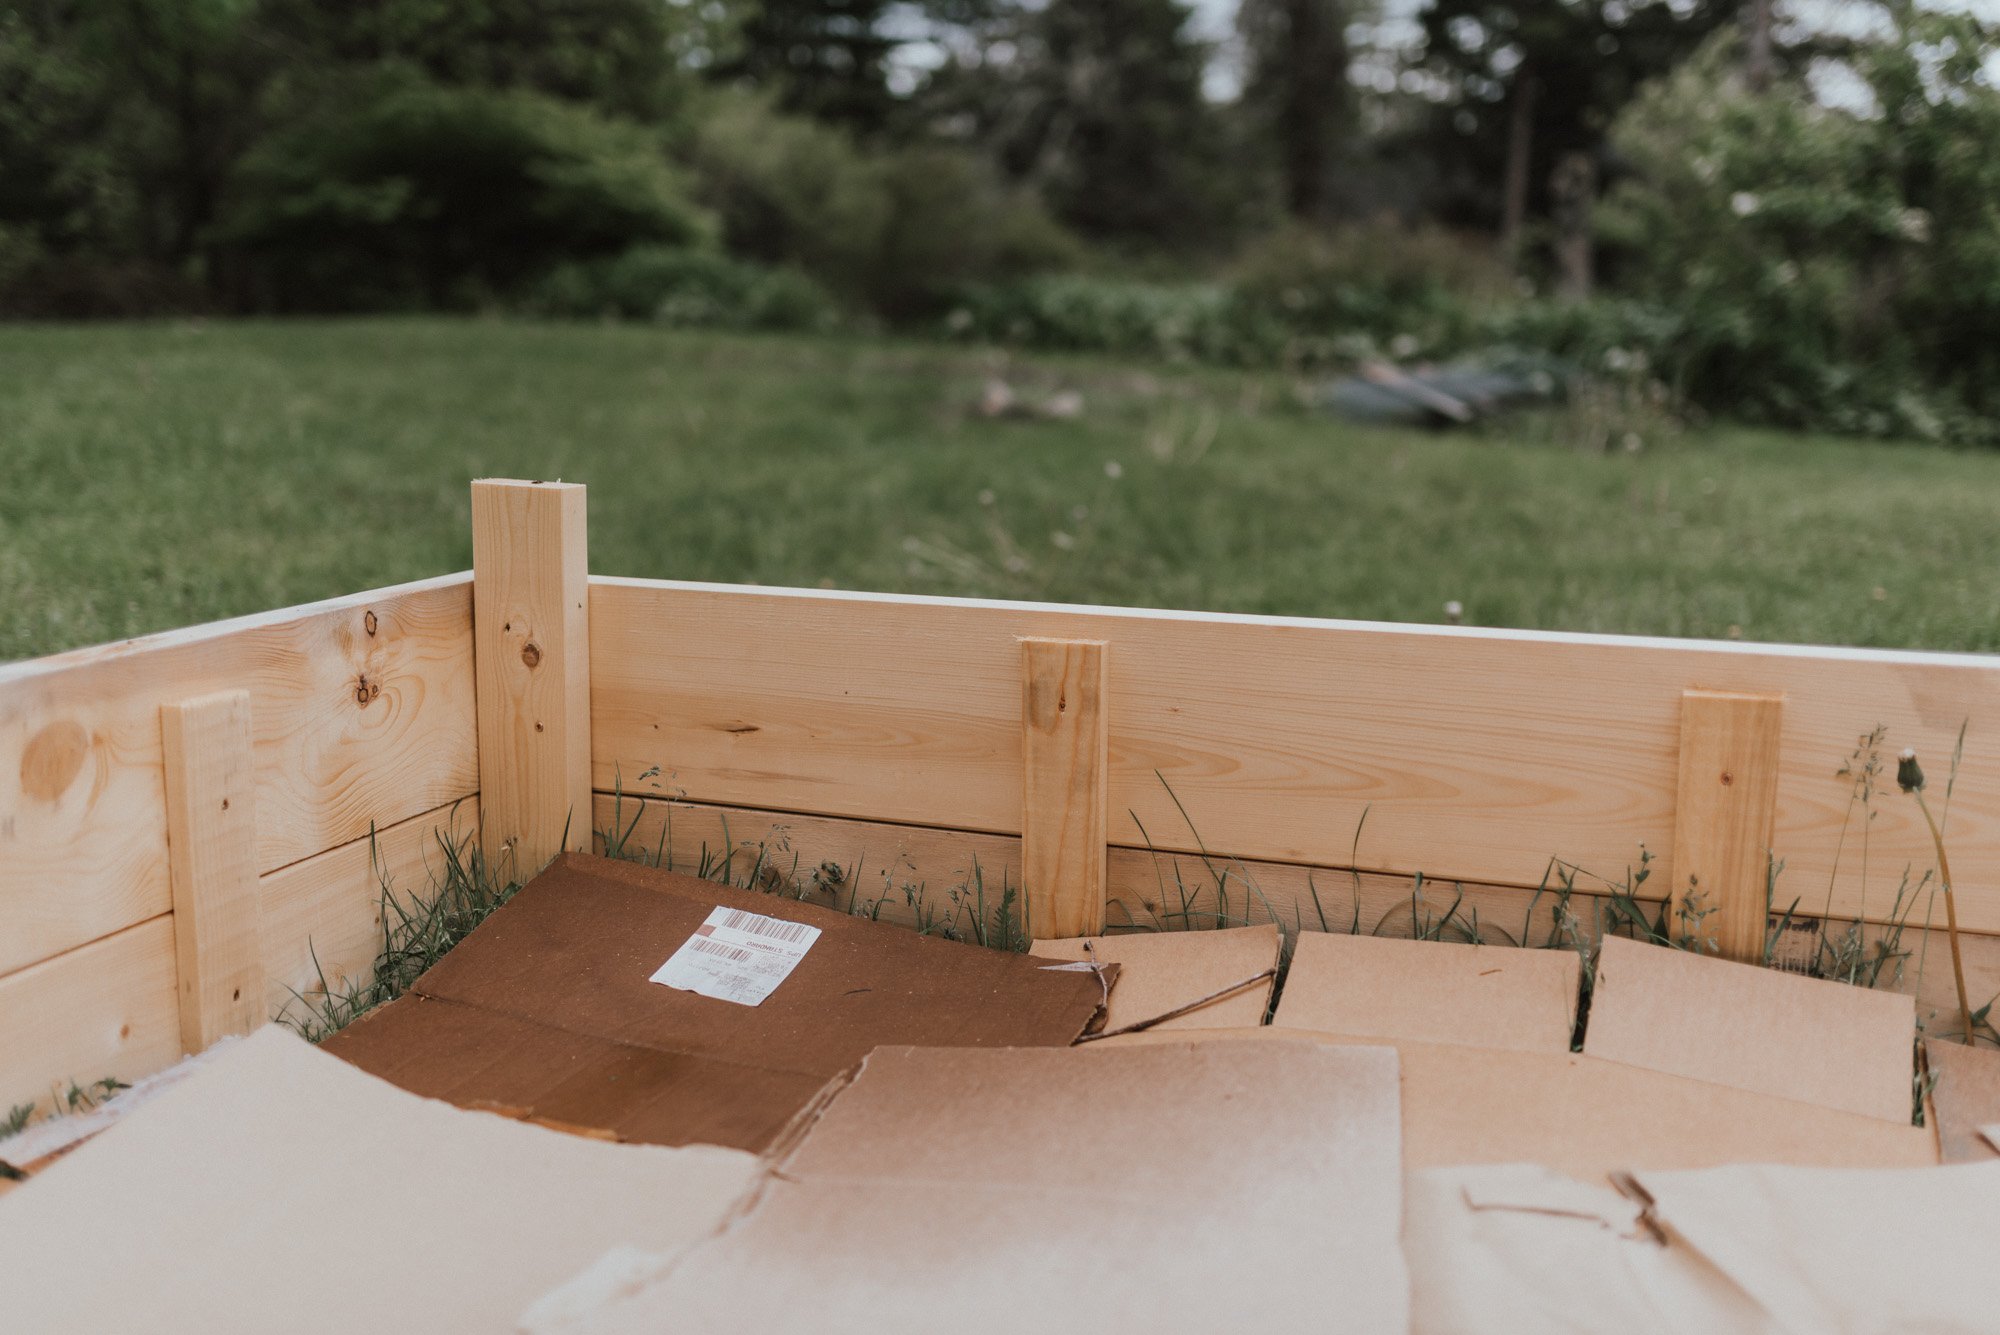
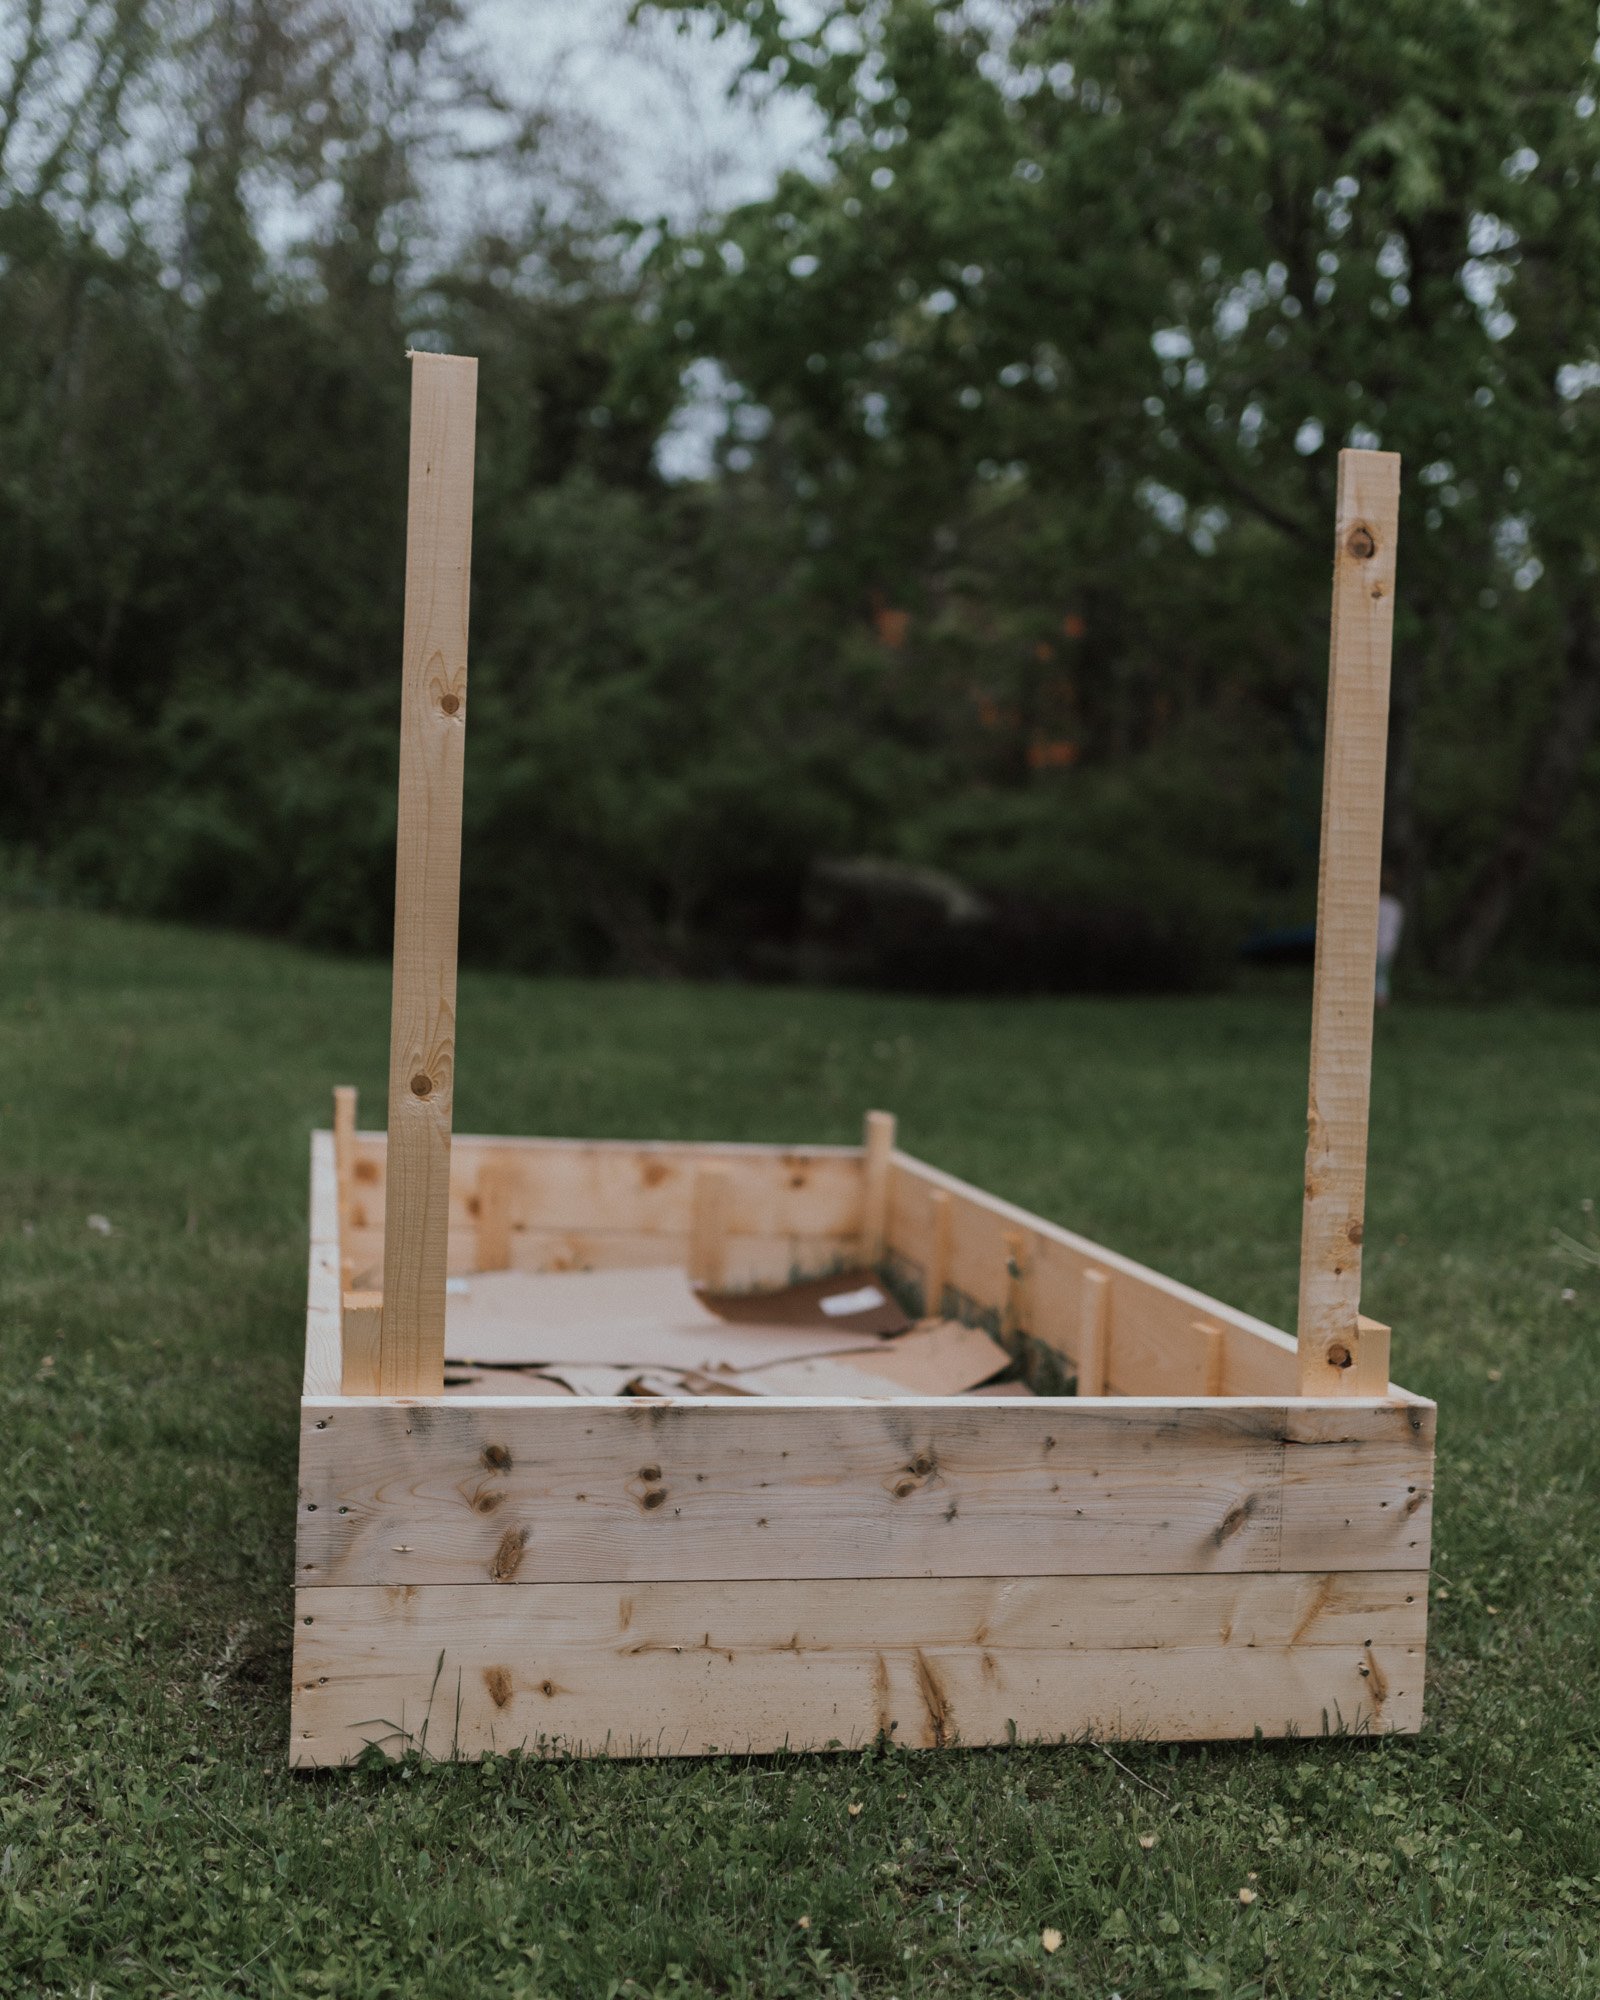 The next step that we were recommended to do by many people, was to take cardboard and line the bottom of the box. Then, soak the cardboard with water. This creates a liner for the garden and also helps stop the grass and weeds from the ground. That way, you don't need to dig the area up.Next step is to add the ground. We are about to do this but are waiting for the frost warnings to stop here in Nova Scotia. We do recommend going with a soil like a Tri-blend of soil, compost, and fertilizer. While I wait, I have also taken time to map out the garden, allowing a foot between my rows. This process is important because you need to make sure the vegetables will do well next to each other. We always recommend grouping together in families. For example, our leafy greens are all next to each other, and our root vegetables are as well.We have yet to plant ours but will keep you updated when we do.