How We Refinished Our Oak floors
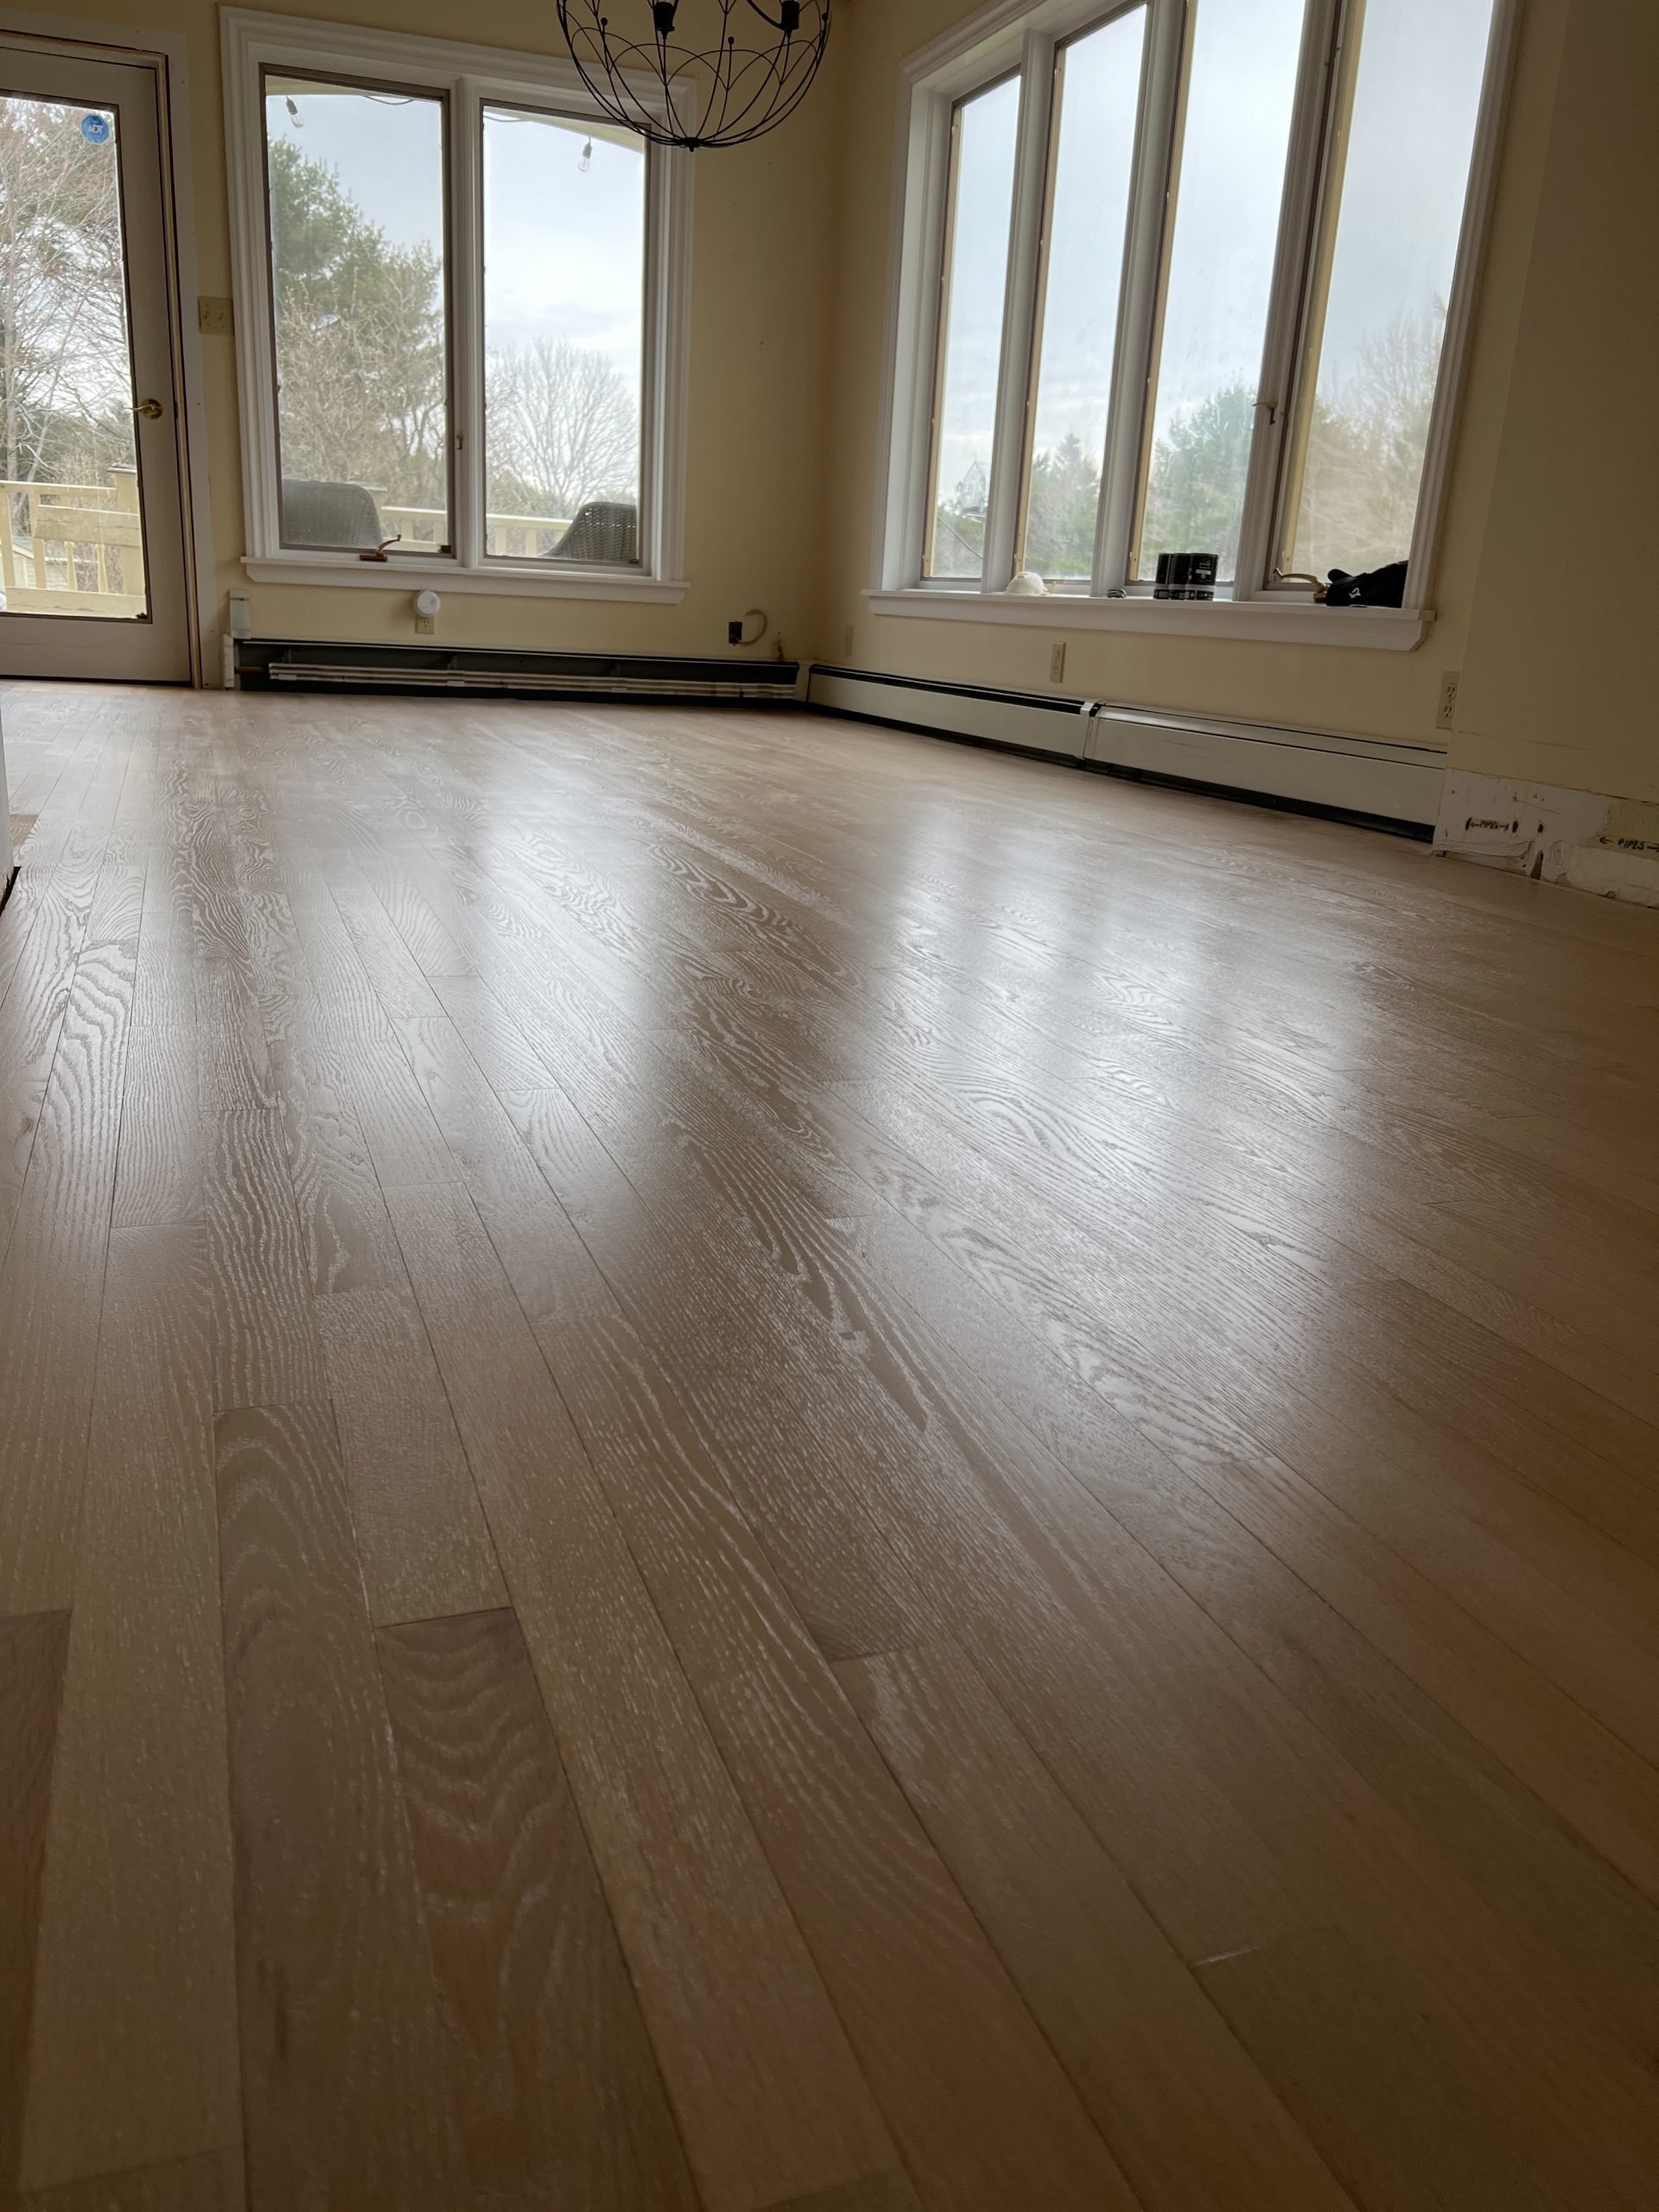
When we moved into this new to us home, we knew the floor needed to be refinished. It was 25+ year old White Oak with an orangey yellow finish from years of sun exposure. Having just redone the flooring at our old home, we knew the challenge and we're definitely up for it.
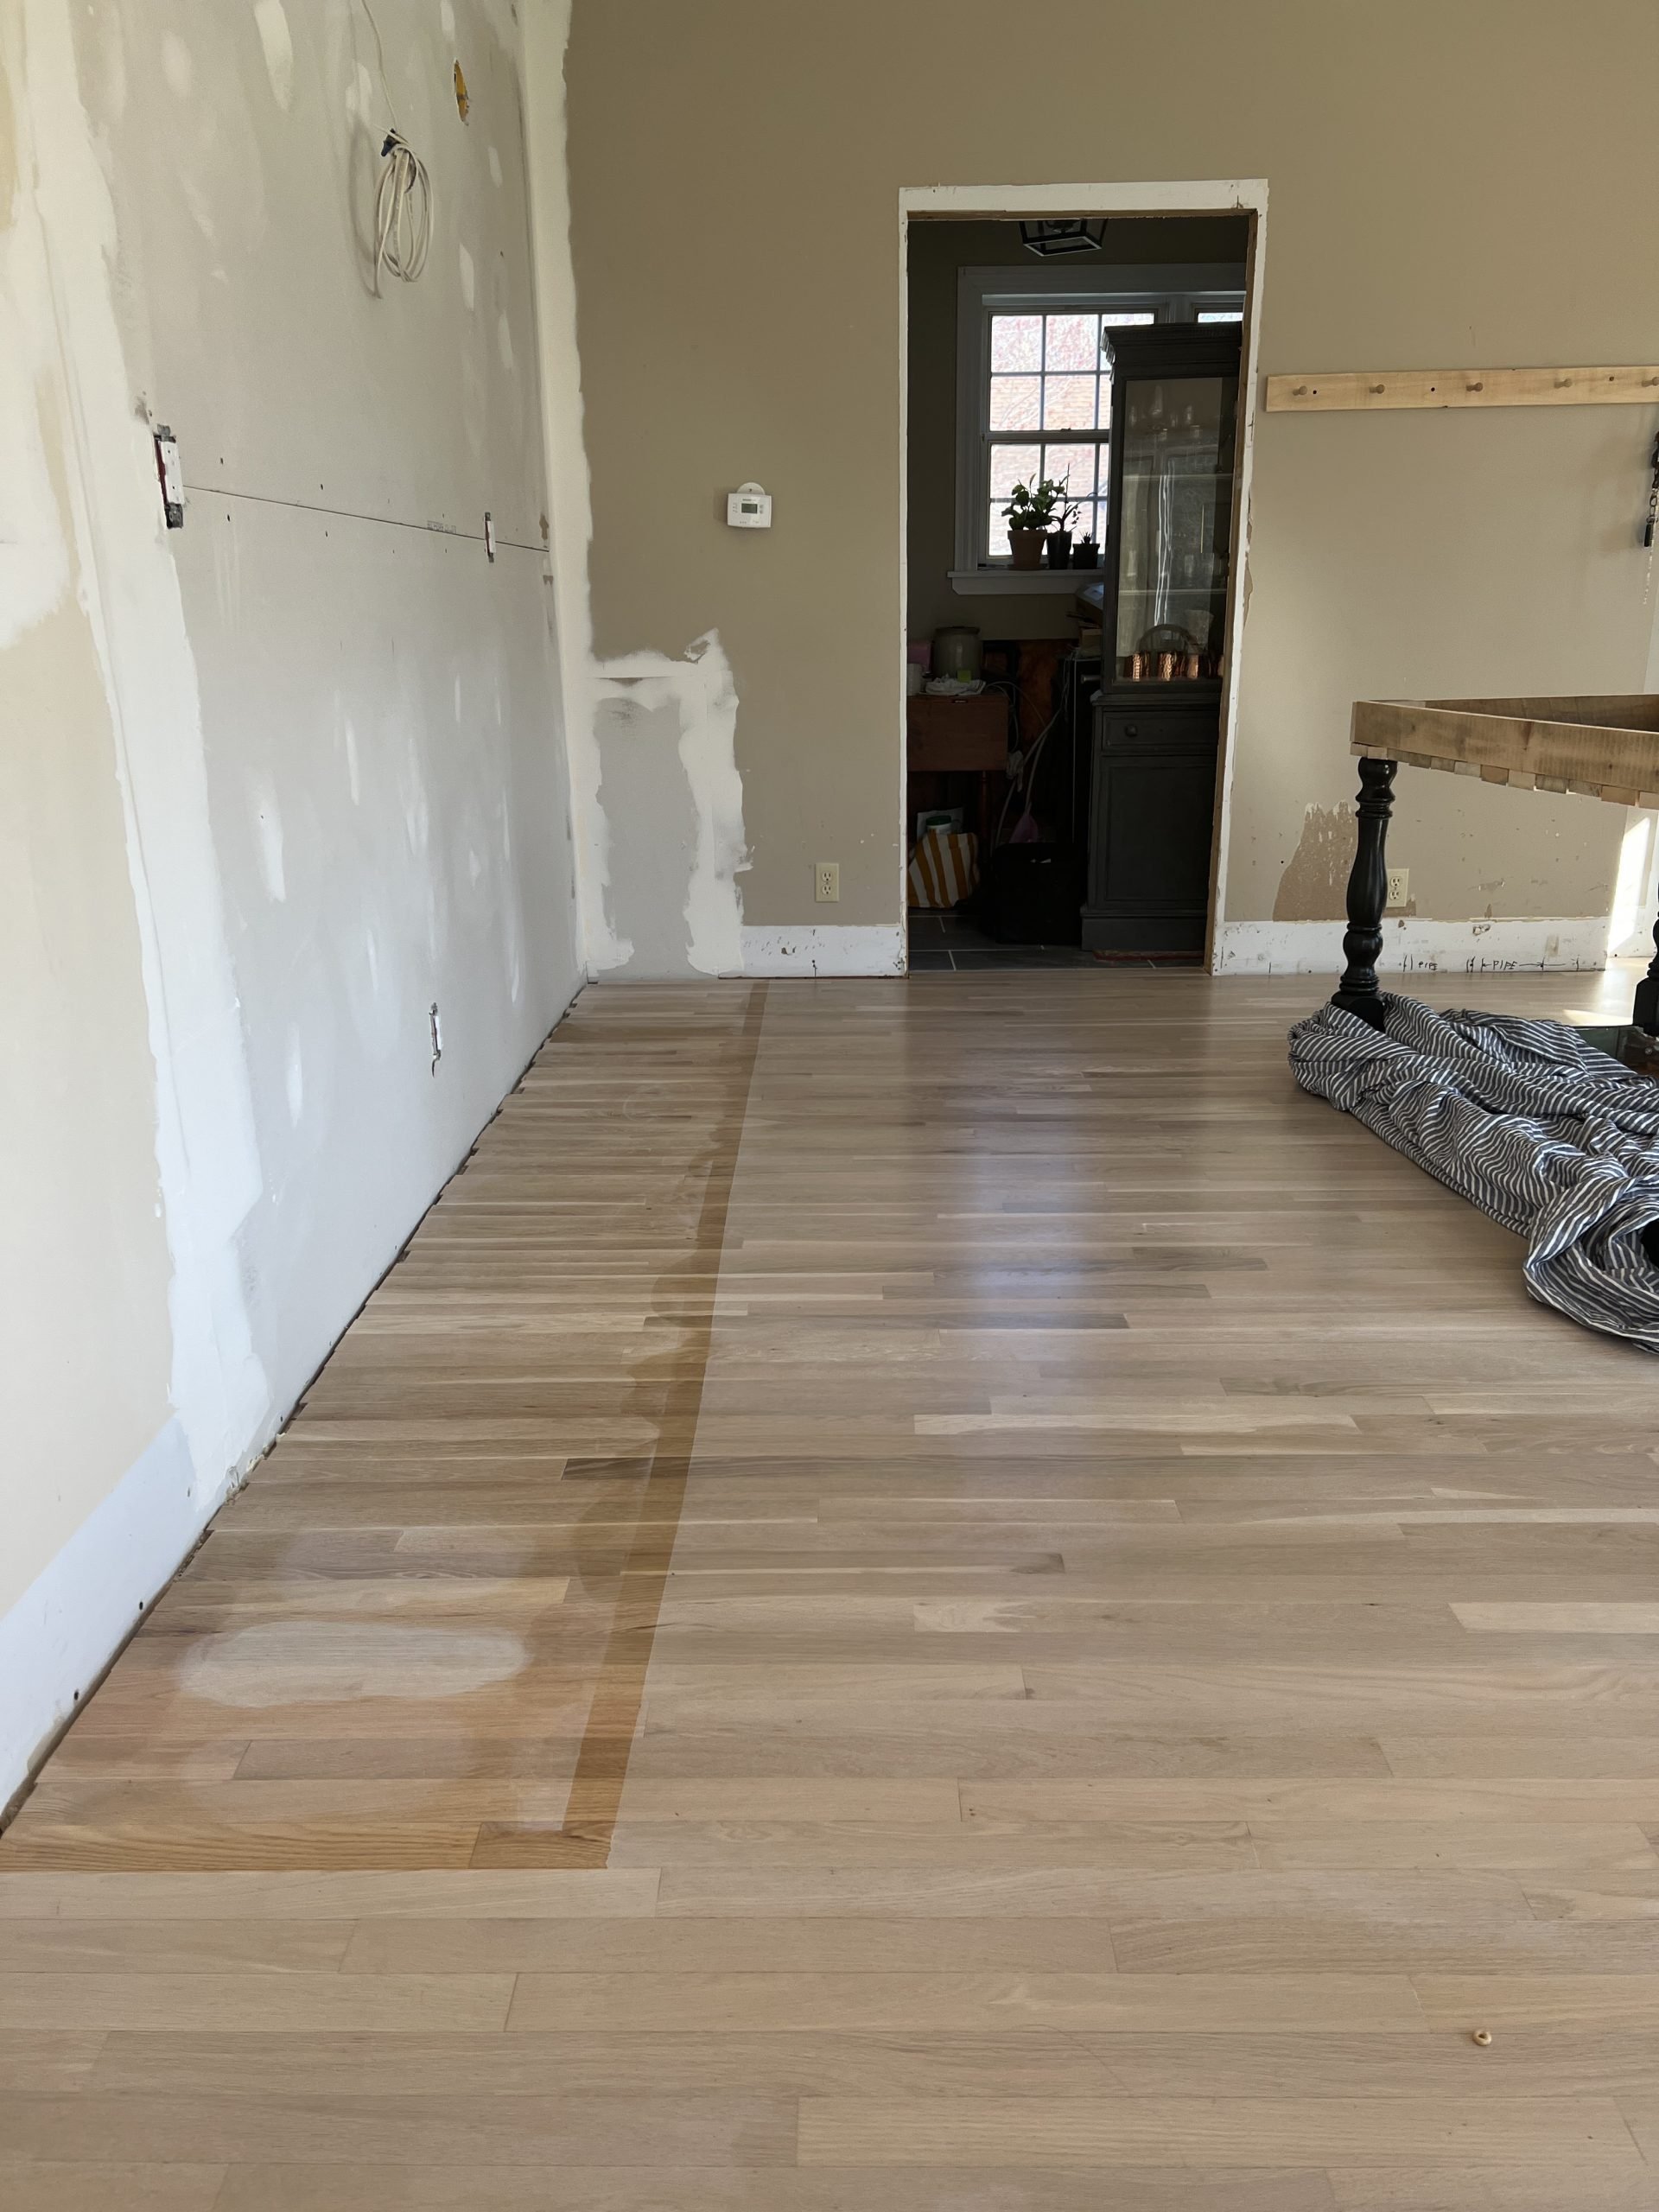
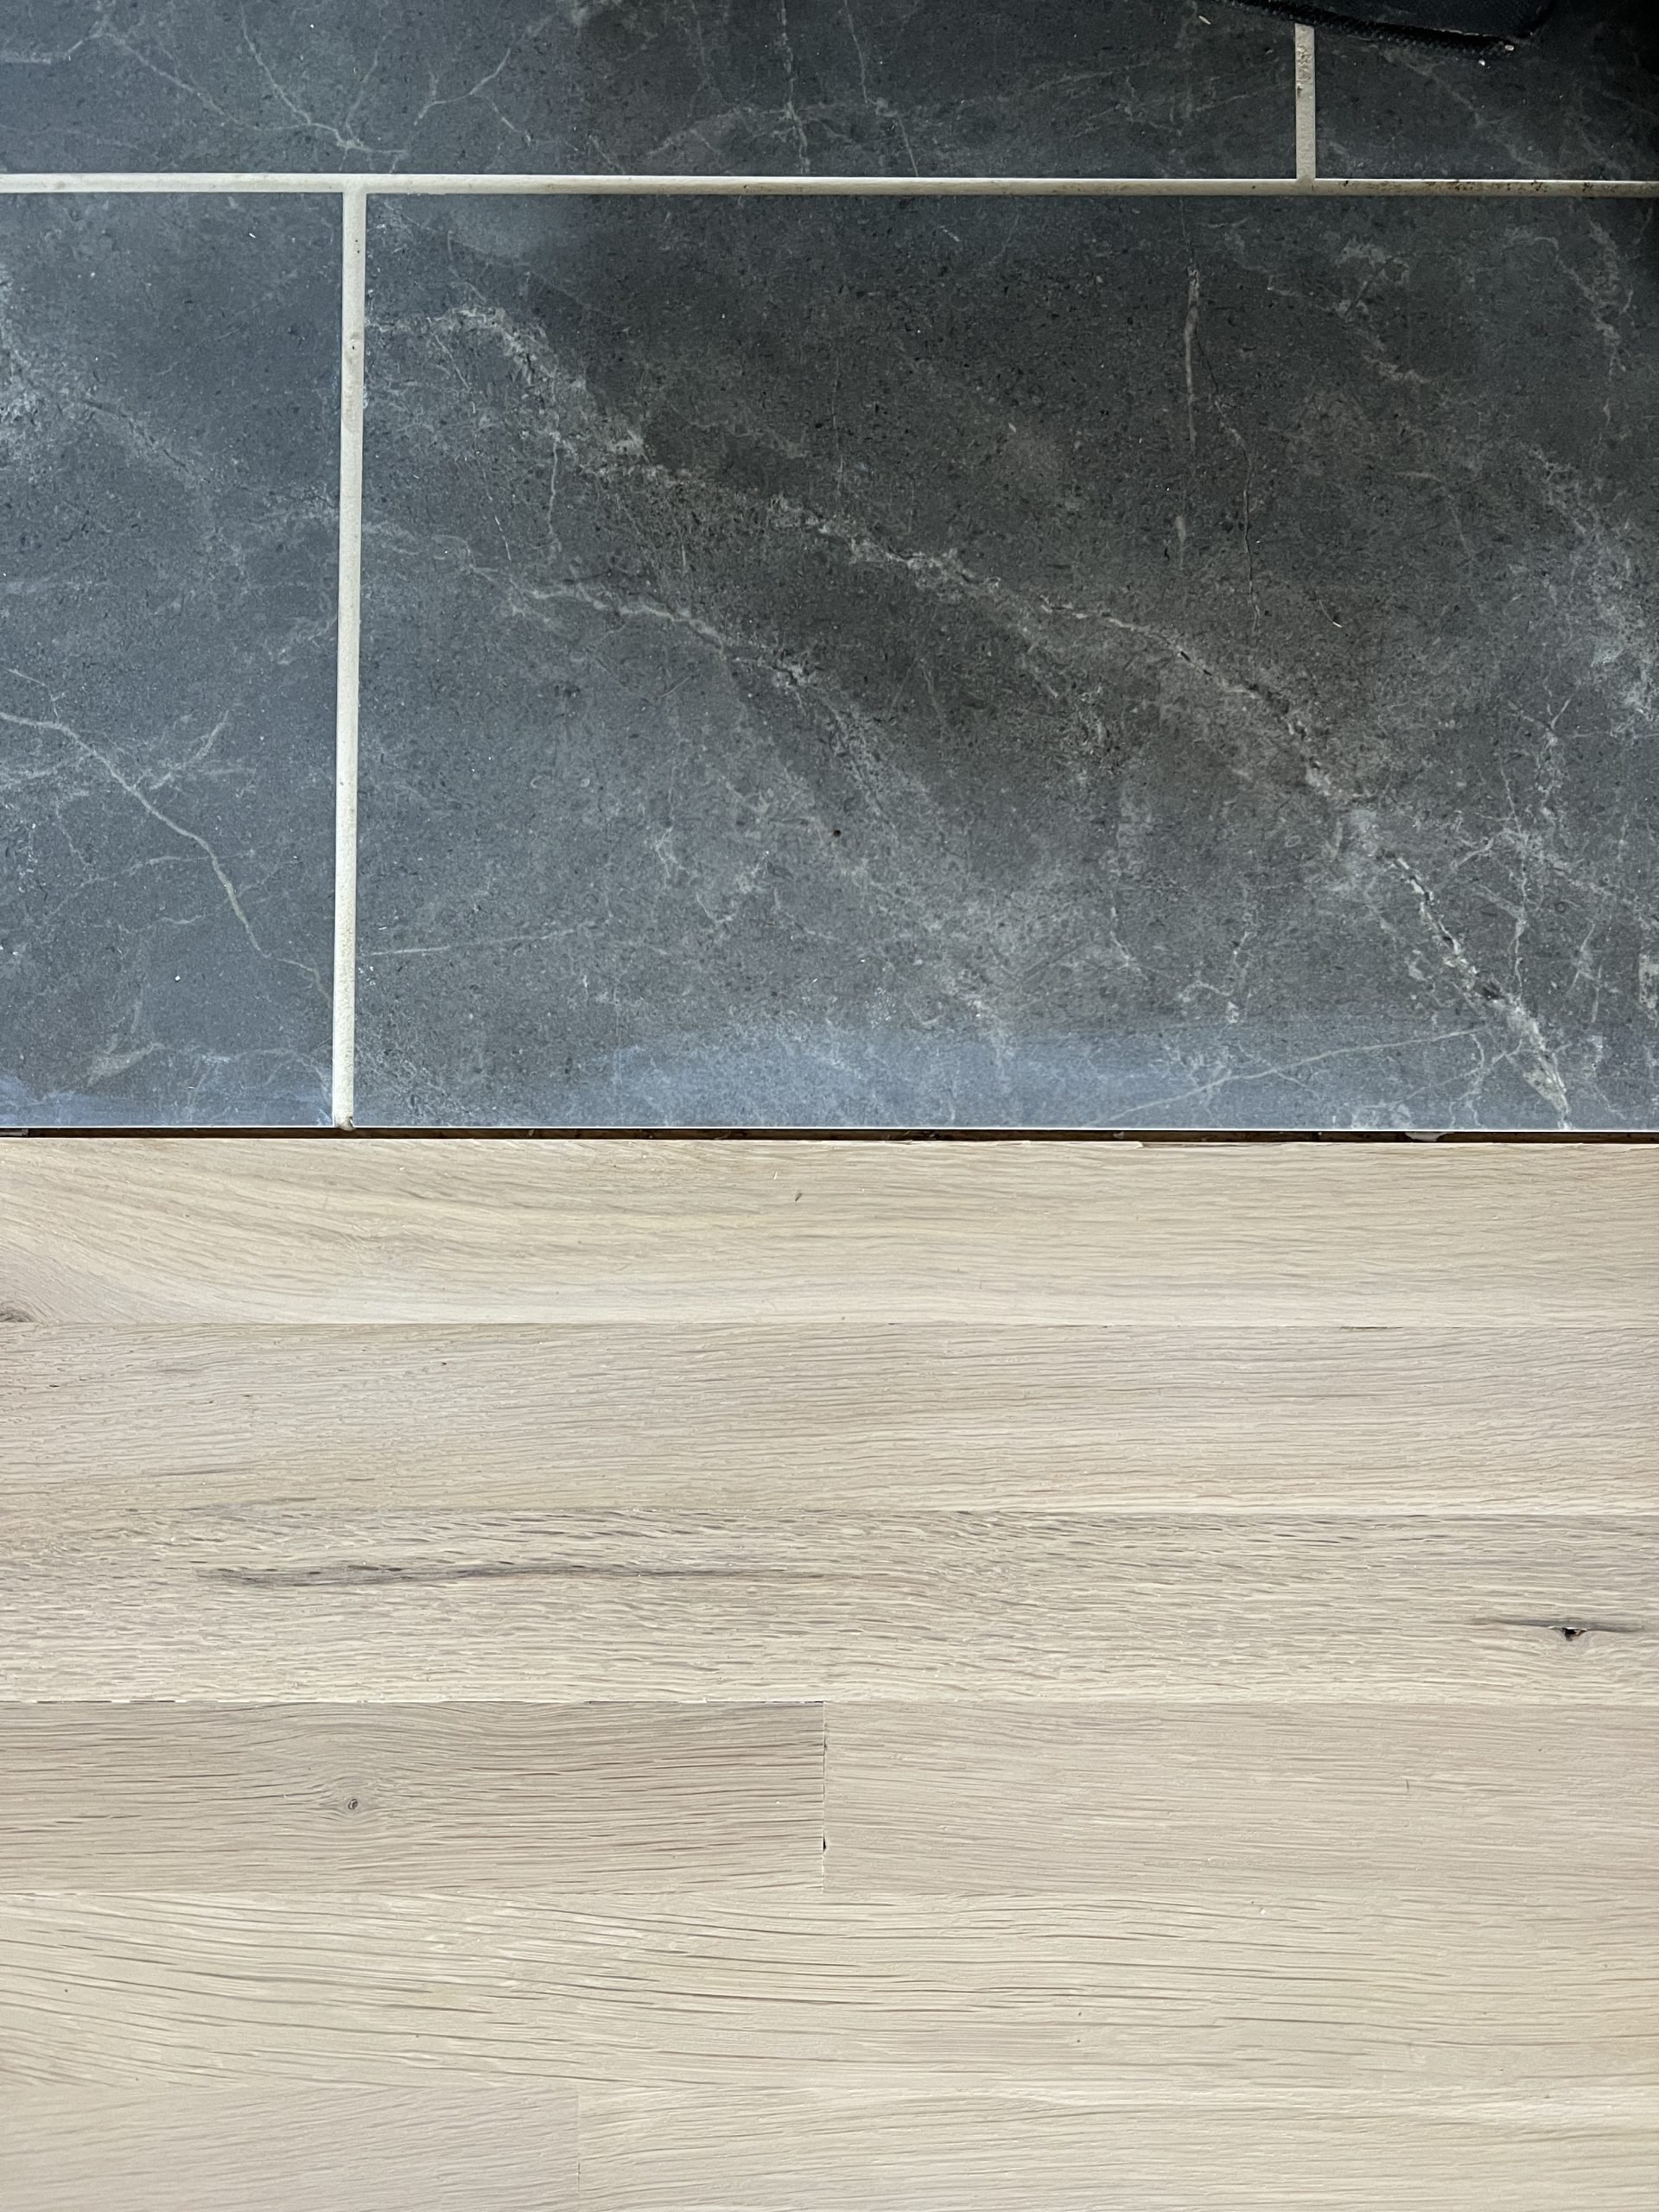
But, then came taking down the wall to create our new kitchen. We couldn't afford to completely rip up the entire bottom level floor and replace it, so we had to hunt down an affordable option of White Oak in the same width to tie in where the wall once was and the linoleum tied in.
We ended up finding an unfinished white oak for $8.75/sq ft taxes in that matched the width of what we currently had and were able to lay it ourselves and tie into the existing floors.
But there was a problem....
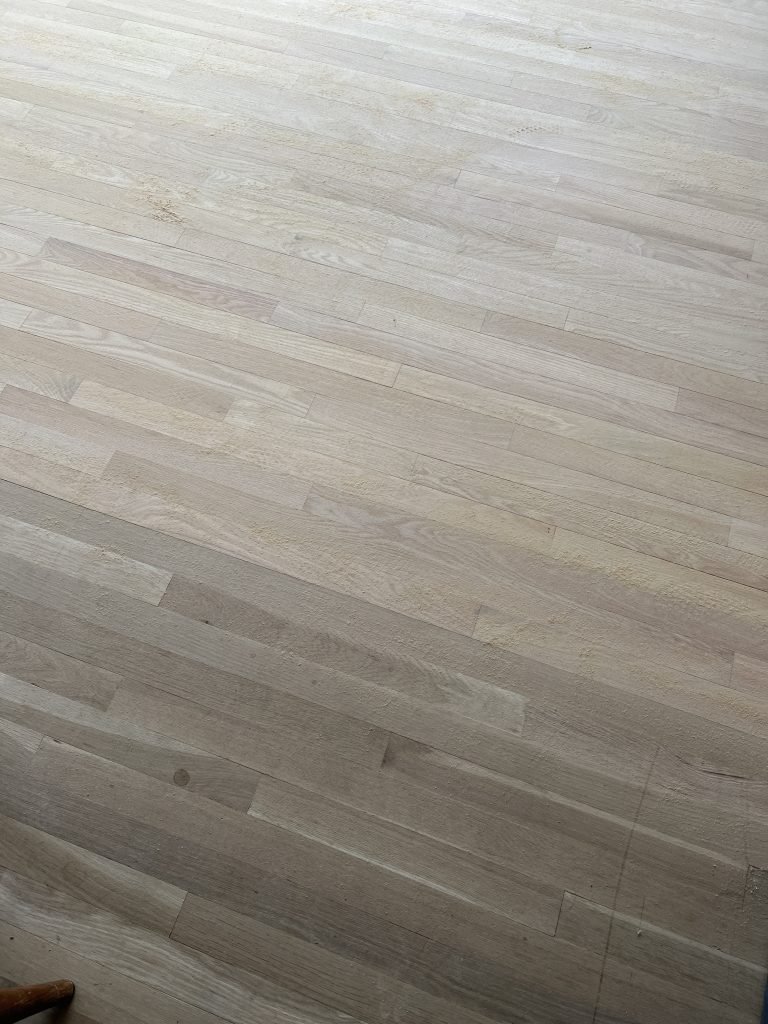
Even though the wood is of the same species, our new wood floor ended up being a lot more gray than the sun died yellow of the existing floors. So, we went on a mission to figure out how to finish both floors so they flow into each other without noticing the difference in the colours. This process took us months. We were really set on staining to be a beautiful warm wood like we know white oak to be when you see it in those new builds, but no stains were reading the same colour on the floors.
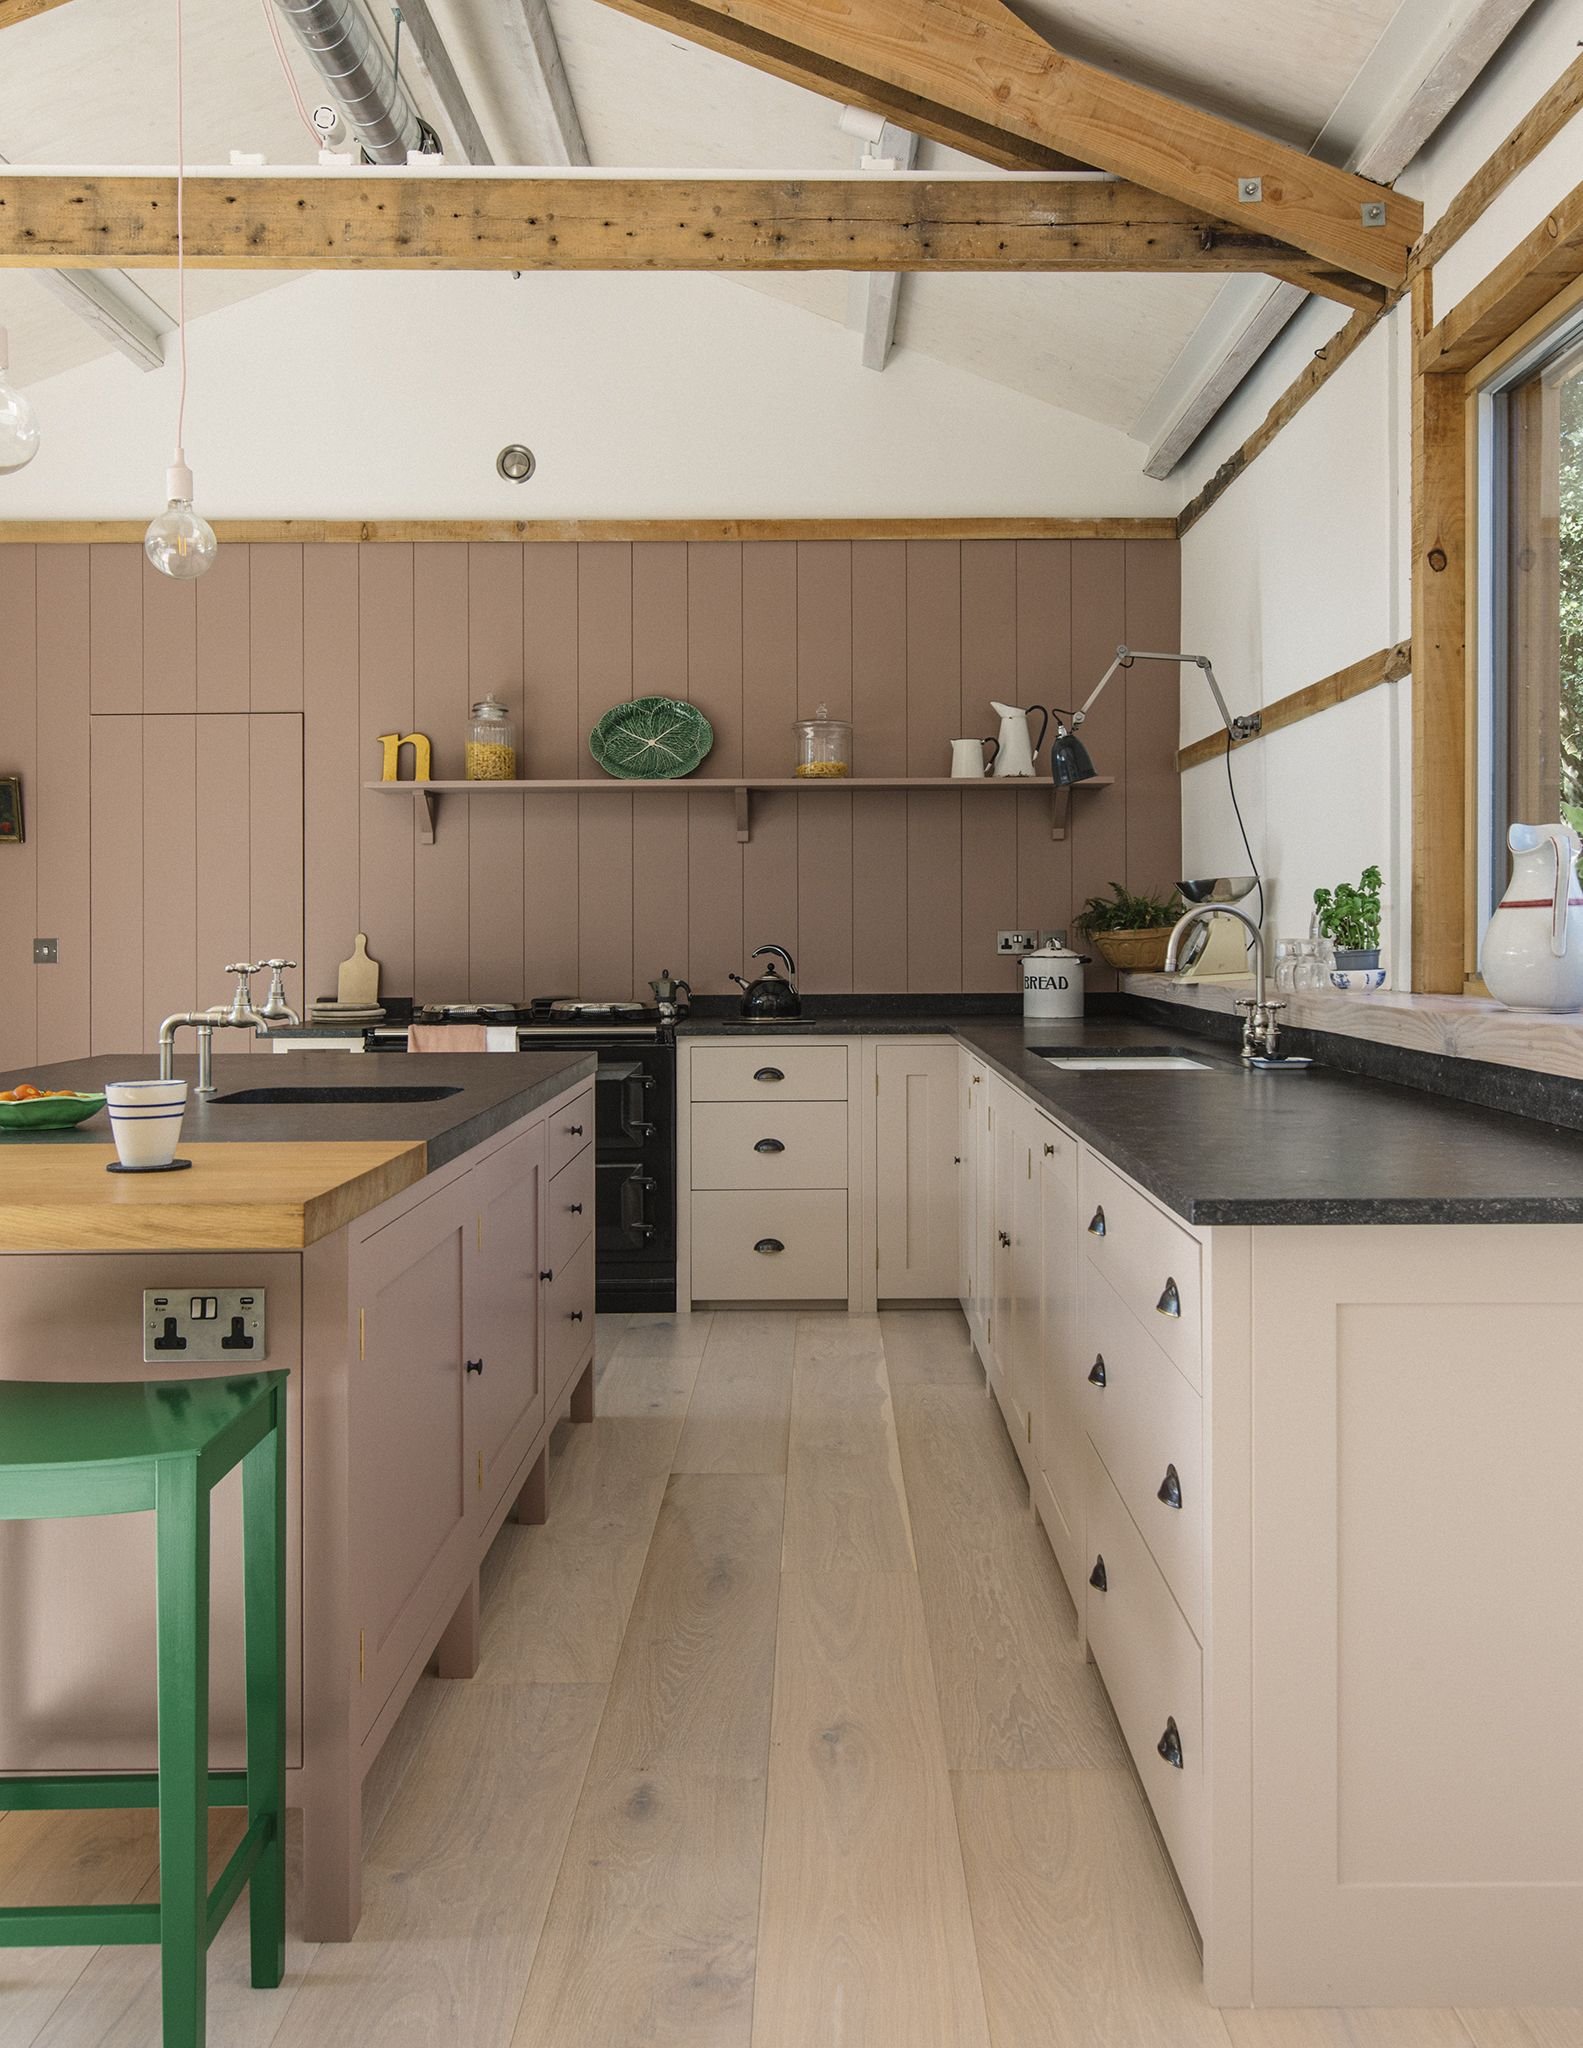
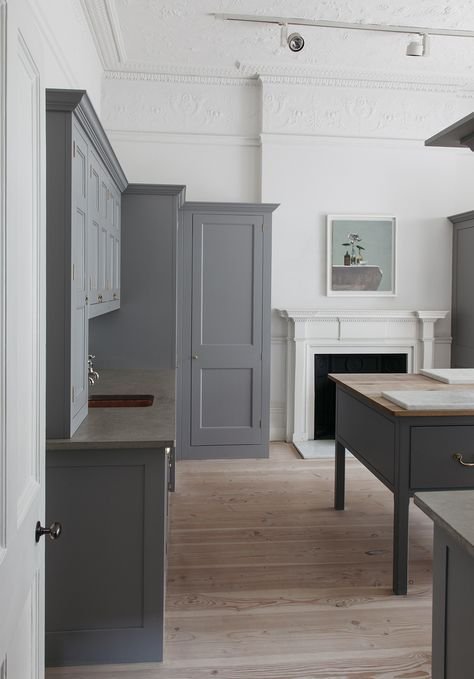
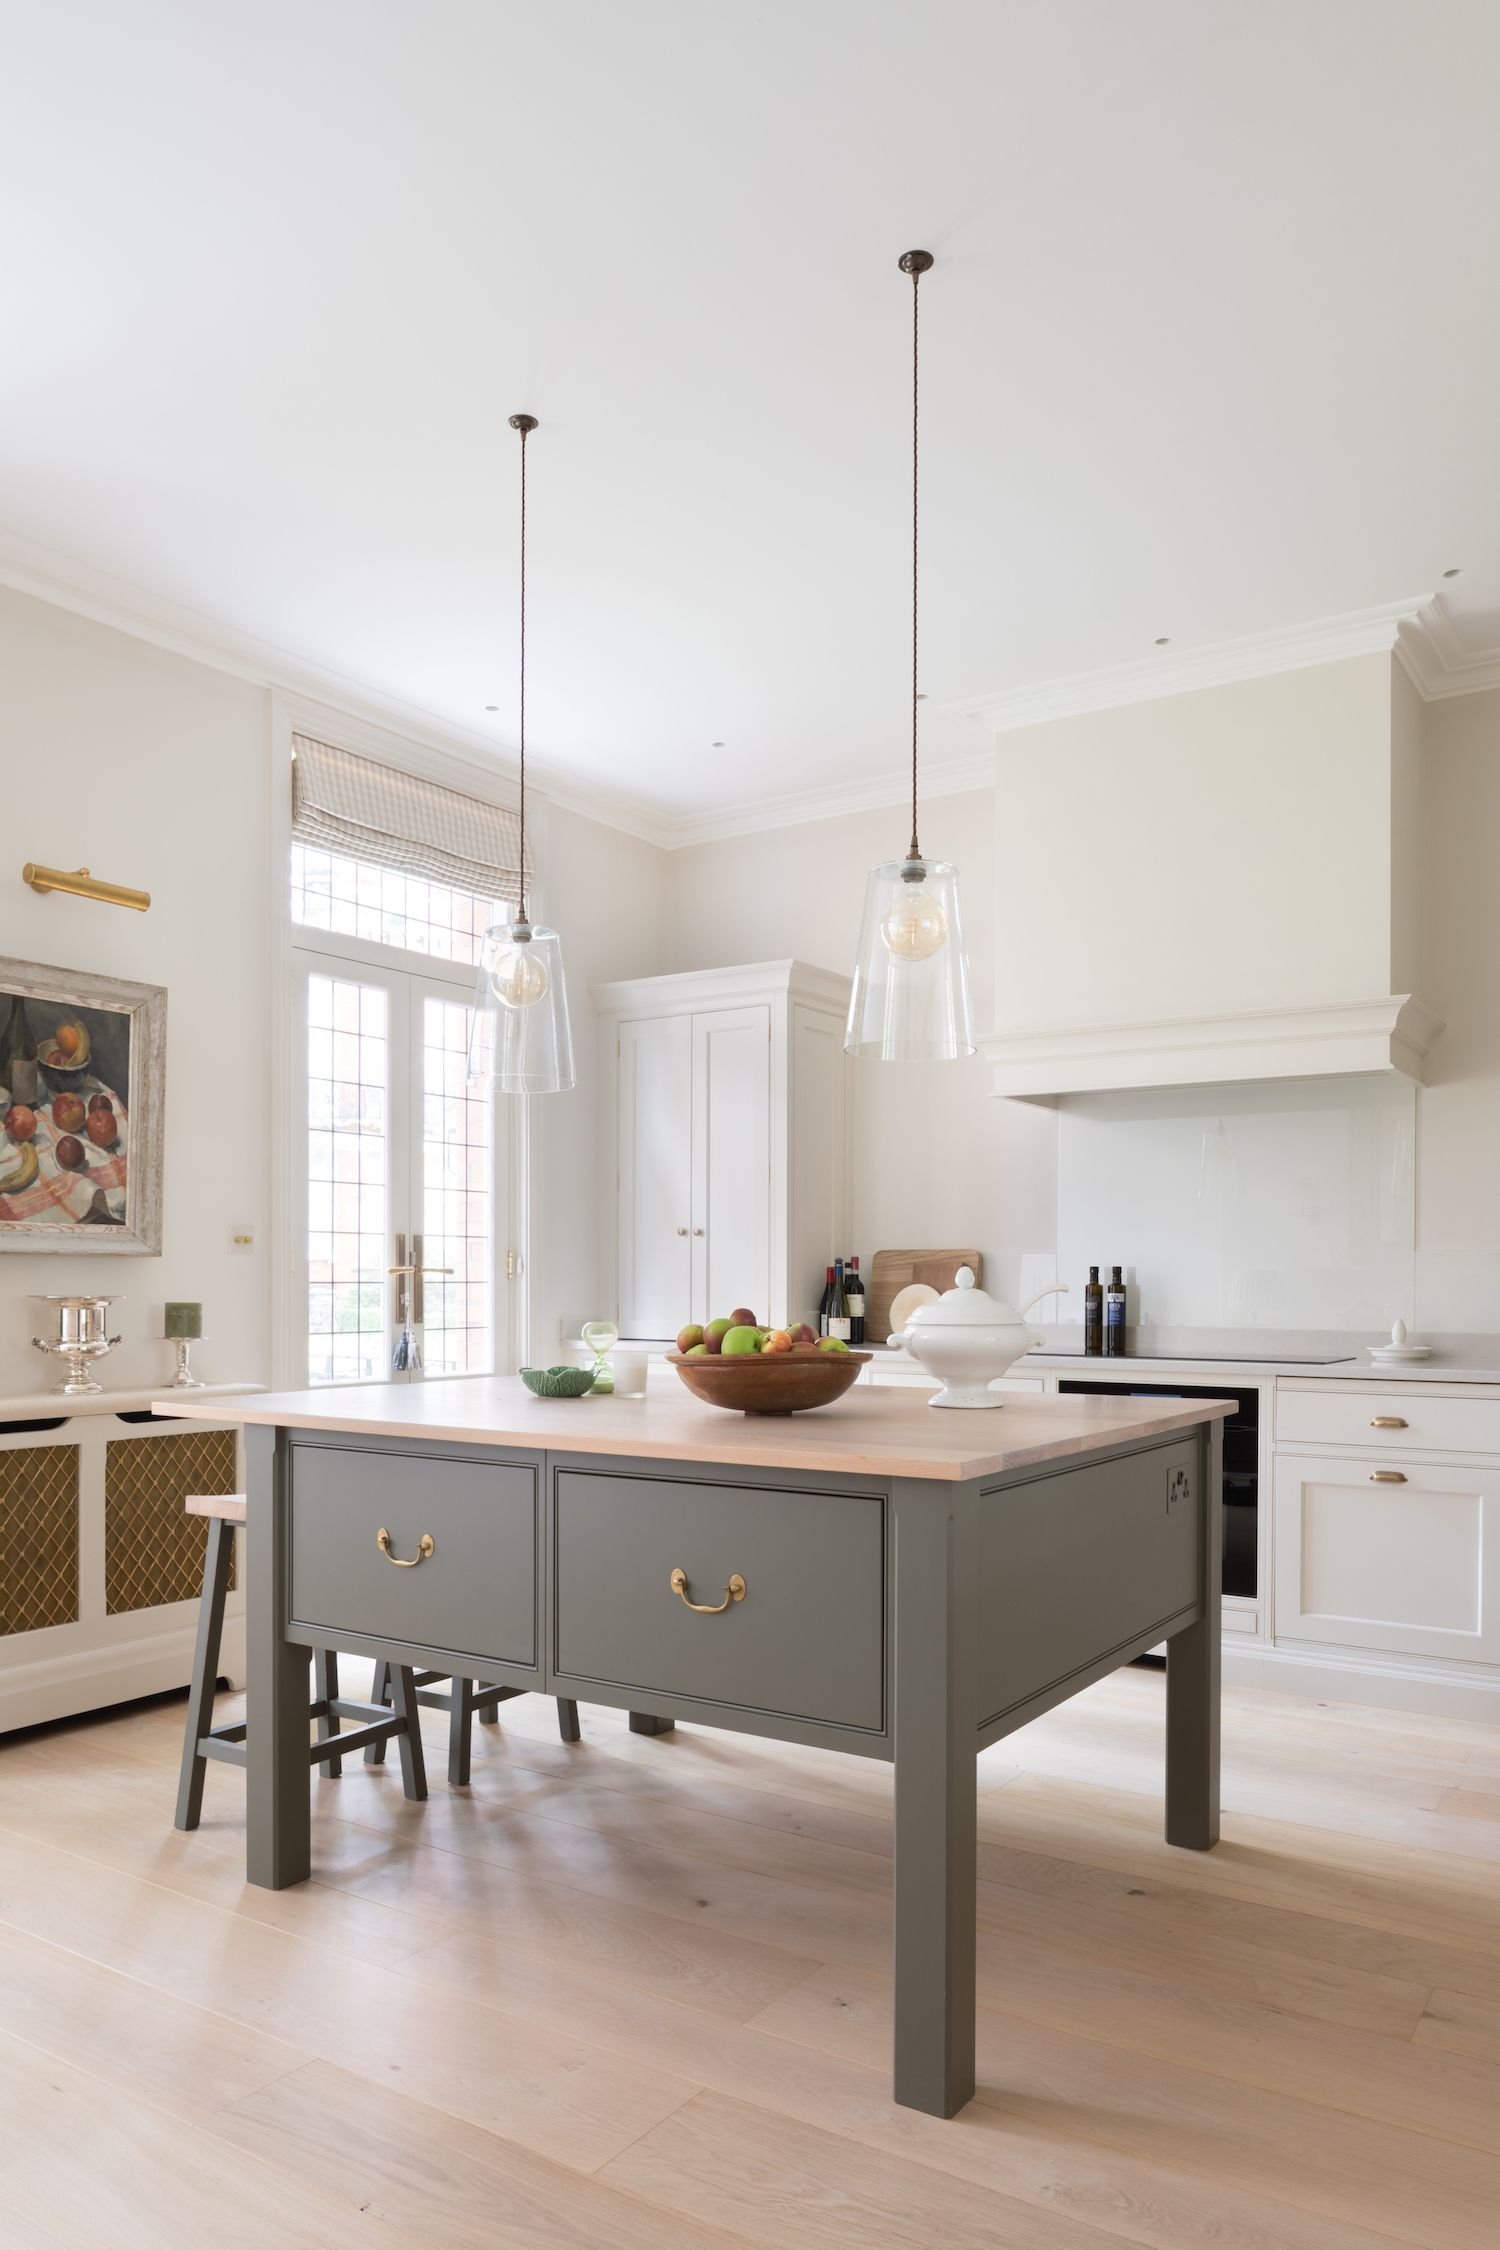
I then started looking at other homes I've always been inspired by. A lot of them had a very white washed vibe to the floors. I also love a painted white floor so it made us lean in to possibly white washing it with a paint and water solution or staining. Think nordic century homes.
INSPO:
We began to sand the floors. We are very fortunate that we can pull knowledge from someone who used to do floor refinishing in the area and he recommended that we utilize the drum sander with 40 grit to get all the stain and finish off the old floors. Then go over it with 60 grit to make sure its all off.
Once both floors were finishless, we rented the 4 disc orbital floor sander. We went 60, 80 and then 100 grit, using a pencil technique. The technique is that you draw squiggly lines with a pencil all over the floor in between changing your grits. You then sand down the floor until there is no more pencil marks. That's when you know you can switch to the next grit.
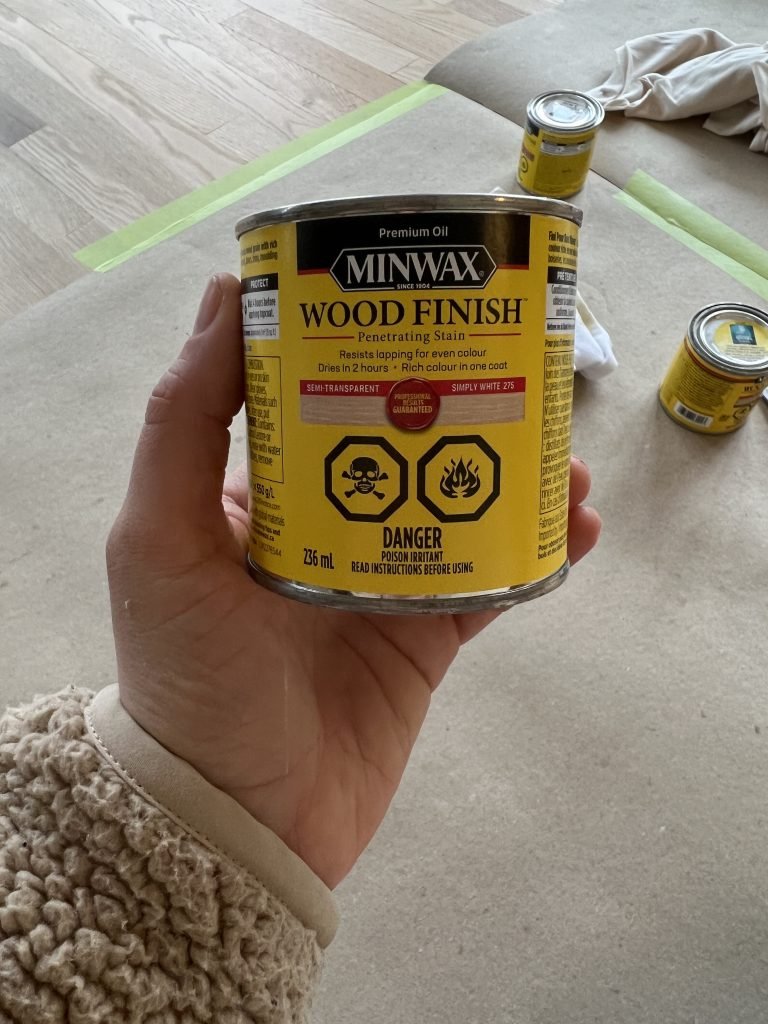
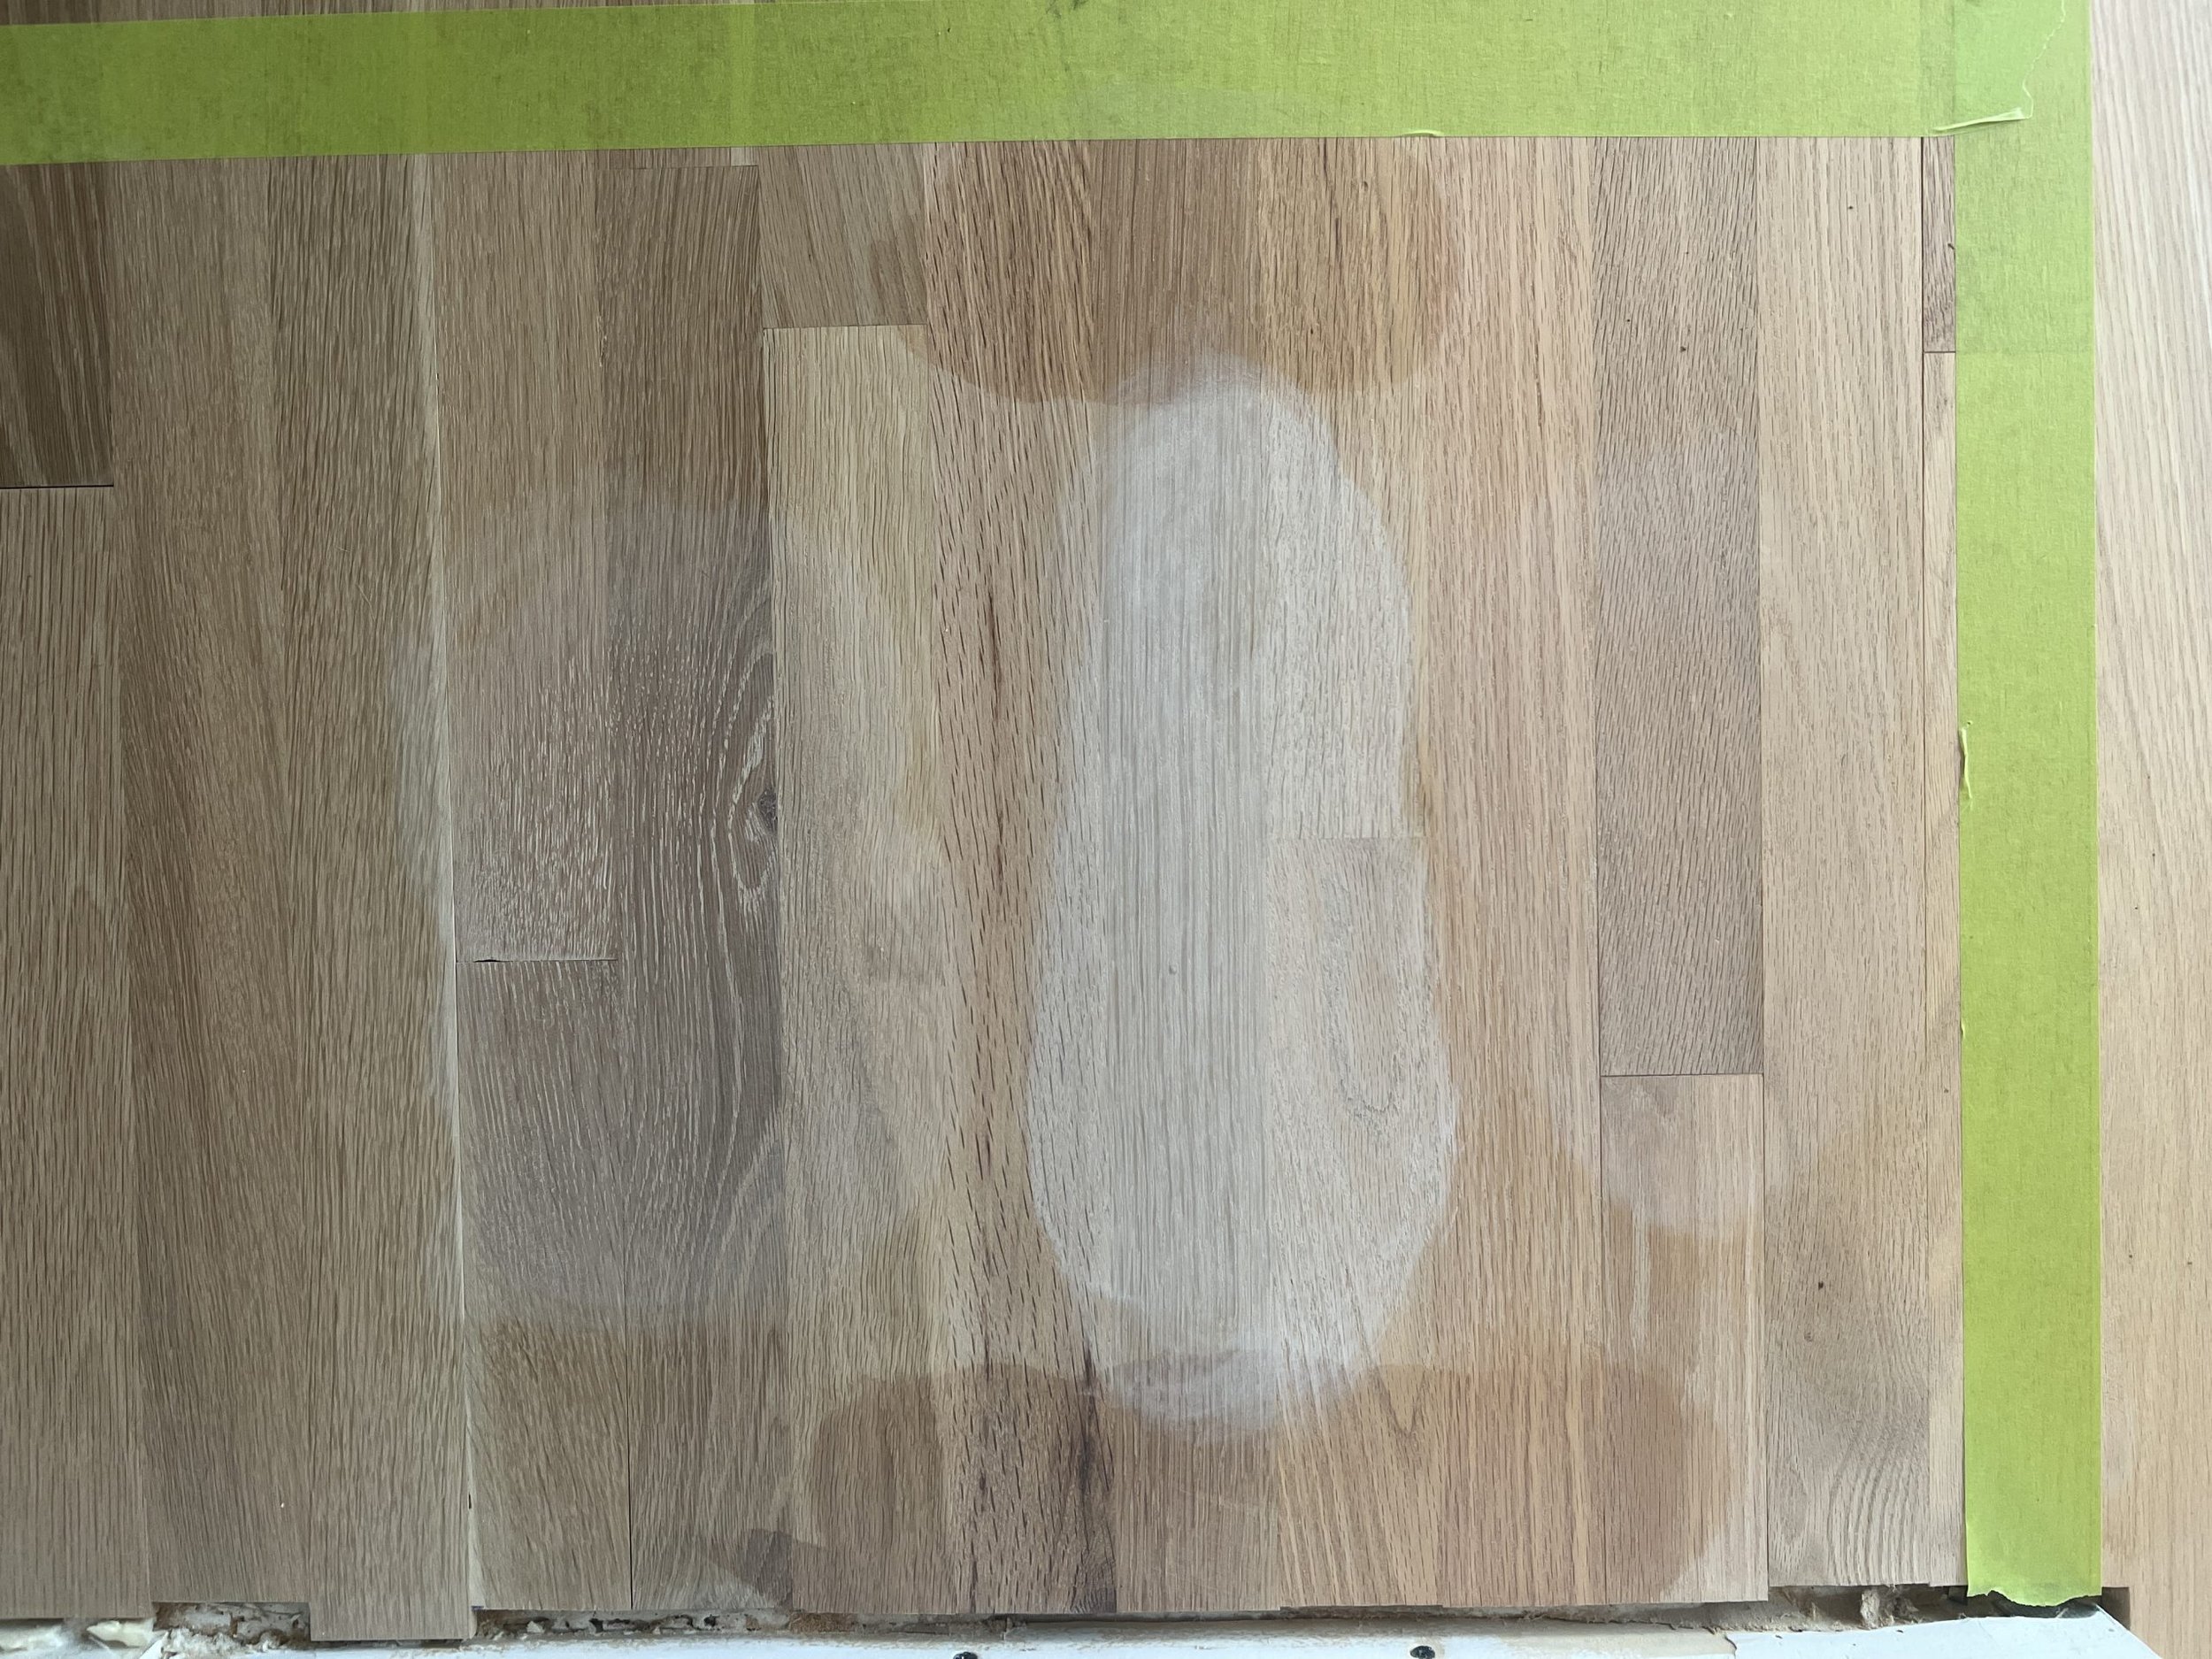
It was time to start testing out the stains on the part of the floor where the new and old meet. We used a white pickling, Simply white stain, and weathered oak. Simply white was exactly what we needed to blend the new and old and keep the floor from yellowing over time.
We washed the floor and then started applying the stain with a paint brush, letting it sit for a few minutes, and then going behind and wiping it off with a rag. This was a big process taking a few hours to do. There were probably easier methods on our body to do this but we really wanted to make sure there wasn't too much white stain on the wood. We really wanted the stain to enhance the colour of the wood but the grain to still show through.
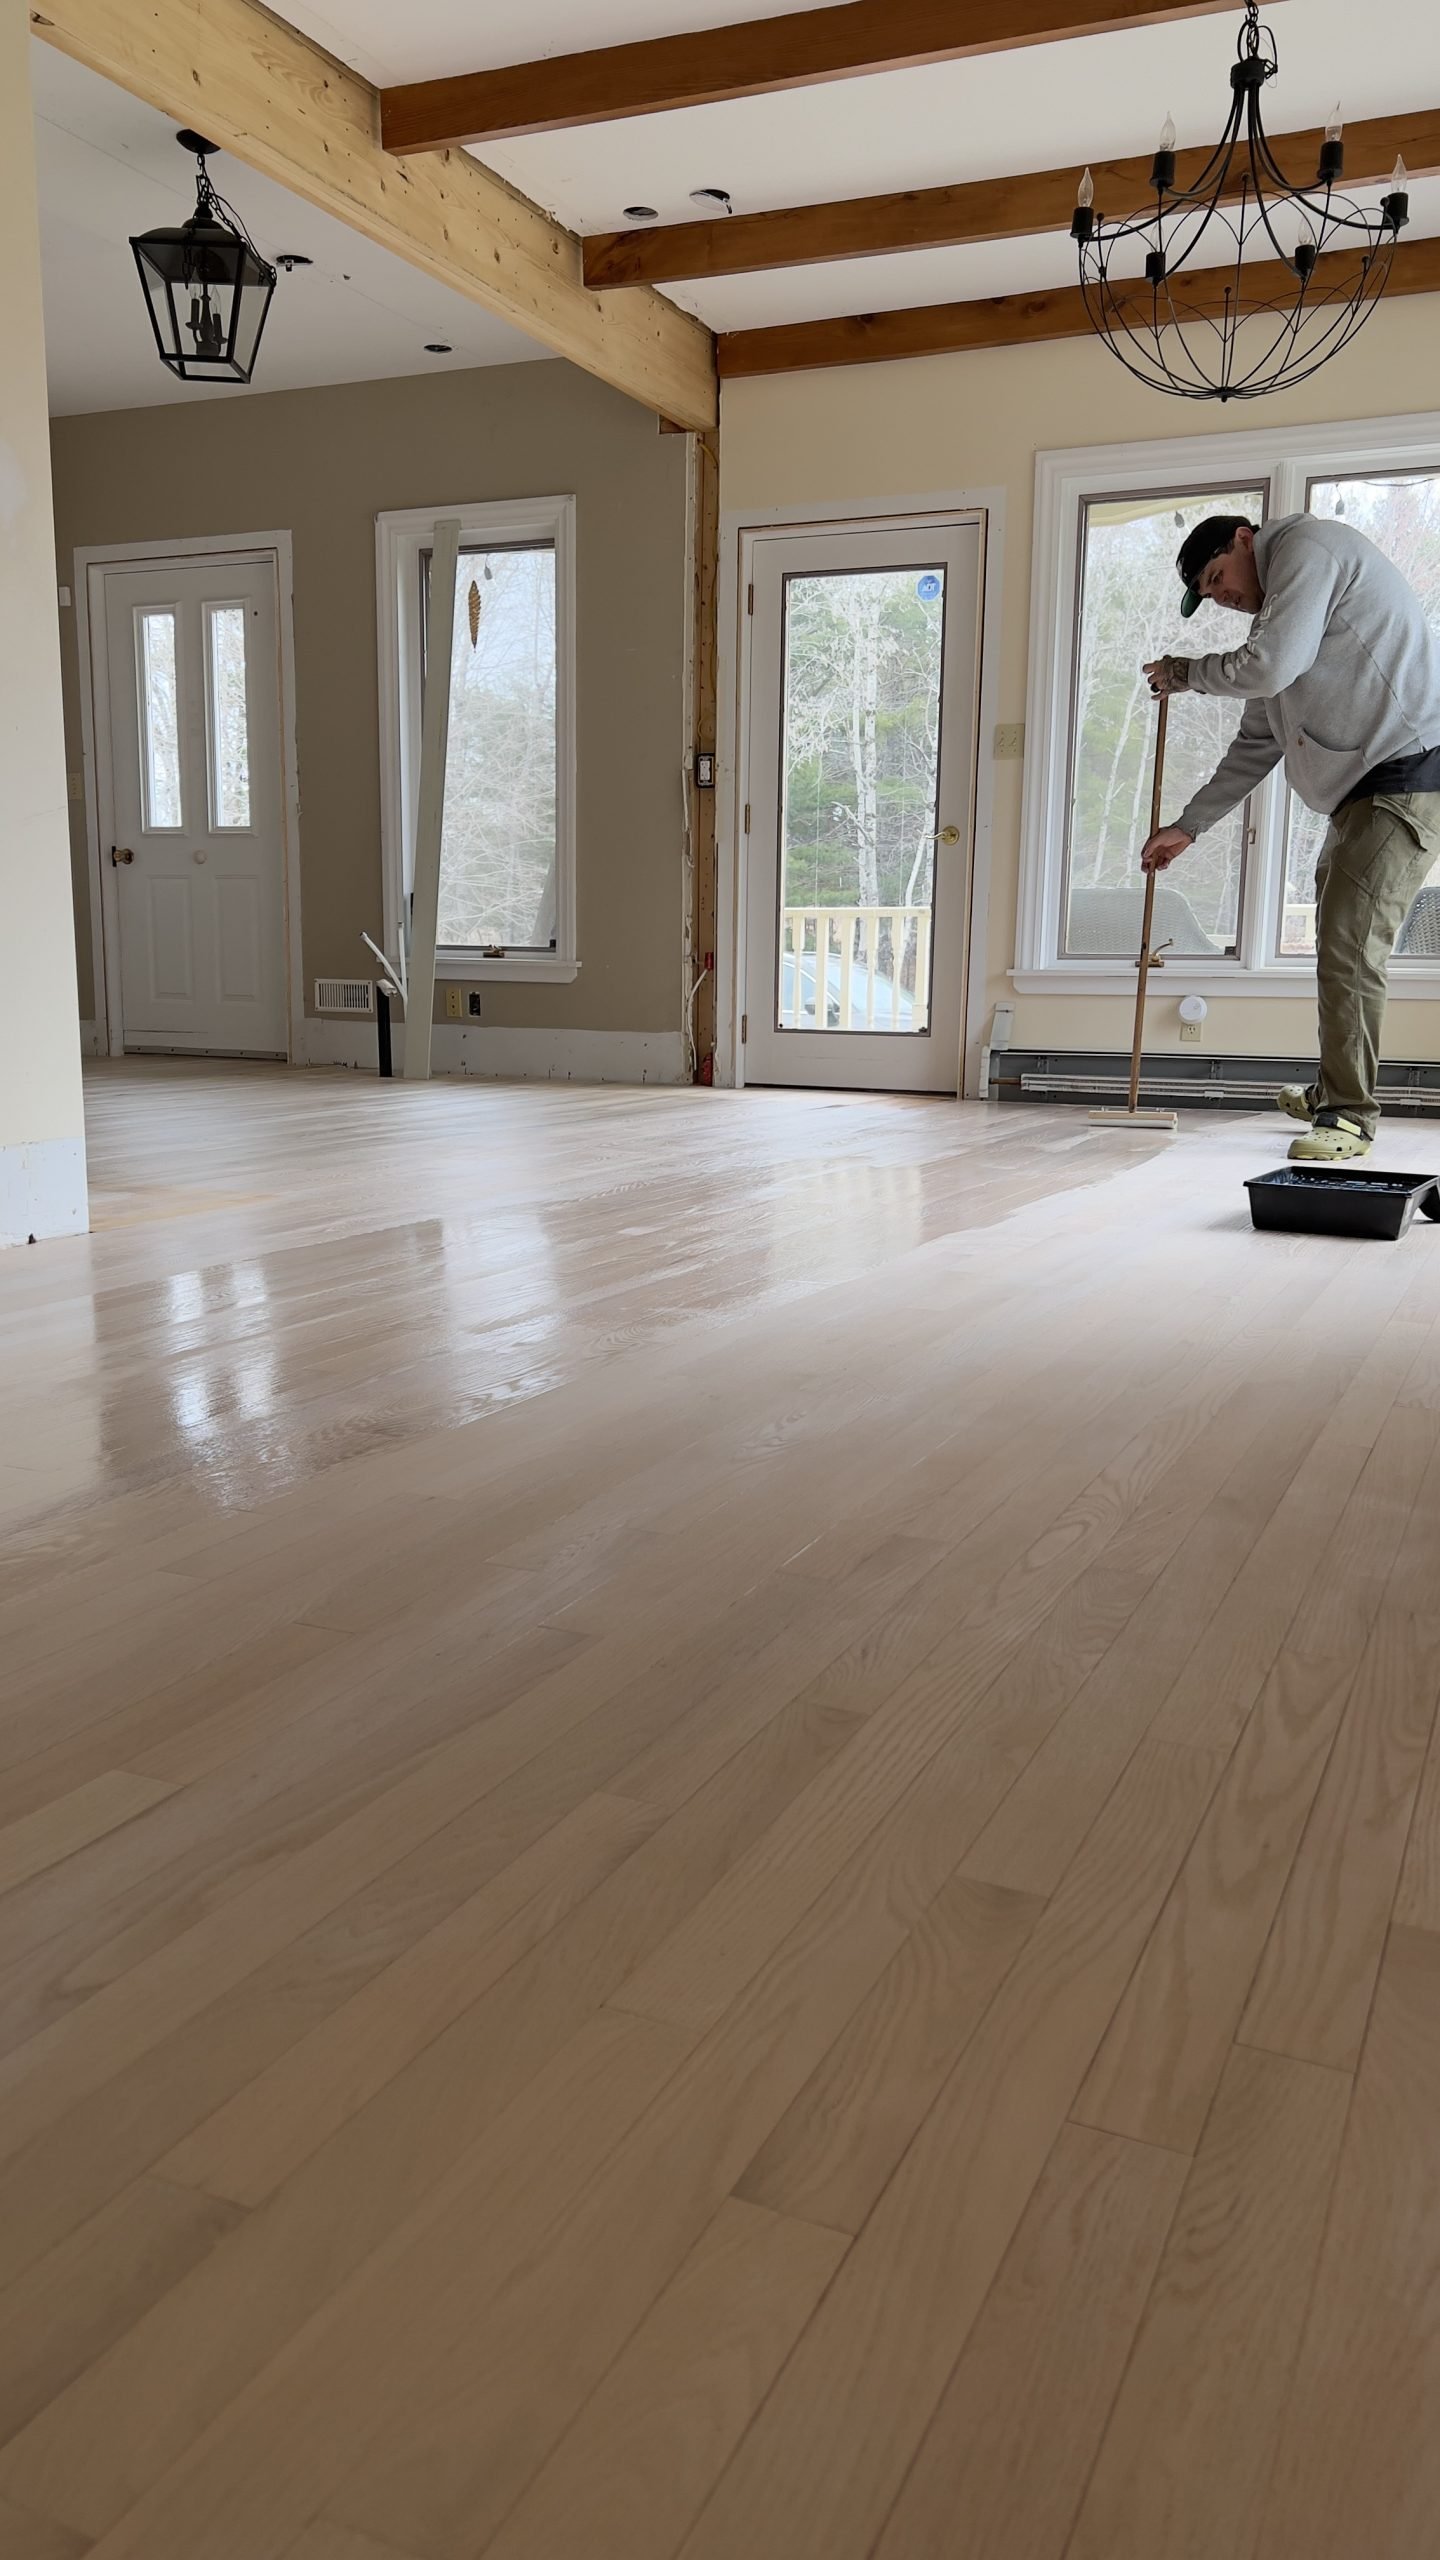
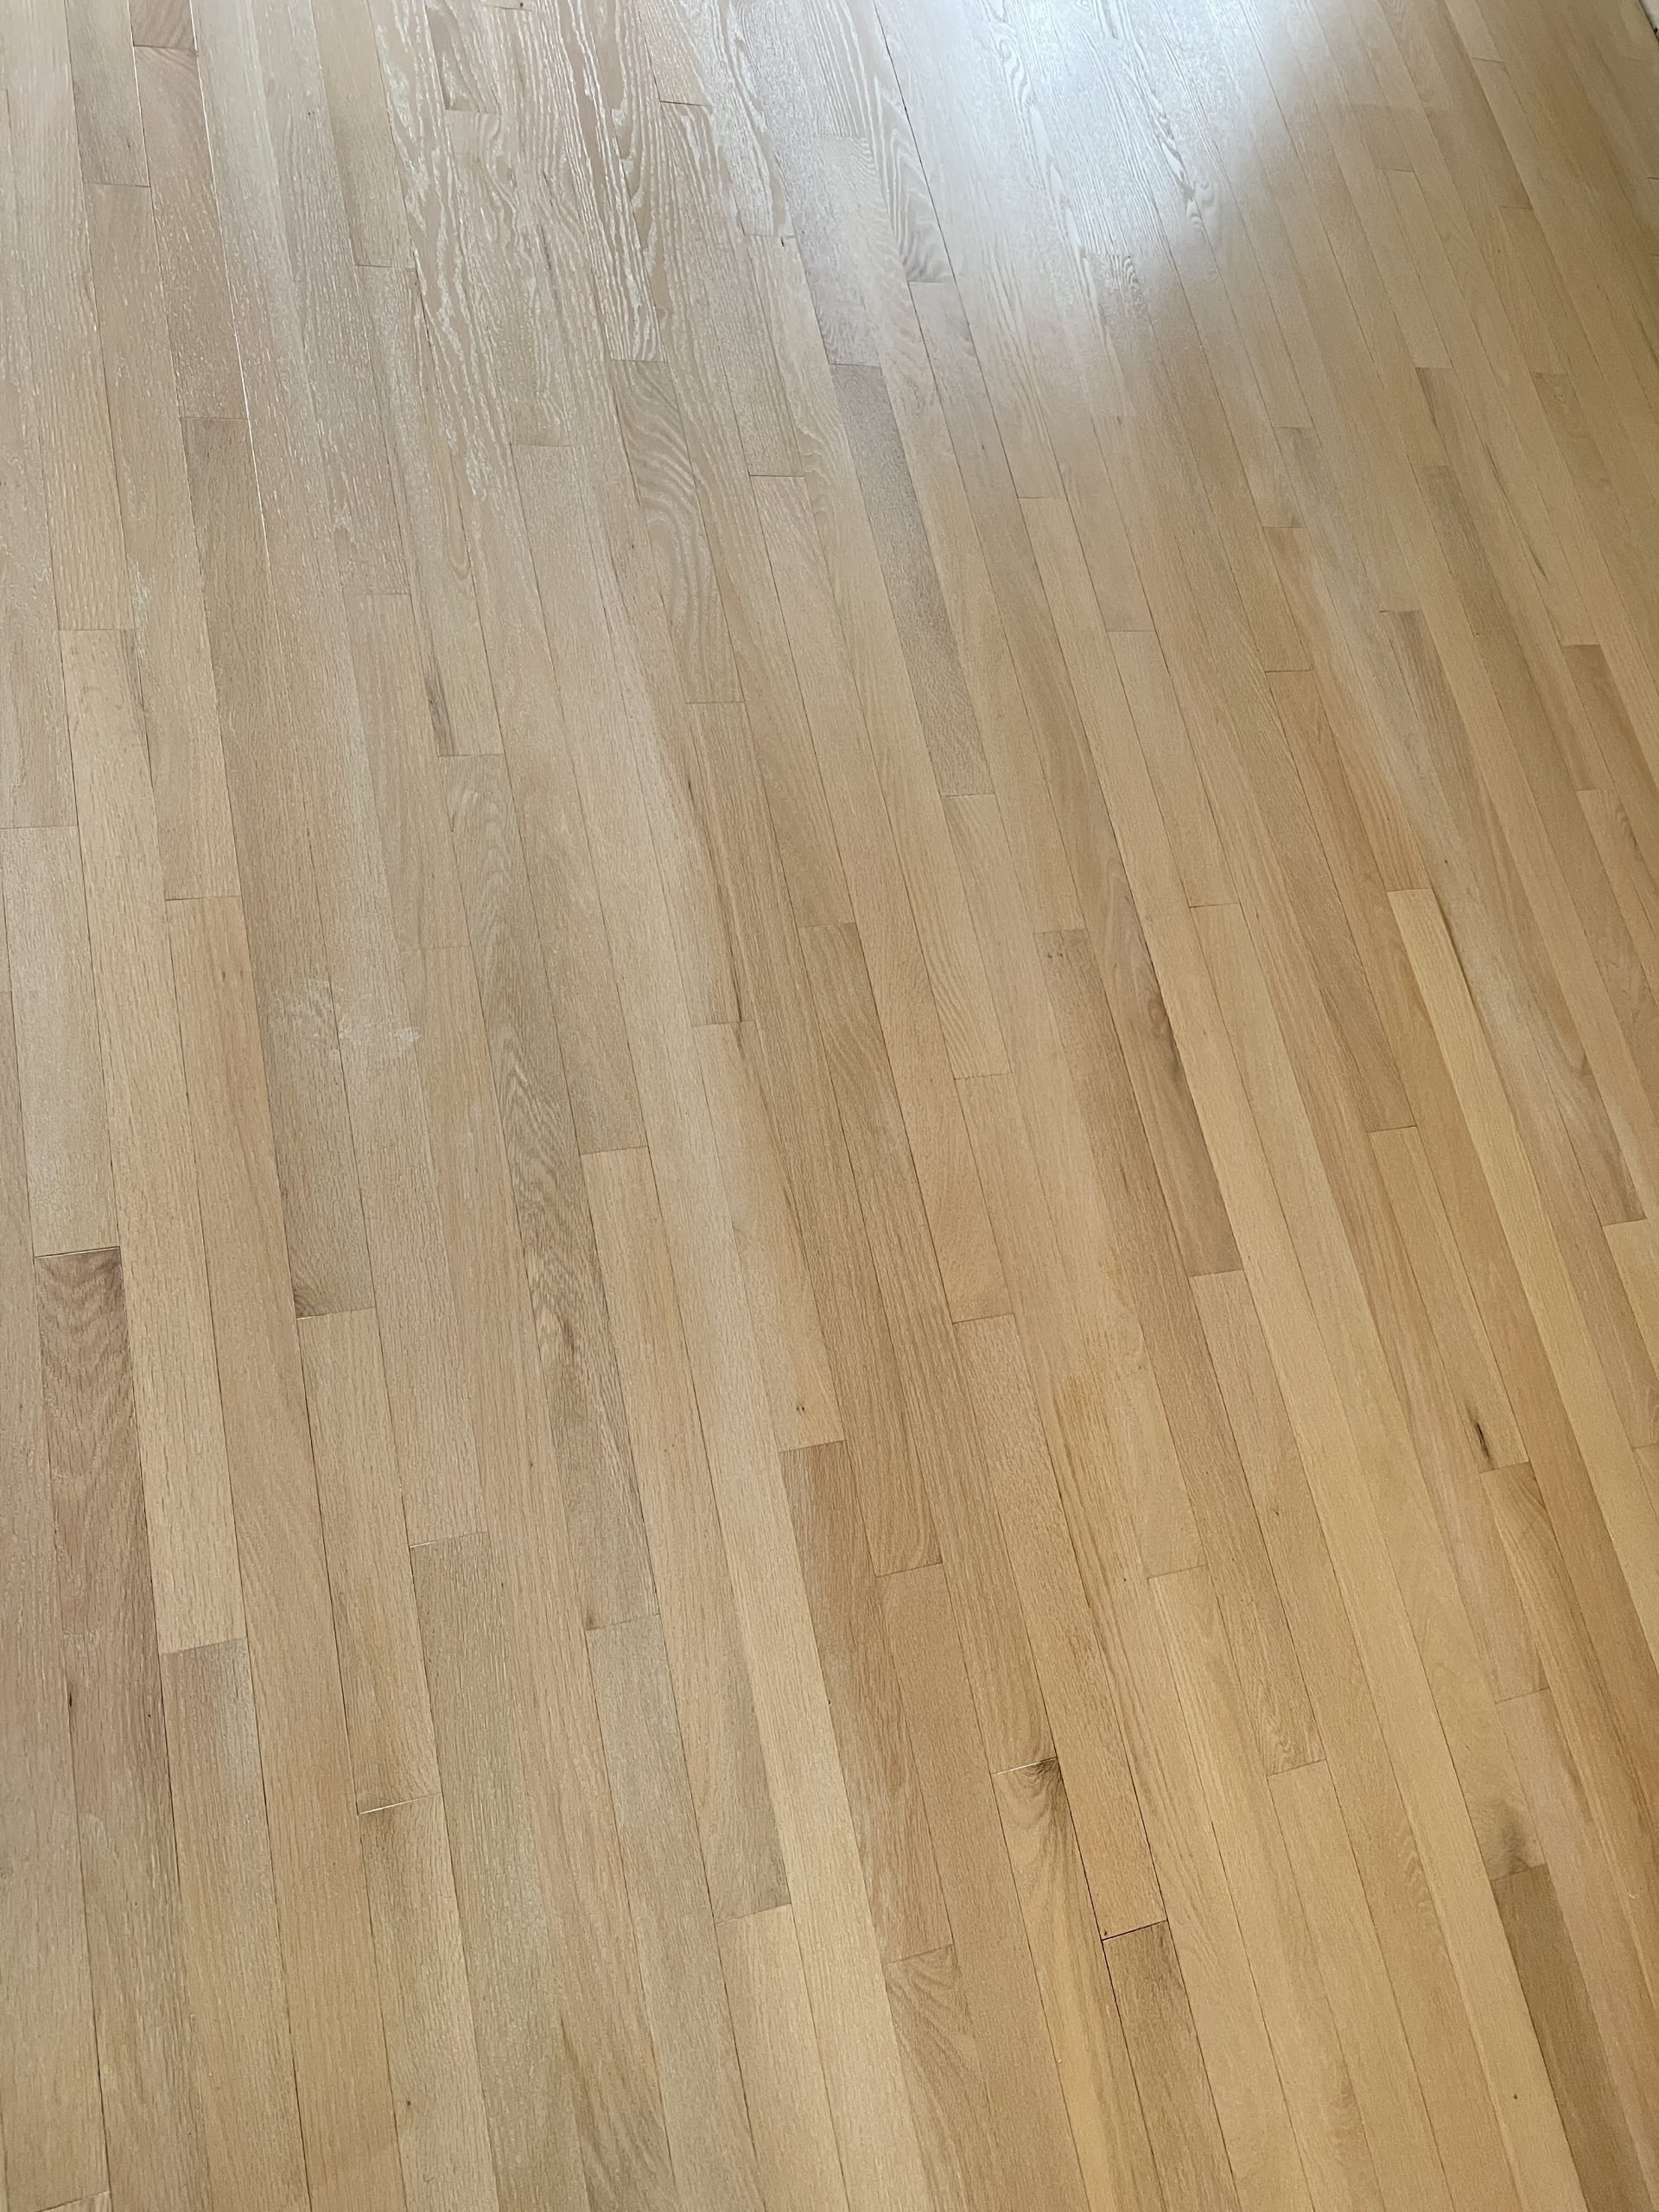
For a finish, we went with a waterborne finish by Verathane called Diamond Wood Finish for floors in Satin. We had used a similar product in our last home but weren't impressed with the durability. This product came heavily recommended to us by multiple people in the industry with decades of flooring experience. And, after apply 4 coats, the floor feels rock solid.
We are so impressed with how it turned out that we are eager to finish this level by doing the living room sooner than planned. What do you think?
