How We DIYed Faux beams in our kitchen Alcove
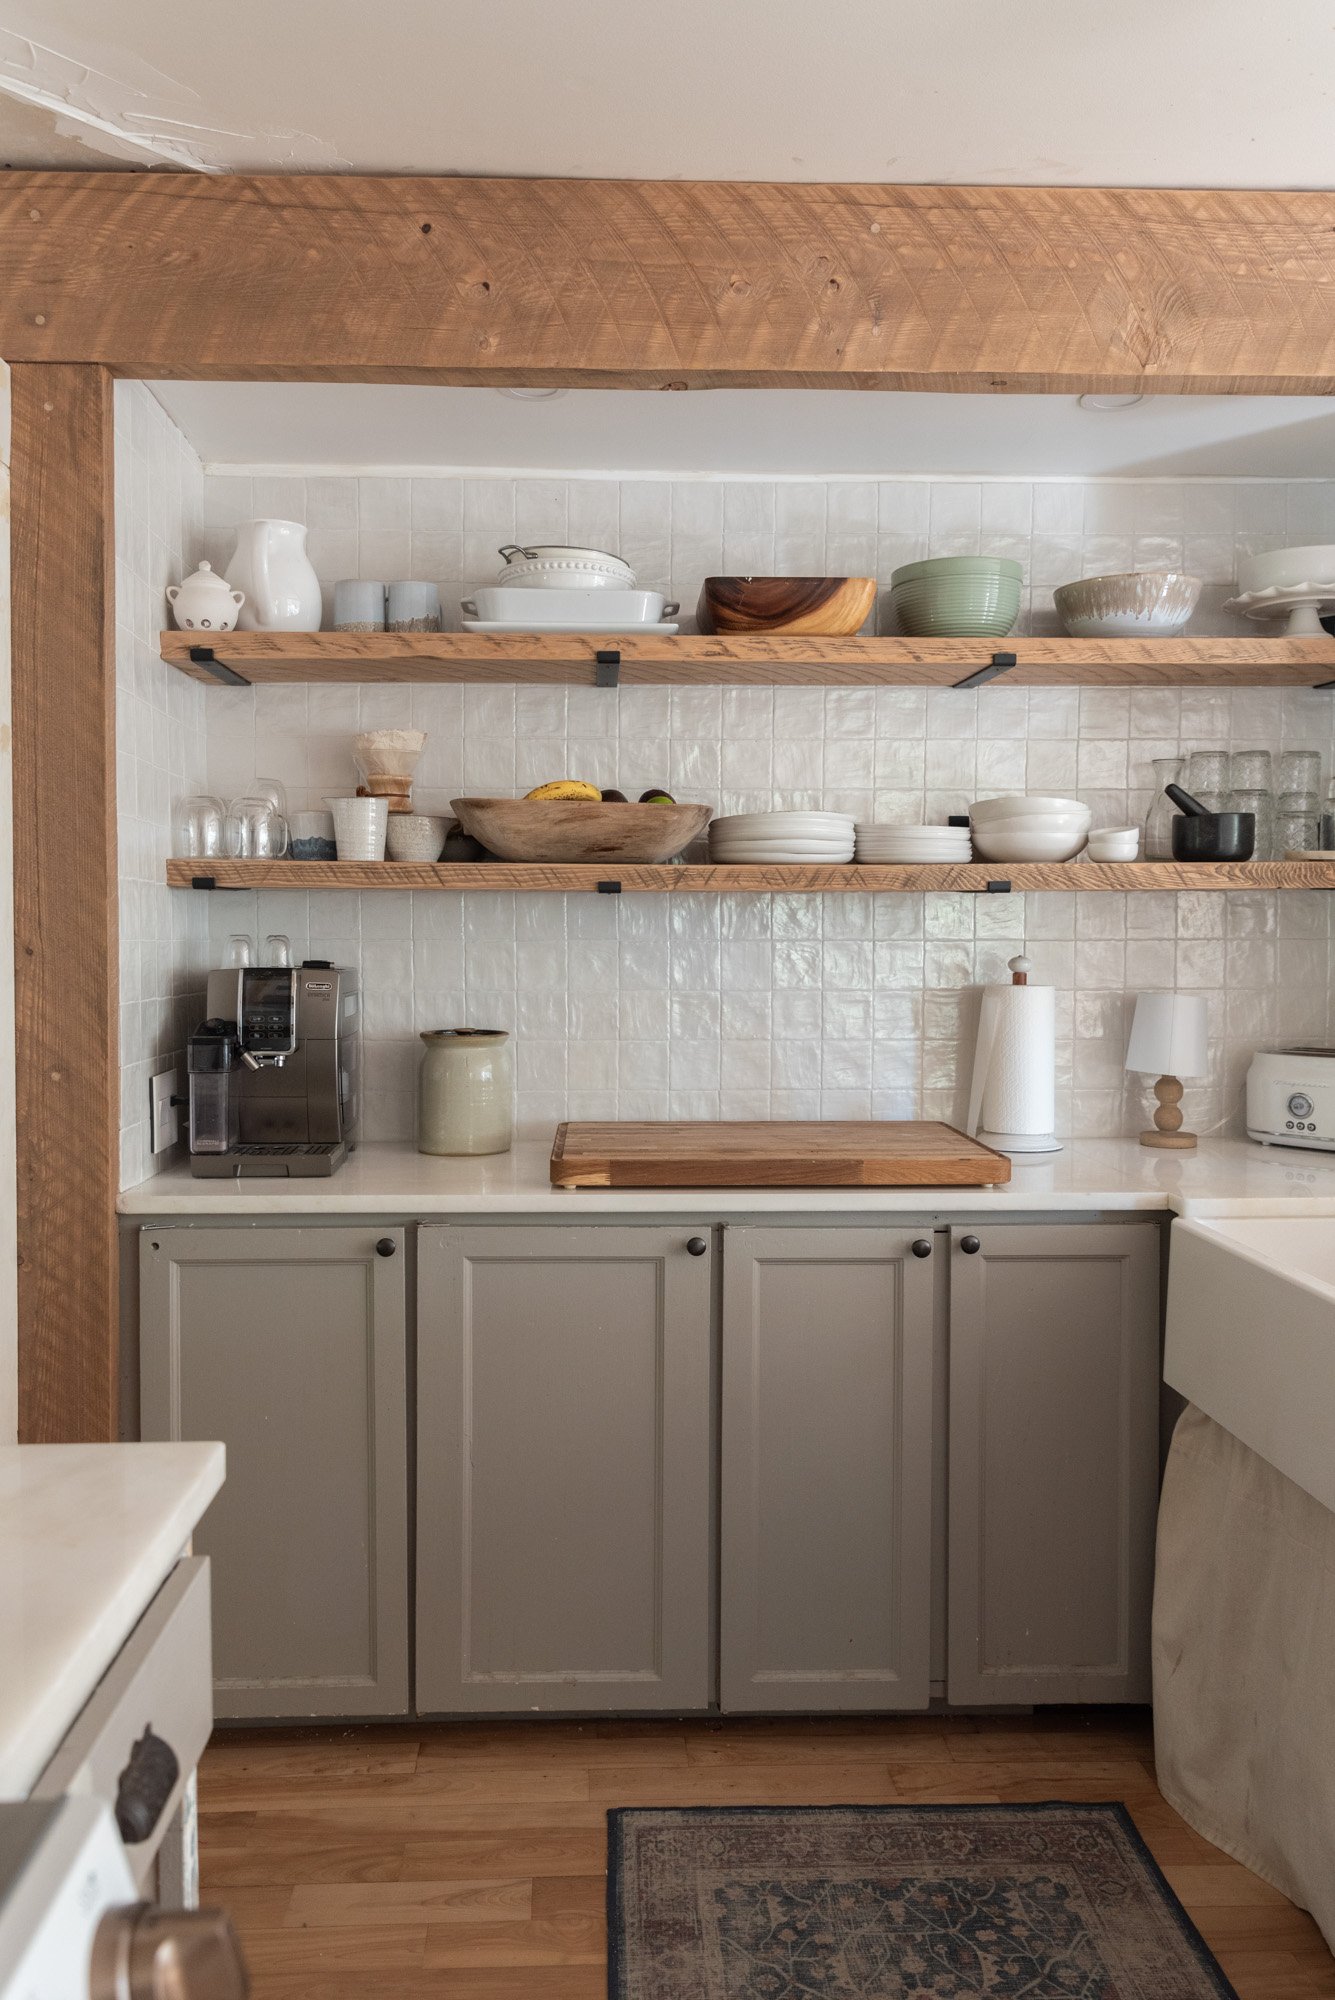
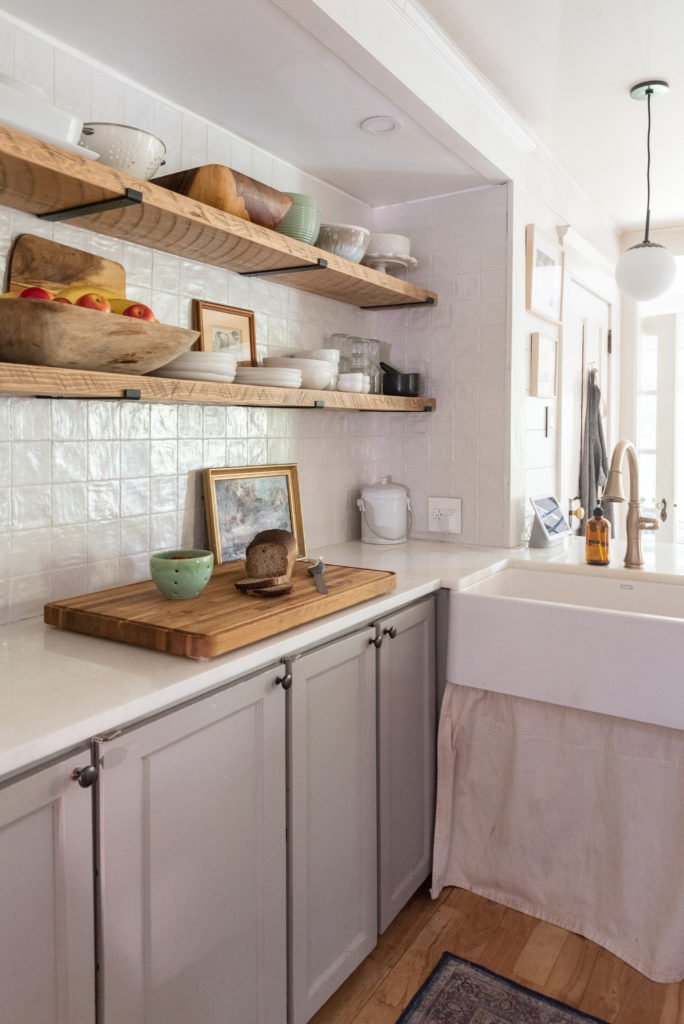
If youve been folloing our kitchen 2021 refresh, you probably know by now that this has been planned up for over 3 years. 3 years of living in the space and trying to figure out what would bring us joy without costing the $15K-$20K it would have to gut the kitchen and truly make it the way I dream of. The alcove area of the kitchen was never my favorite. I'm not a fan of adding any bulk above the countertop. That includes upper cabinets. So, I needed to find a way to spark joy in the surrounding area of the alcove that truly makes it the shape that it is.
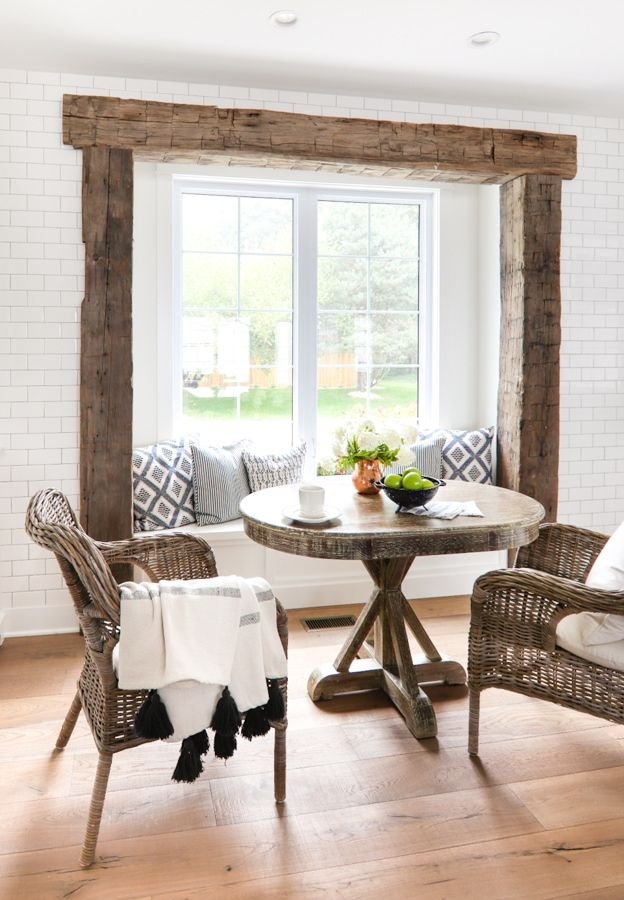
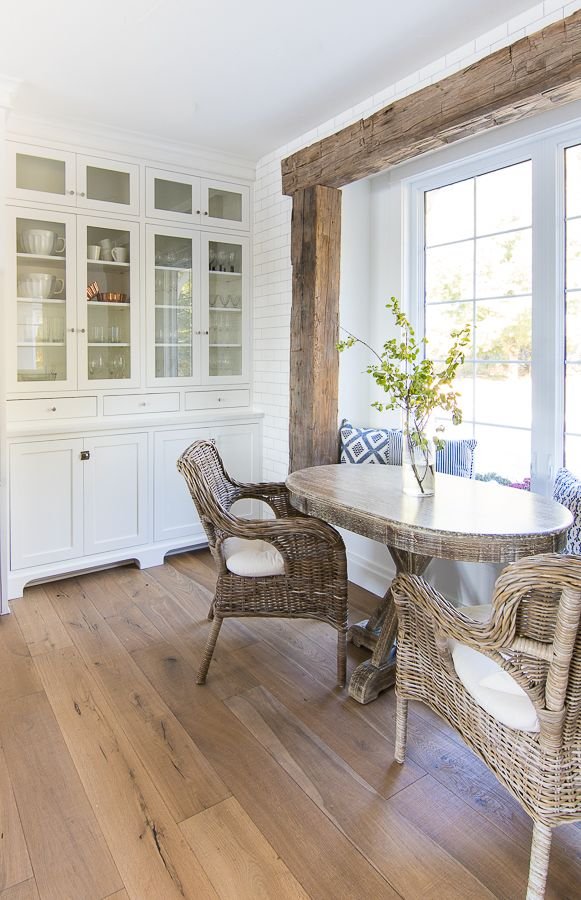
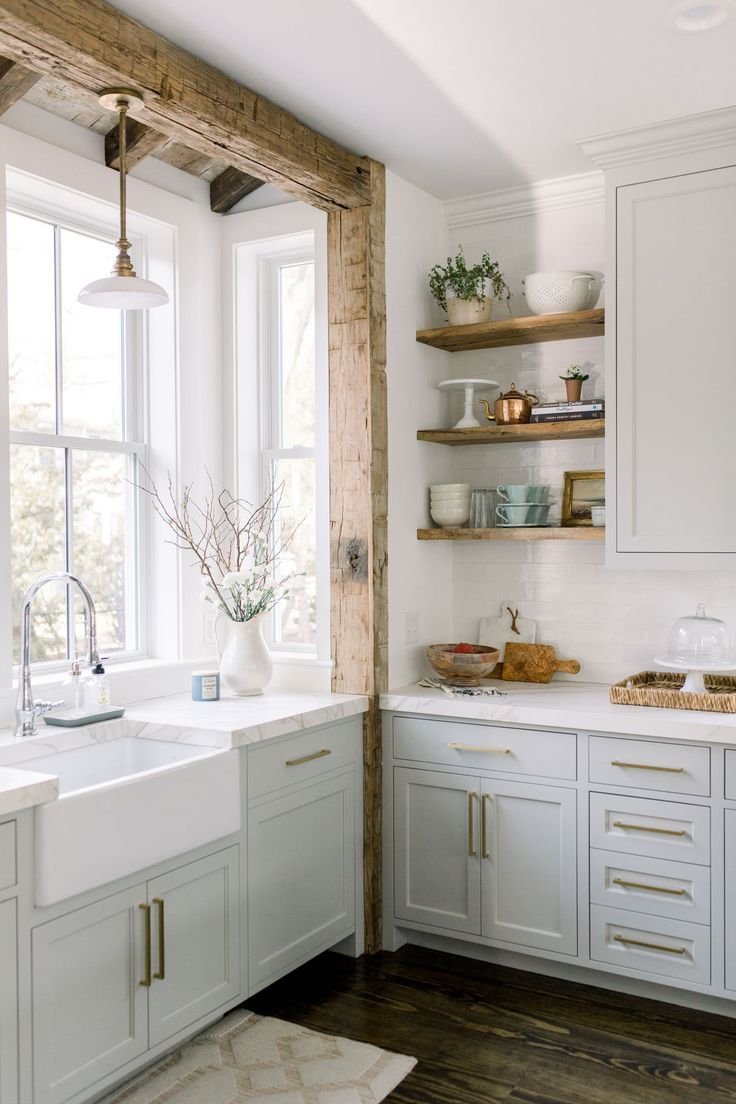
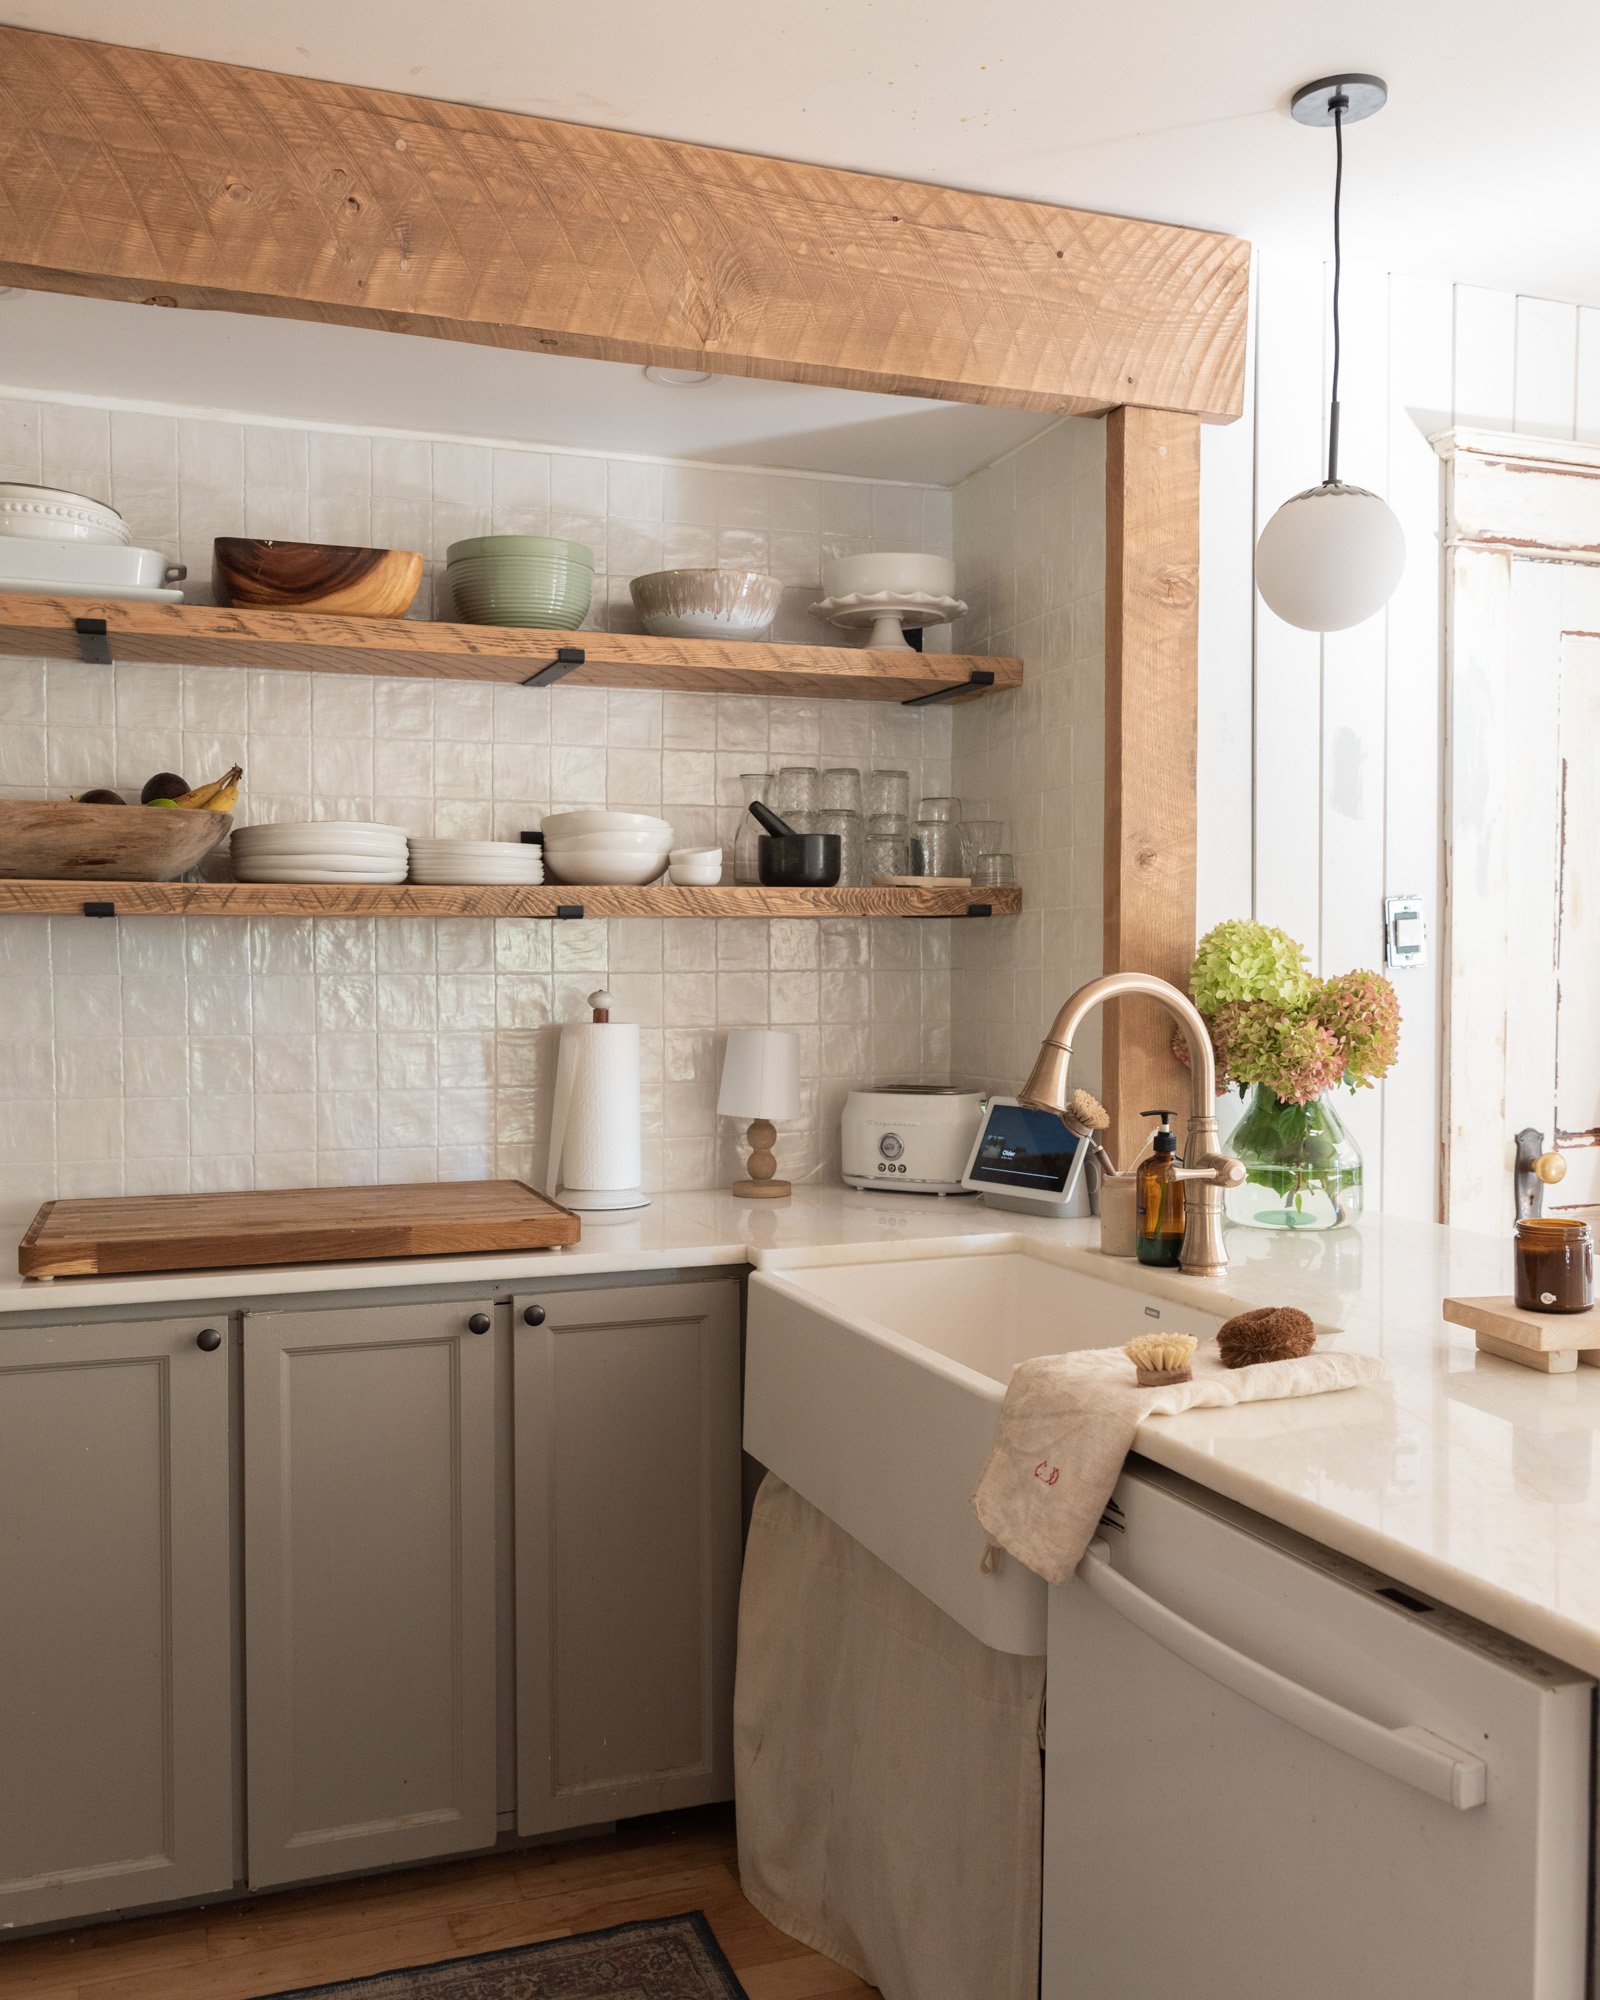
I stumbled upon, the photo above last year when school house lighting posted it on their Instagram. I knew it was the exact answer we needed. Although the trim around the alcove match the original trim around every door in the house, it made it look more like a doorway and an afterthought then what should've been here in the house.
We wanted it to look really old. I mean take down these hundred year old walls and this be a beam that's always been in the house. We toyed with purchasing reclaimed beams for the project but that would've involved a lot of cutting and possibly not colour matching the rest of the wood in the kitchen. This was the easier route and the more guaranteed to go with everything.
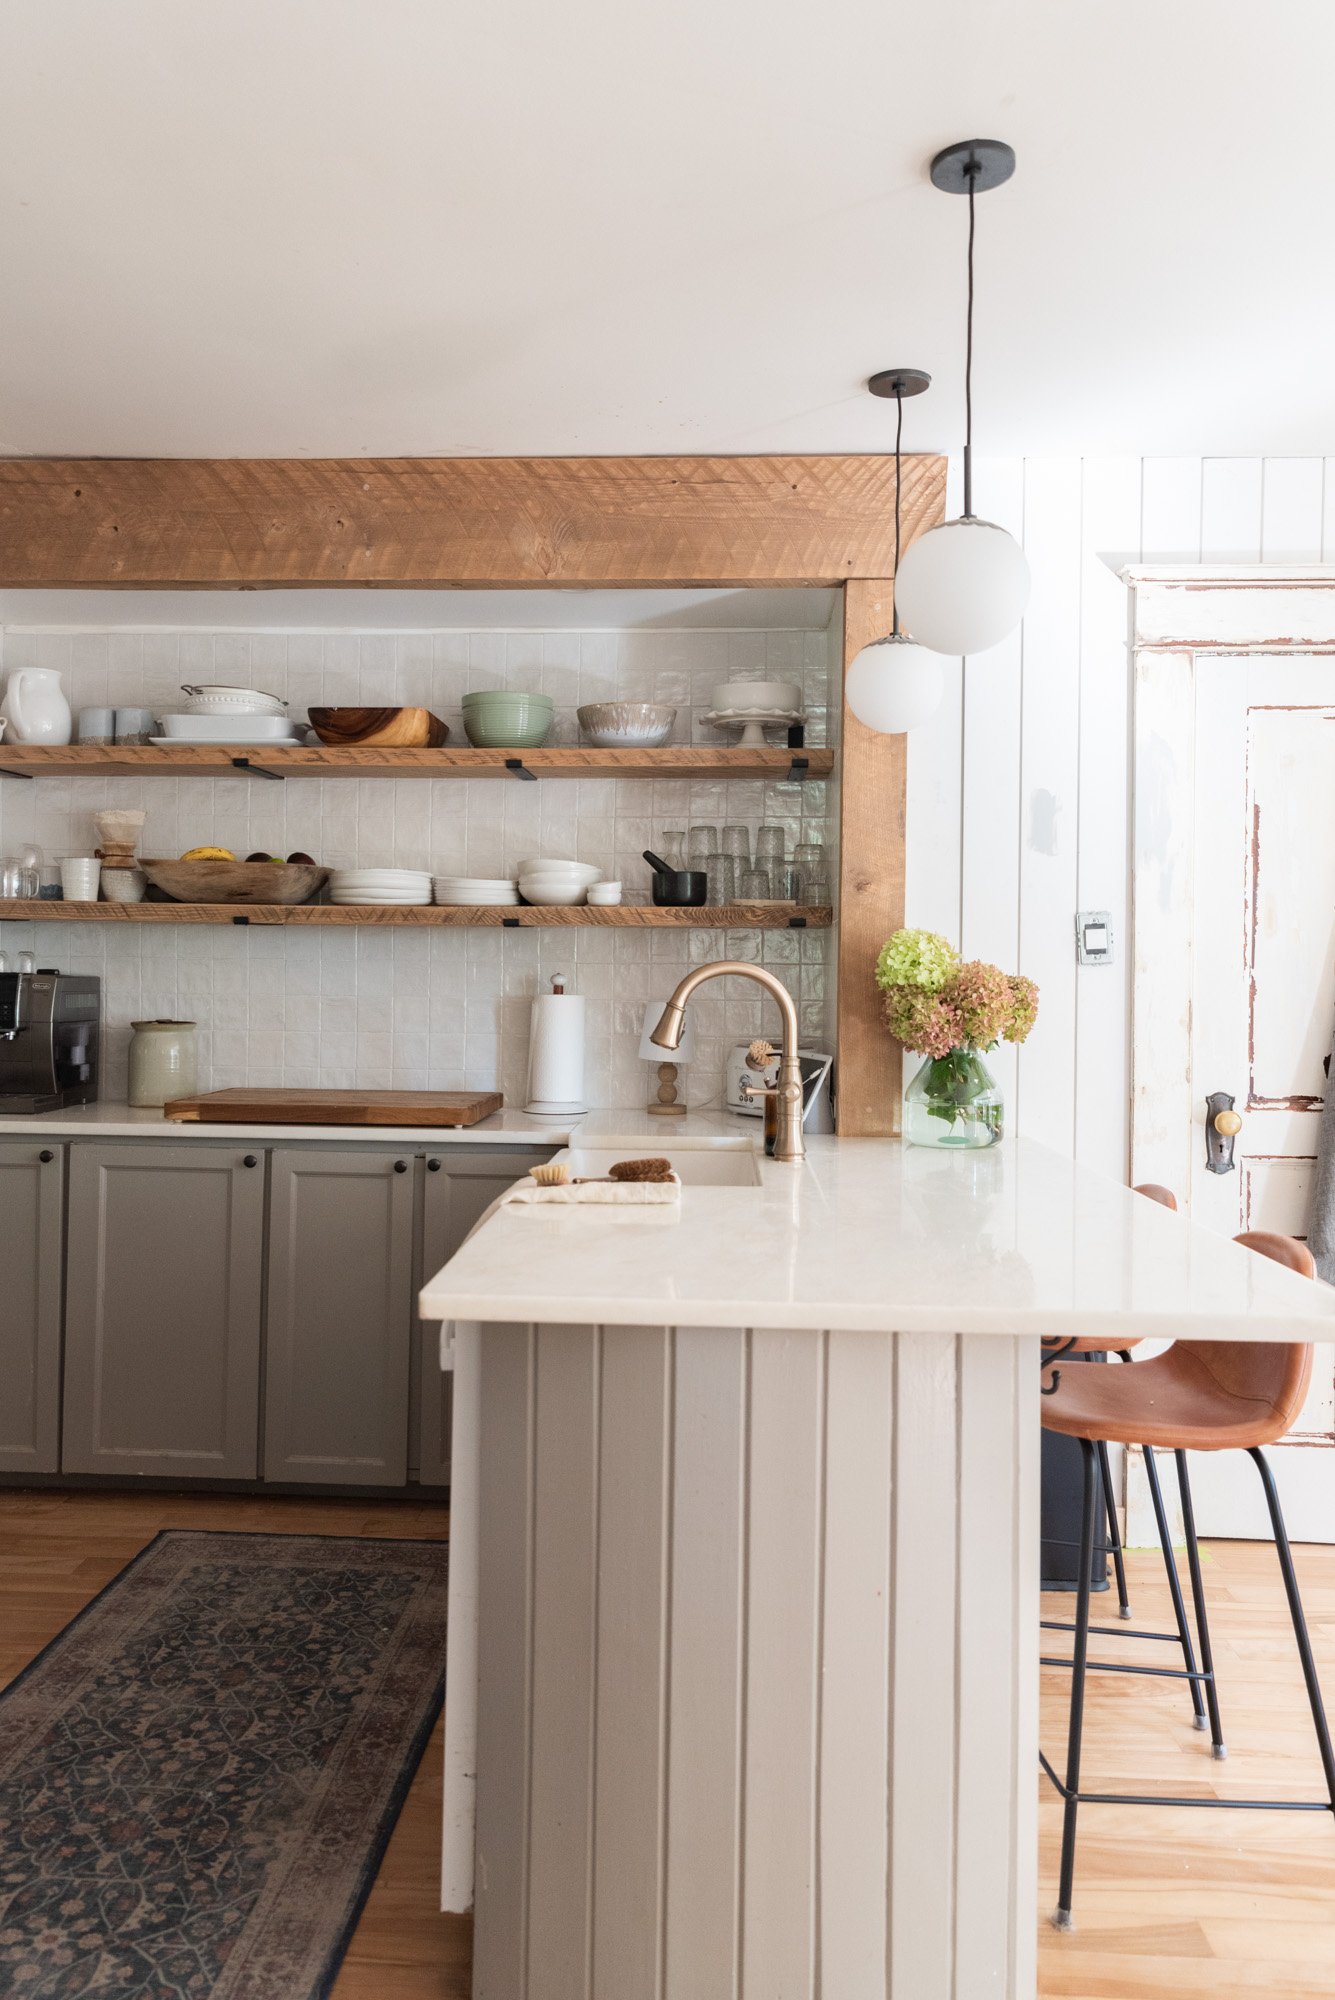
So, we headed to the same mill we buy most of our lumber from, and grabbed a 12x2x12 ft board in hemlock as well as 2 2x8s in 8ft for the sides. Knowing we only needed 9 inches to cover the space above the alcove, we cut the 12 inch board on a mitred edge with the smallest size being 9 inches. It allowed for the smaller board to be the perfect size to add underneath the board to make it look like the beam was built straight out of the wall.
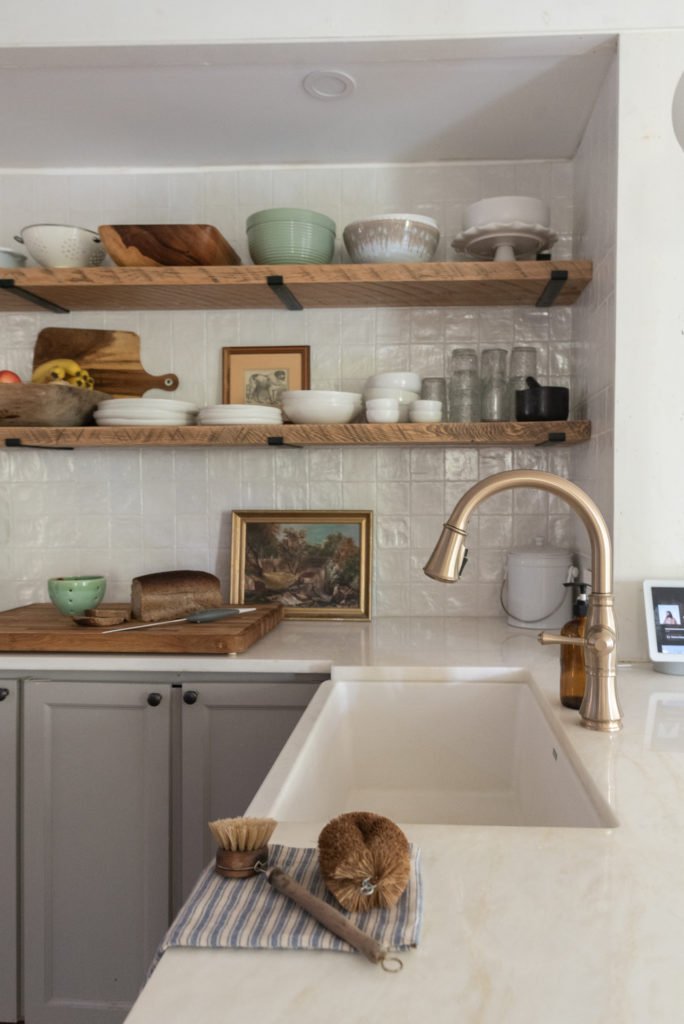
Next, we cut the side beams to measurement so that they looked like they were holding the main beam in place. We used Daddo Blade to cut a channel on the sides so that it fits snug against our previously added tile.
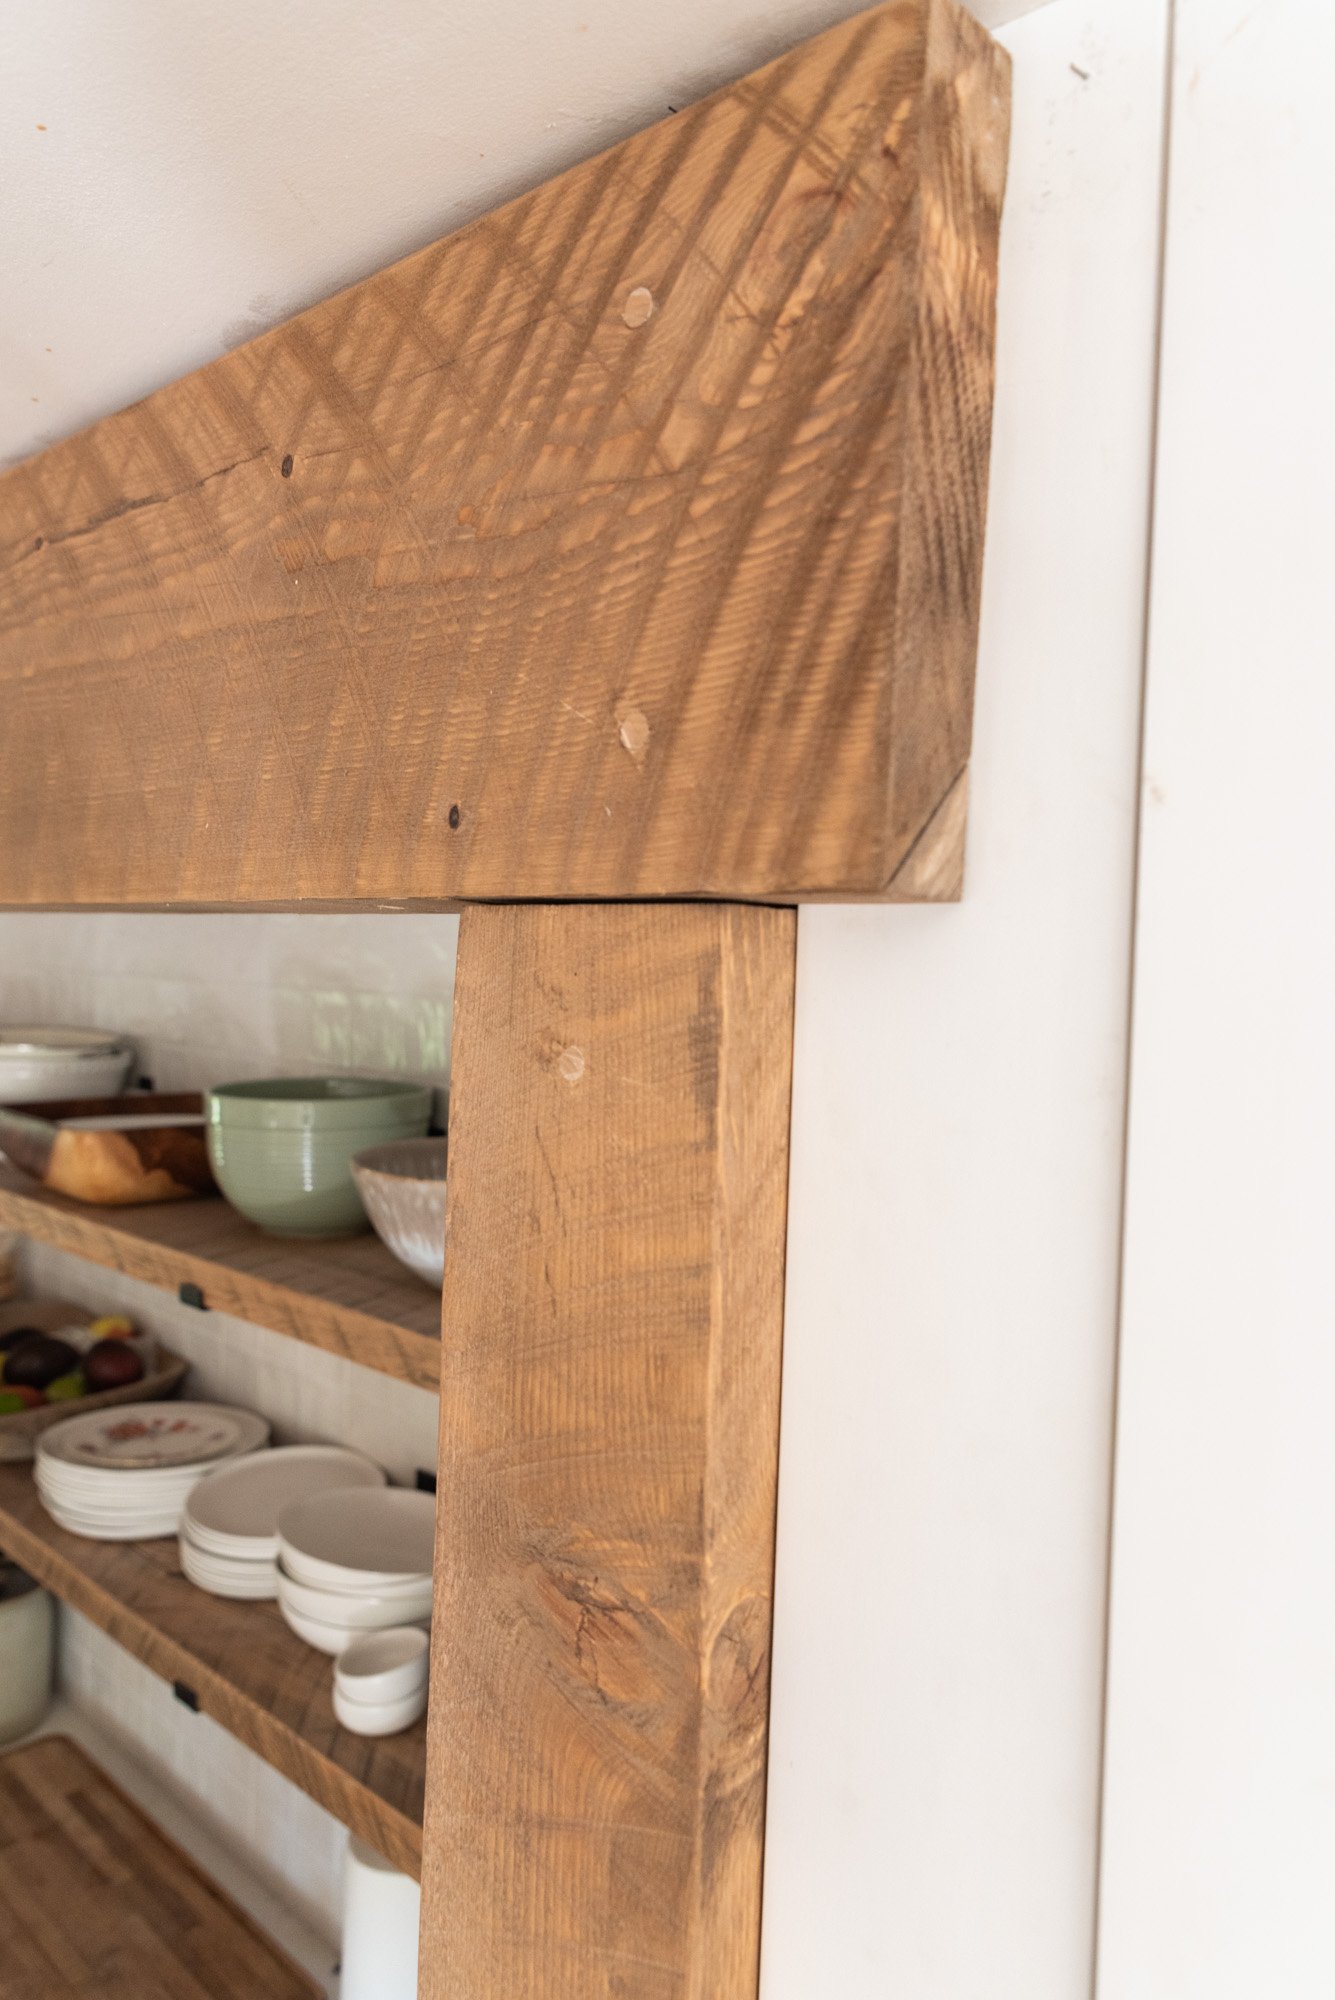
Once all of the boards were cut, they got a quick sand with 60 grit sandpaper to get off all of the rough boards but still have the blade marks showing through. We've been conditioned the boards, and stained them with a mix of weathered Oak and early American to not only match our shelves, but also our wood niches by the stove.
Now it was time to hang, we pre-drilled all the holes in the beams, and then drilled holes so that the screws would sink in. once they were all up, we cut plugs out of dowels and inserted them into the screw holes like they used to do with wood flooring. Using a Q-tip, I used the stain on the plugs as well.
What do you think? much better than the before?