How We Transformed Our Kitchen For Under $1500.

 When we first came to see this house, we walked into the kitchen from the backyard. I remember looking at the bright walls, peeling off wallpaper, and mismatched hideous brown backsplash thinking...WOW this has so much room and potential.
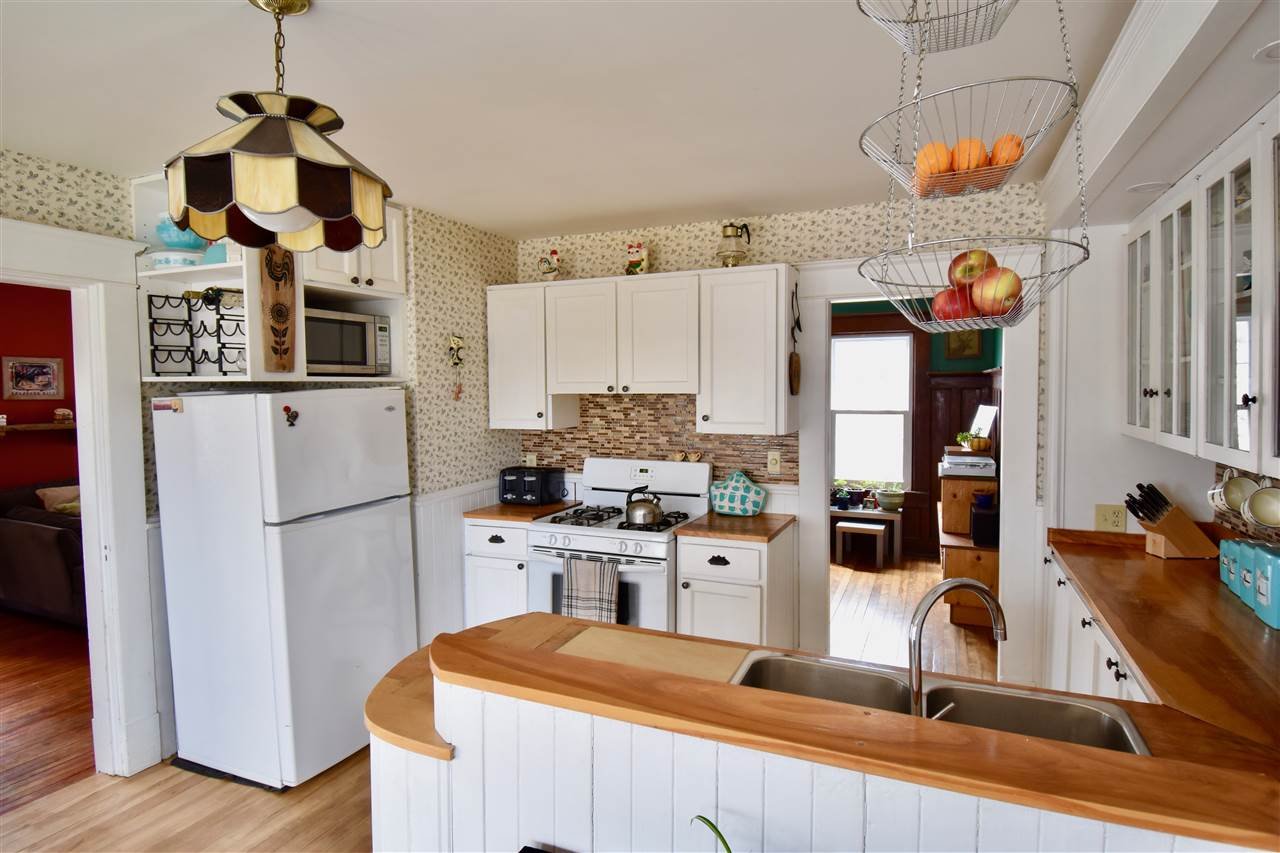
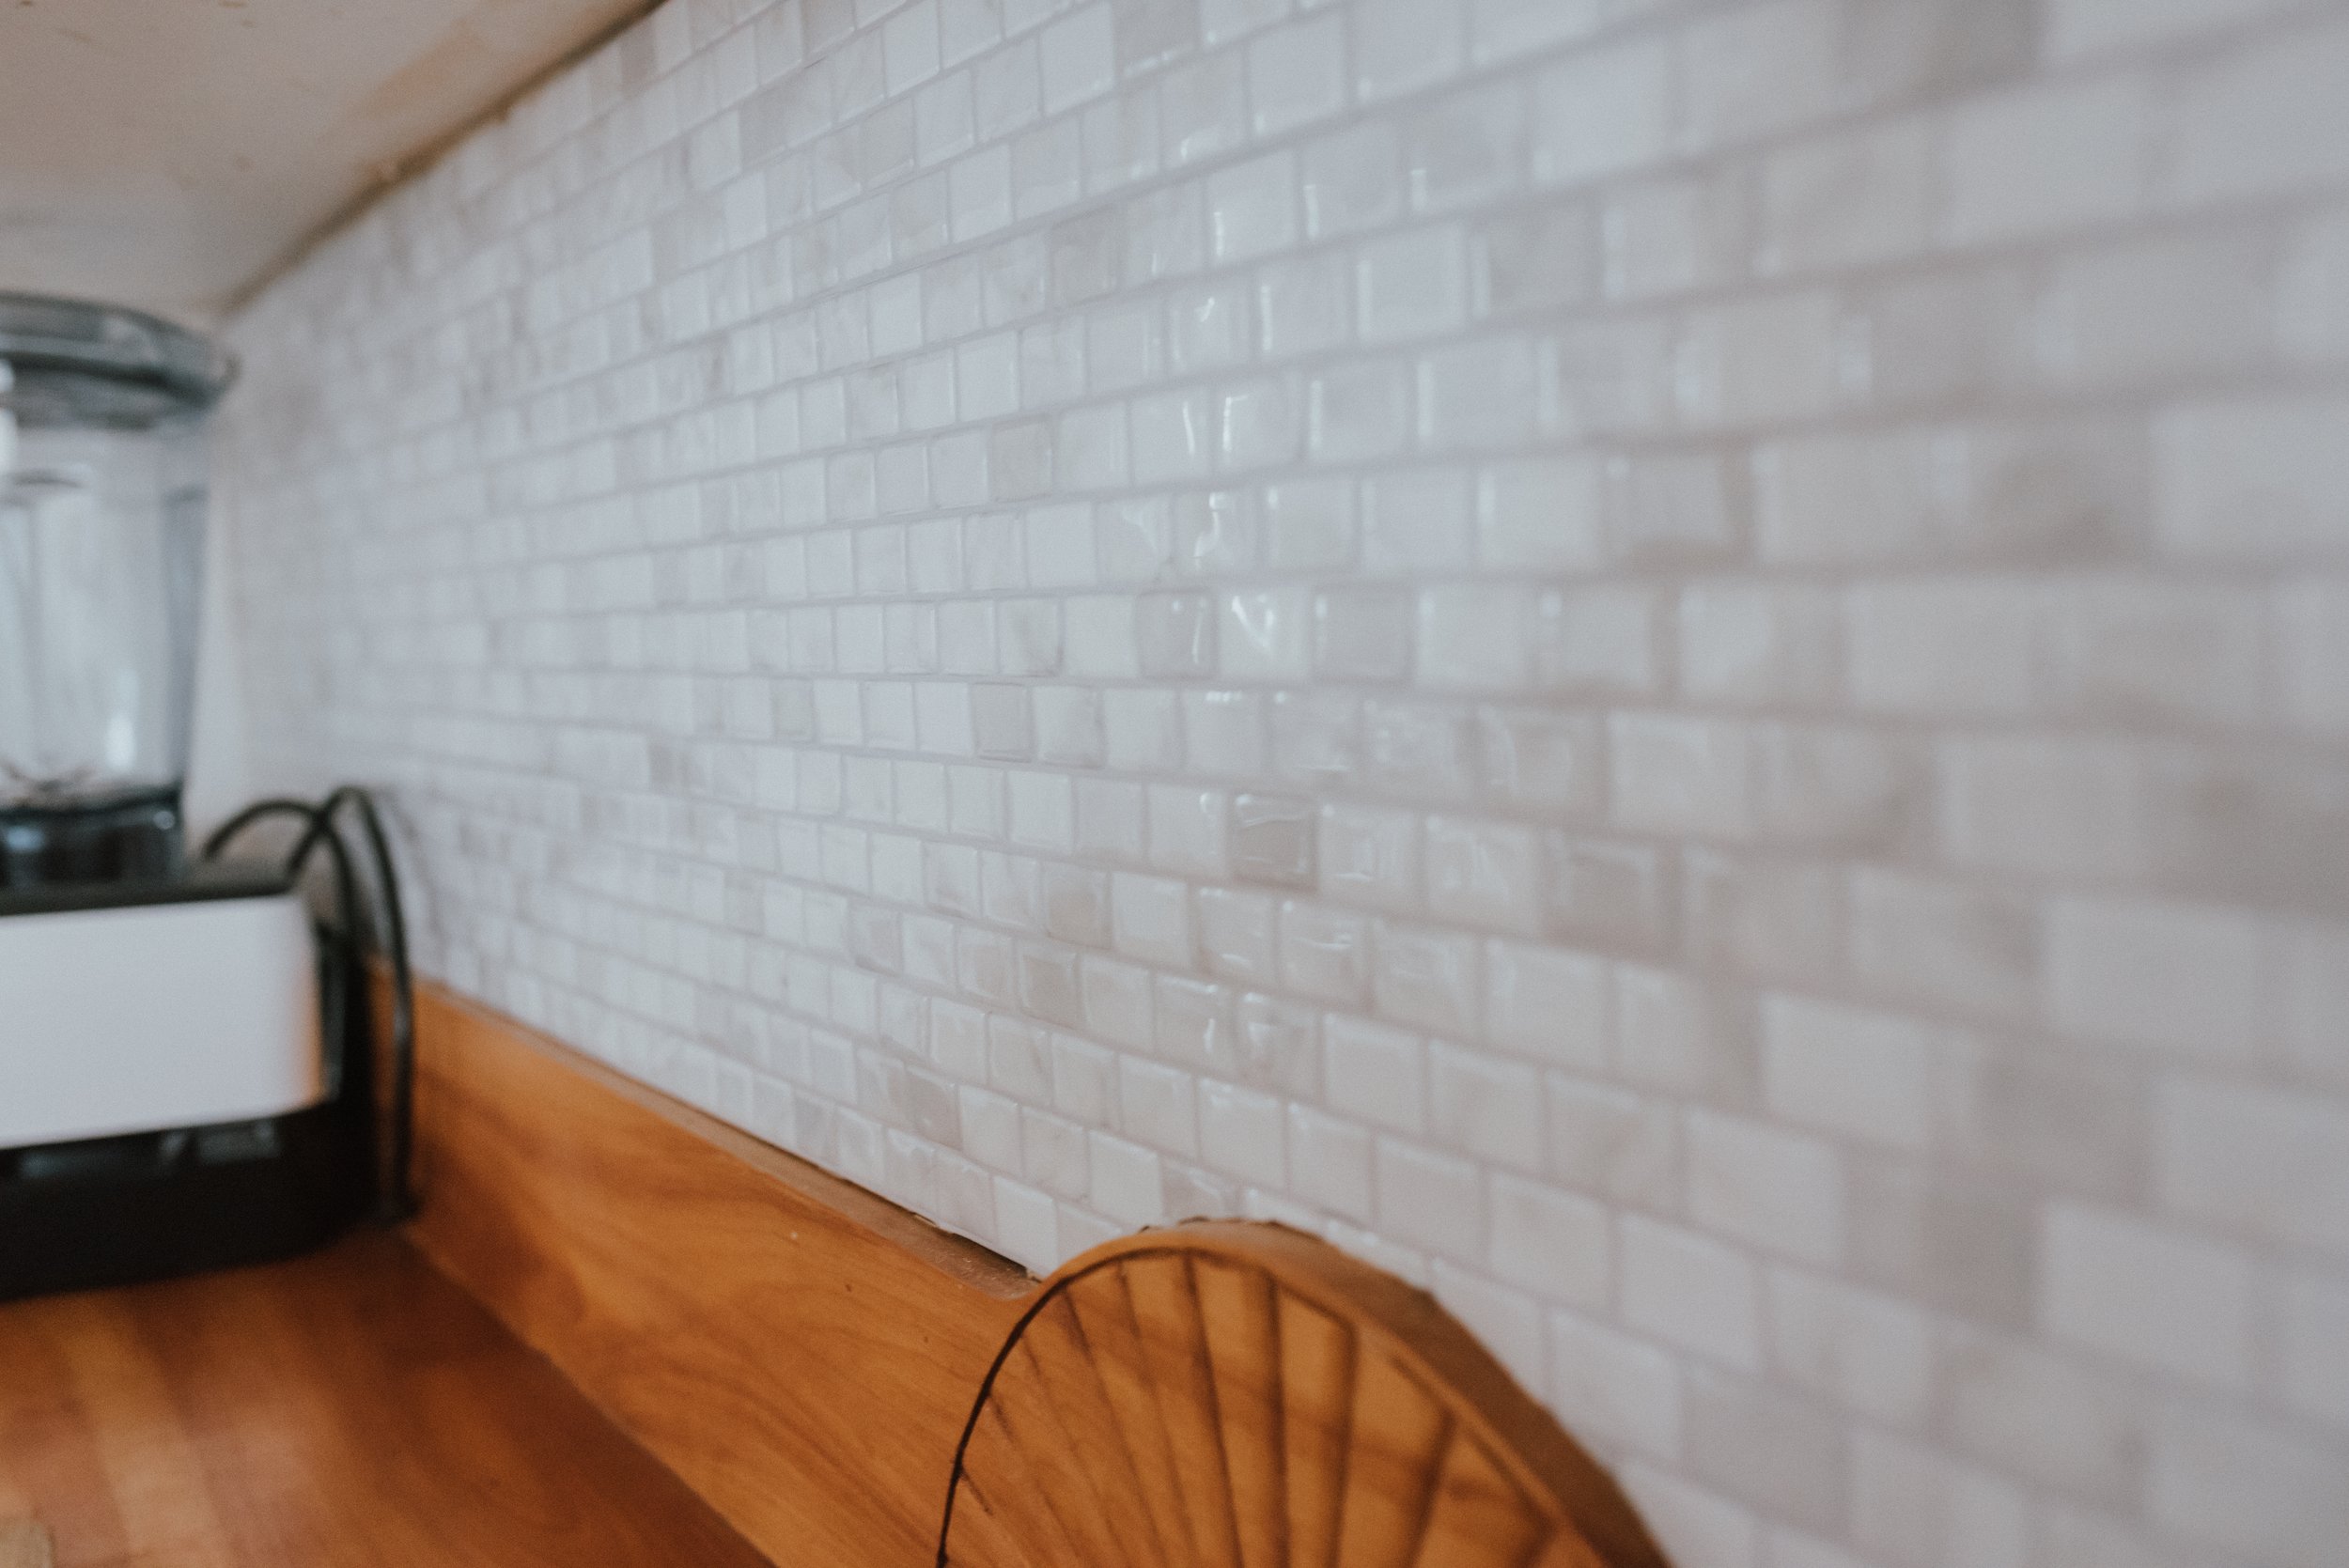
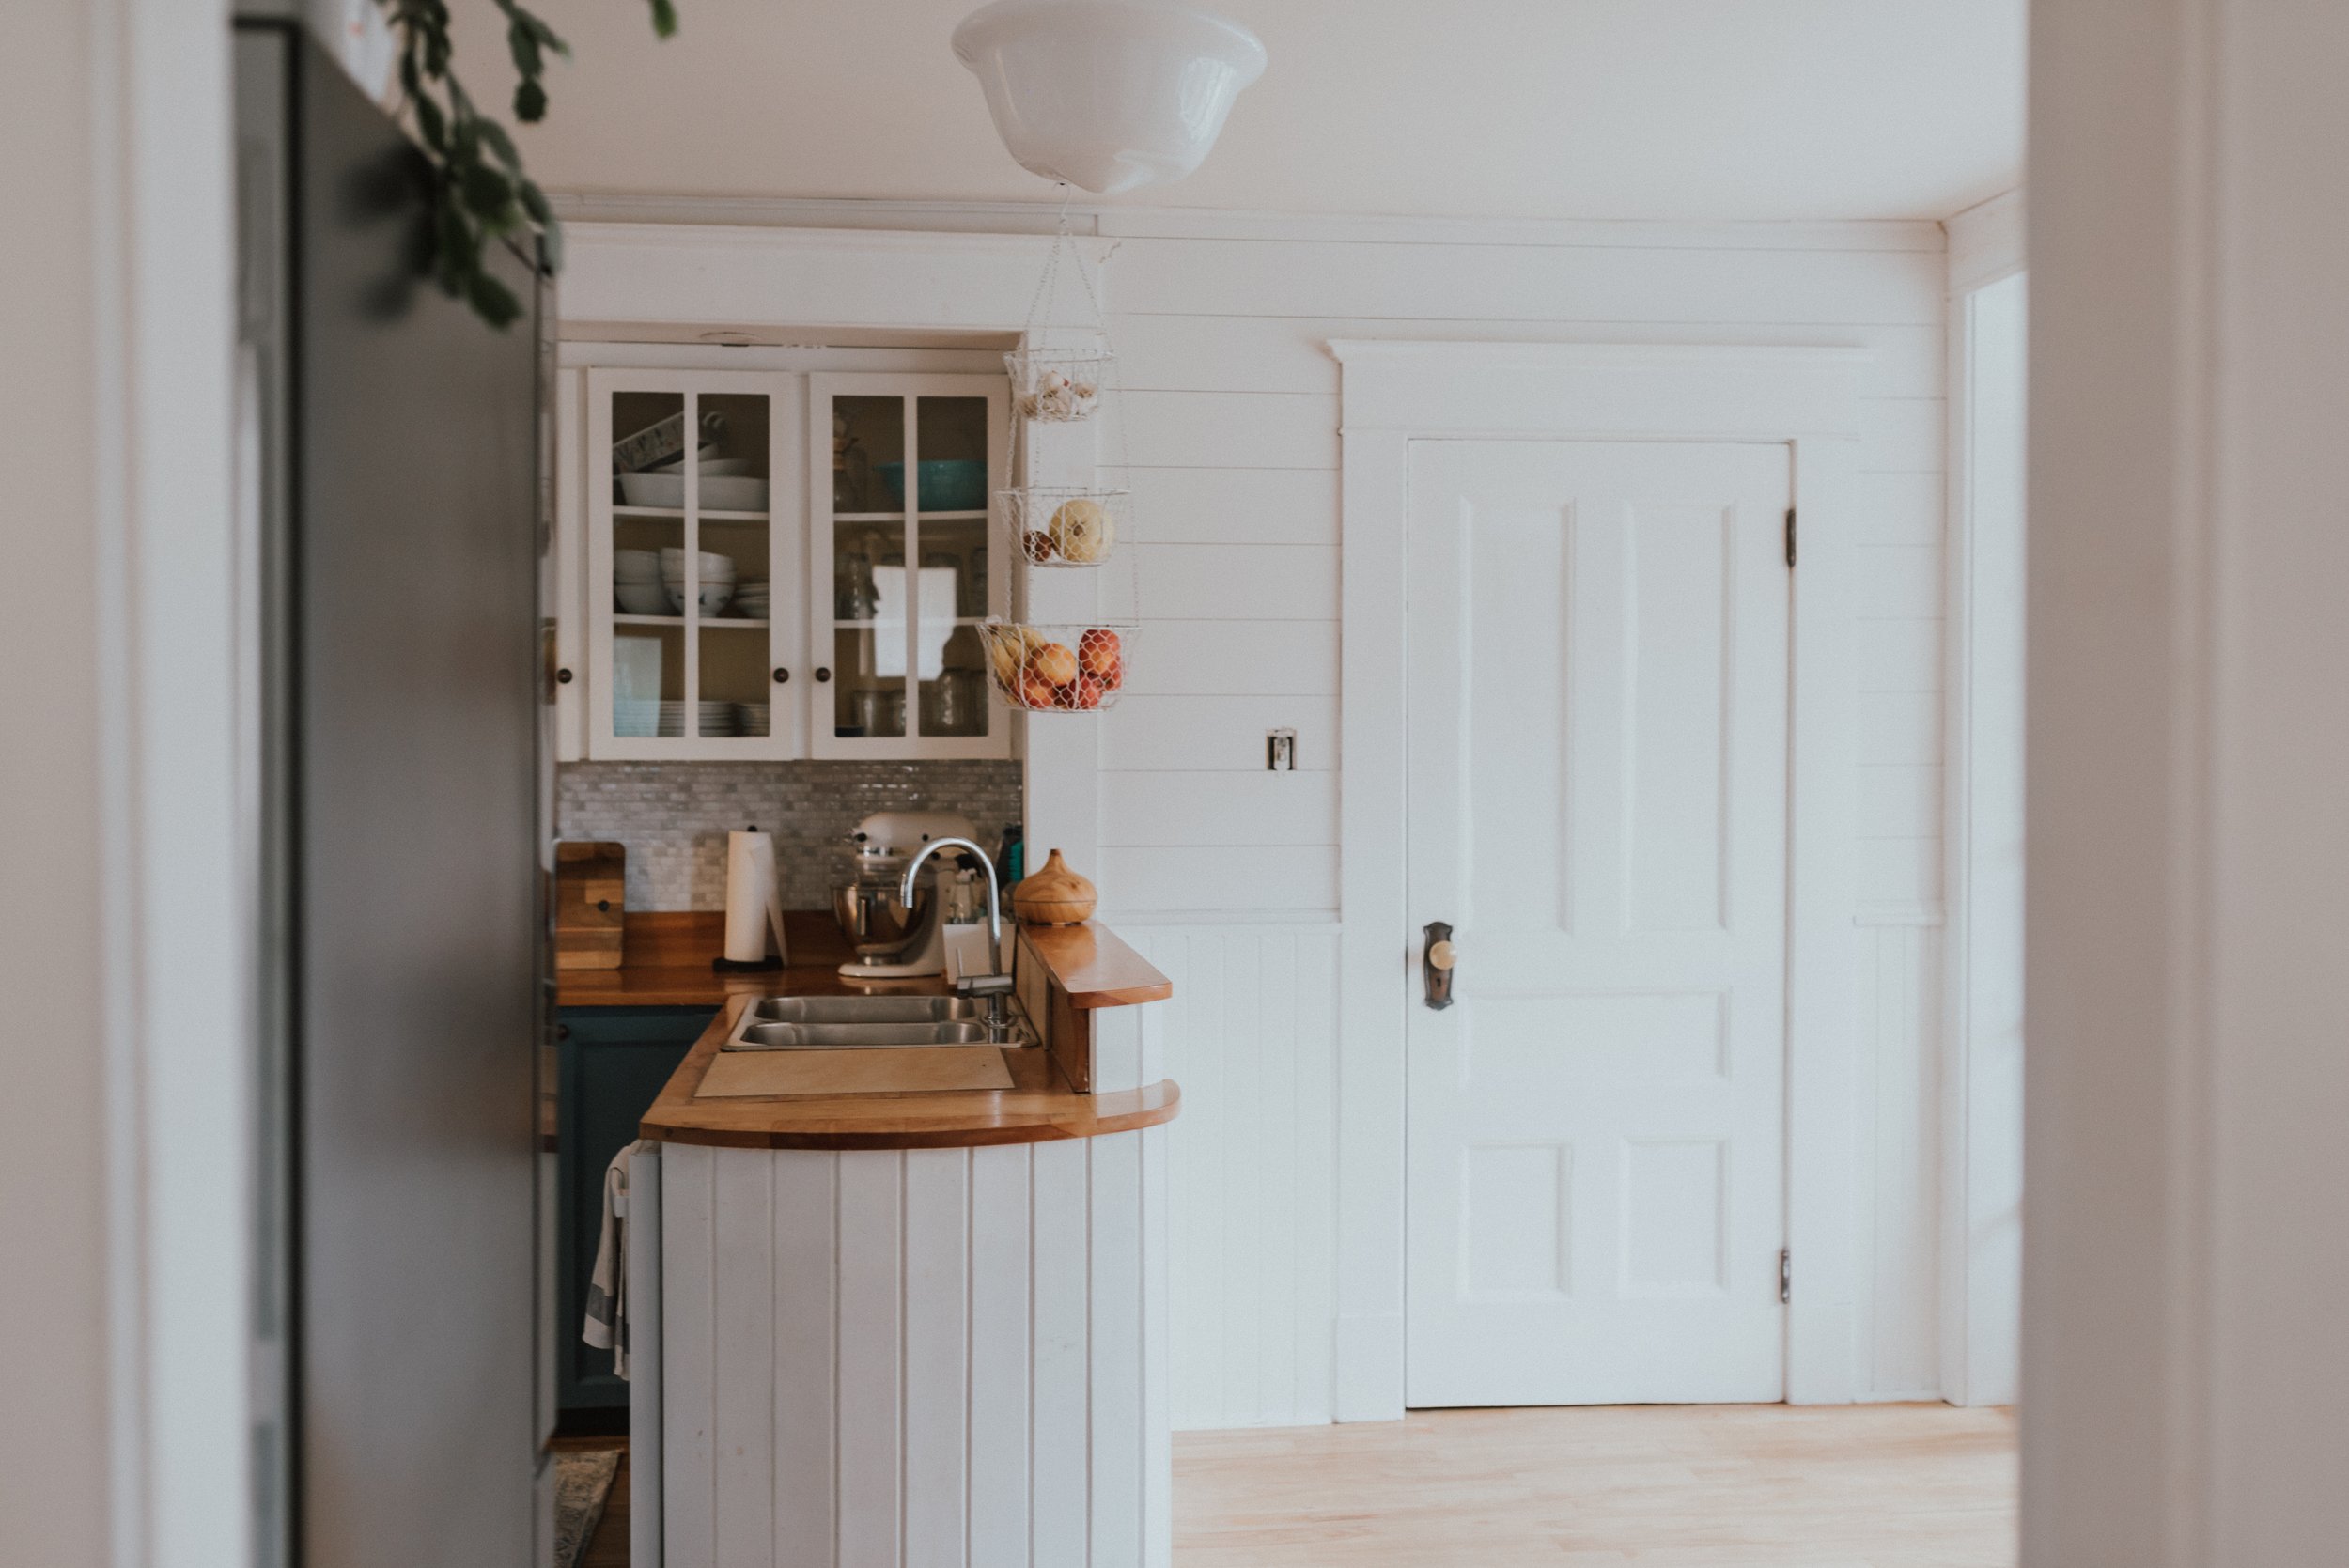
 We wanted to start small with a mini renovation to make it look our style, while also upgrading for safety ( as in gas range and no range hood?). But with big plans for a down to the studs full reno in the future. Unfortunately, as we price out for the full renovation, we realize that it is probably way further away than we had originally planned. Because of that, we are making the most out of our little kitchen with super budget-friendly upgrades to make us happy with it until that big reno can happen.The first thing we needed to do was get rid of that horrible brown backsplash. But, removing it, replacing the drywall, and paying for tile was more than we wanted to spend until we could replace the countertops. So, we opted for The Smart Tiles in a mini faux Marble. These easy to cut, easy to install sticker-like tiles, can be placed right over top of a current backsplash and only cost us about $120 and 30 mins of my time. It looks polished and high end once on and people have been shocked that it was a stick on.
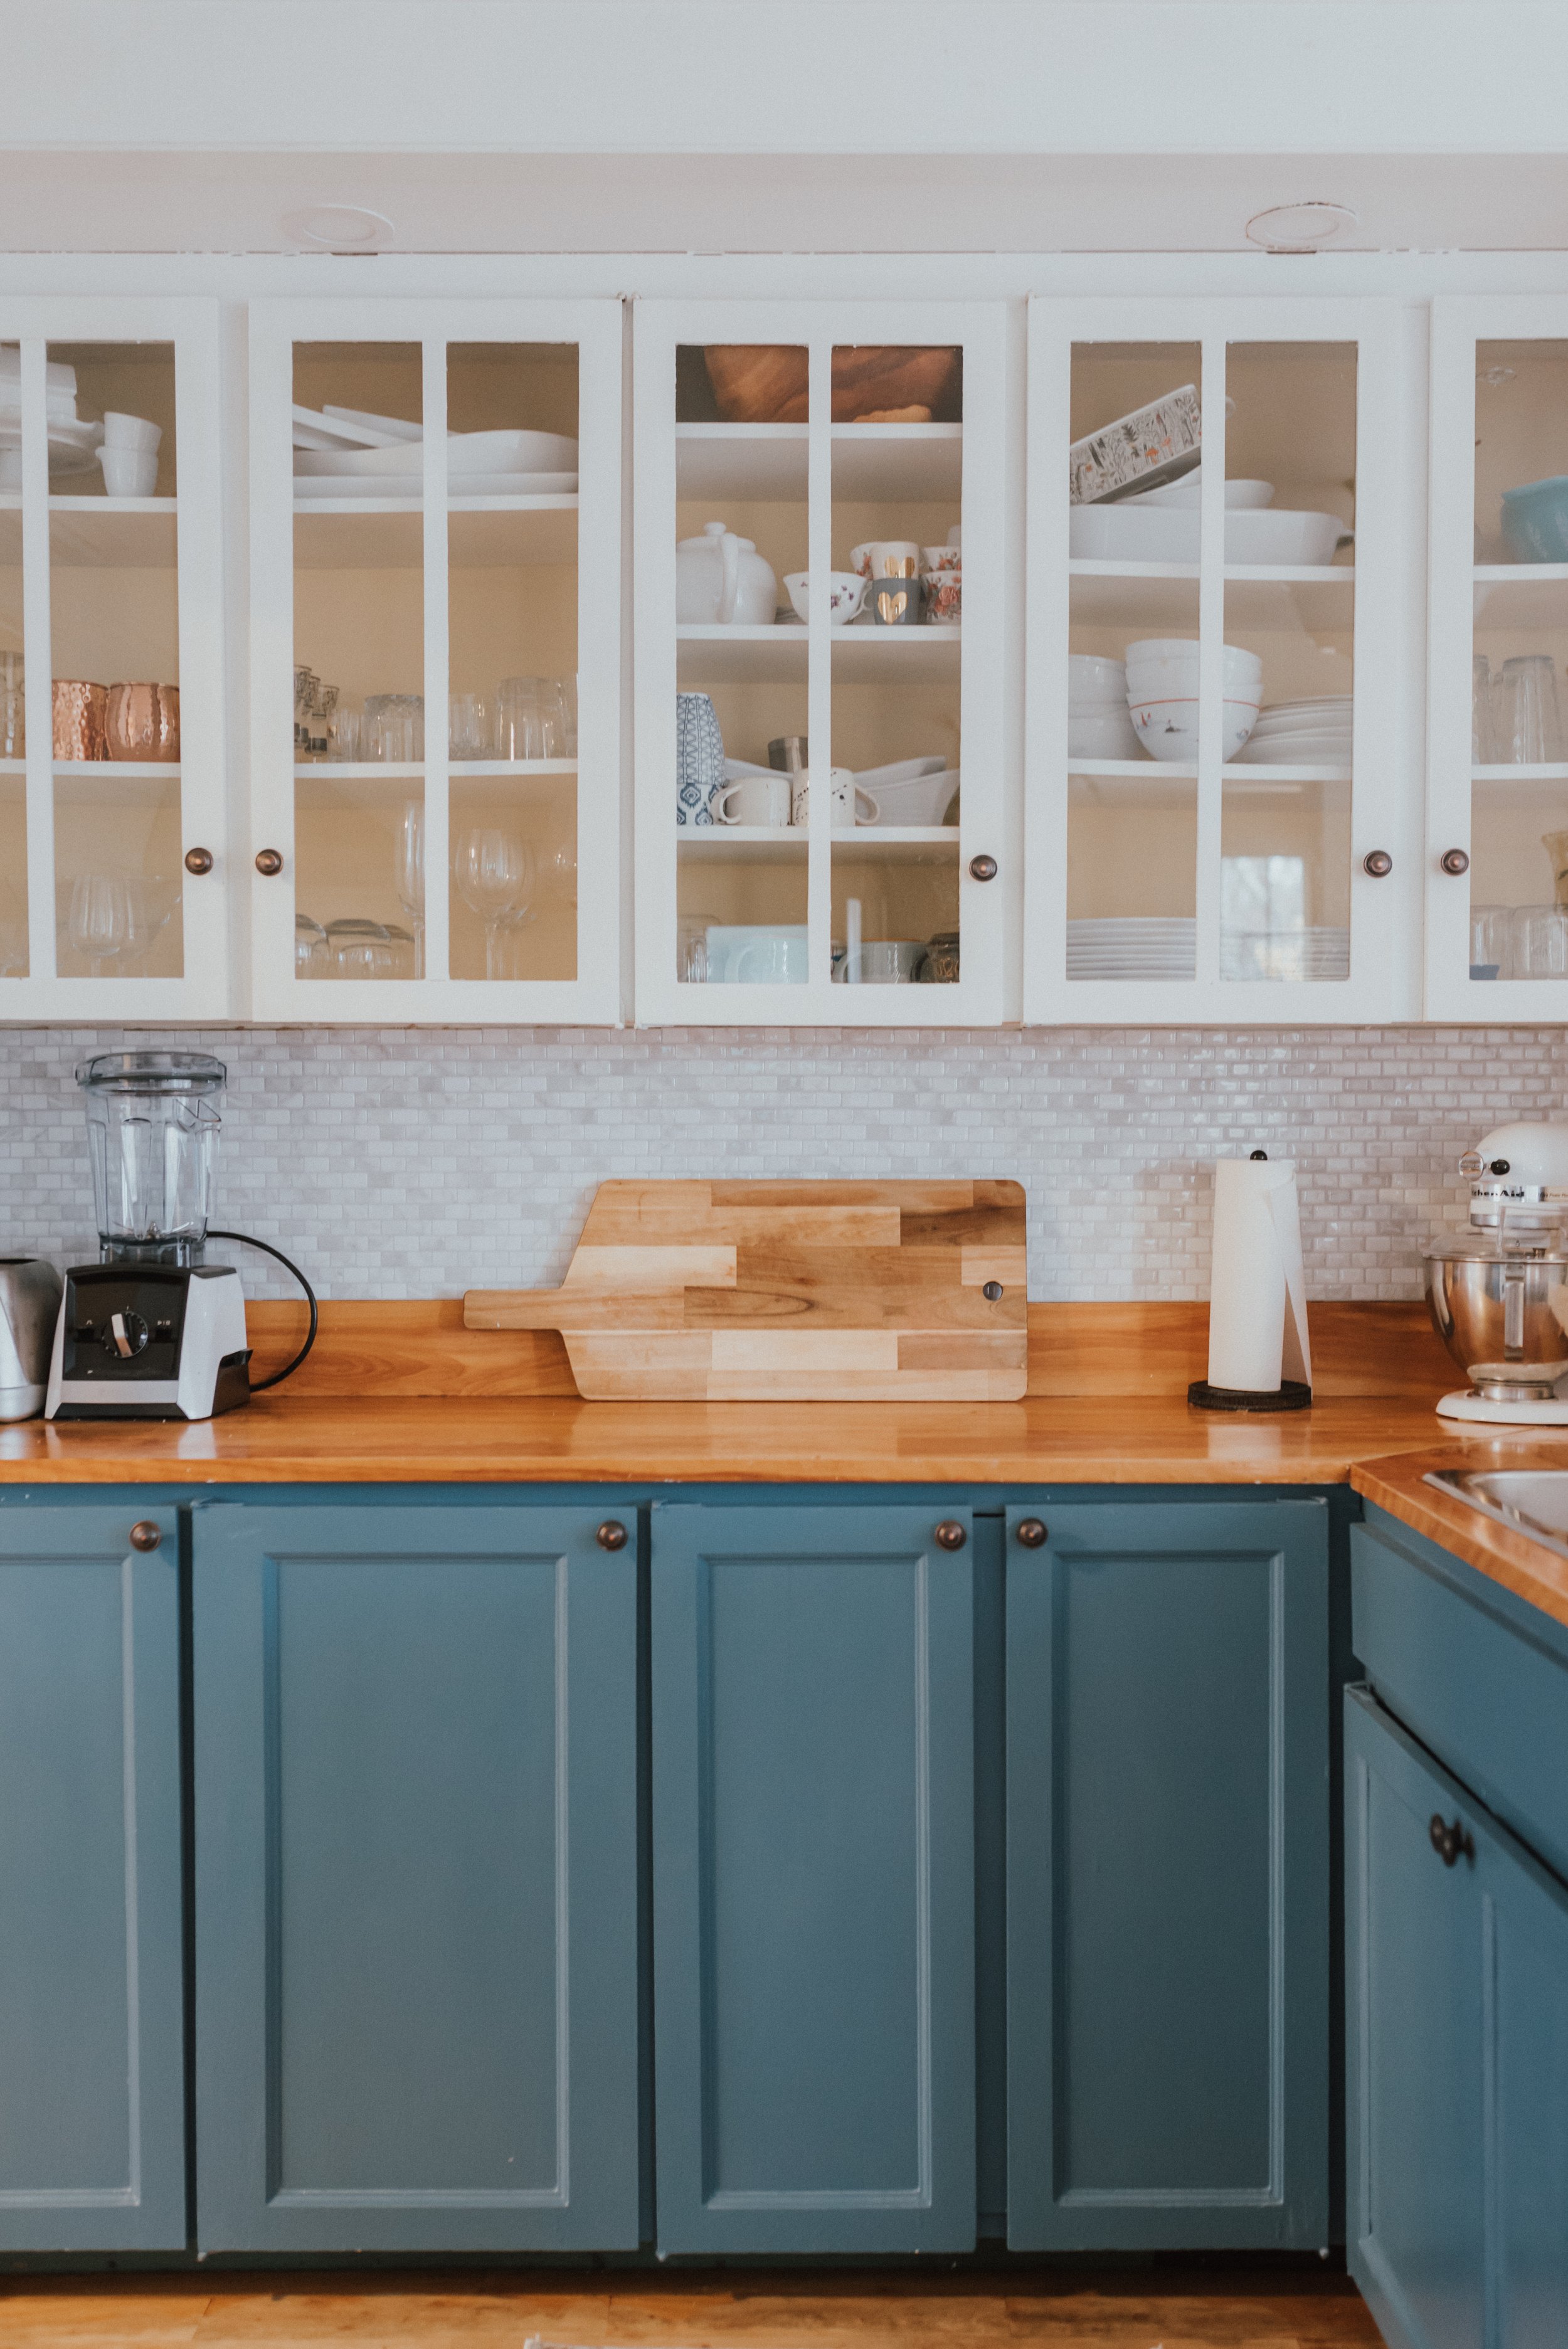
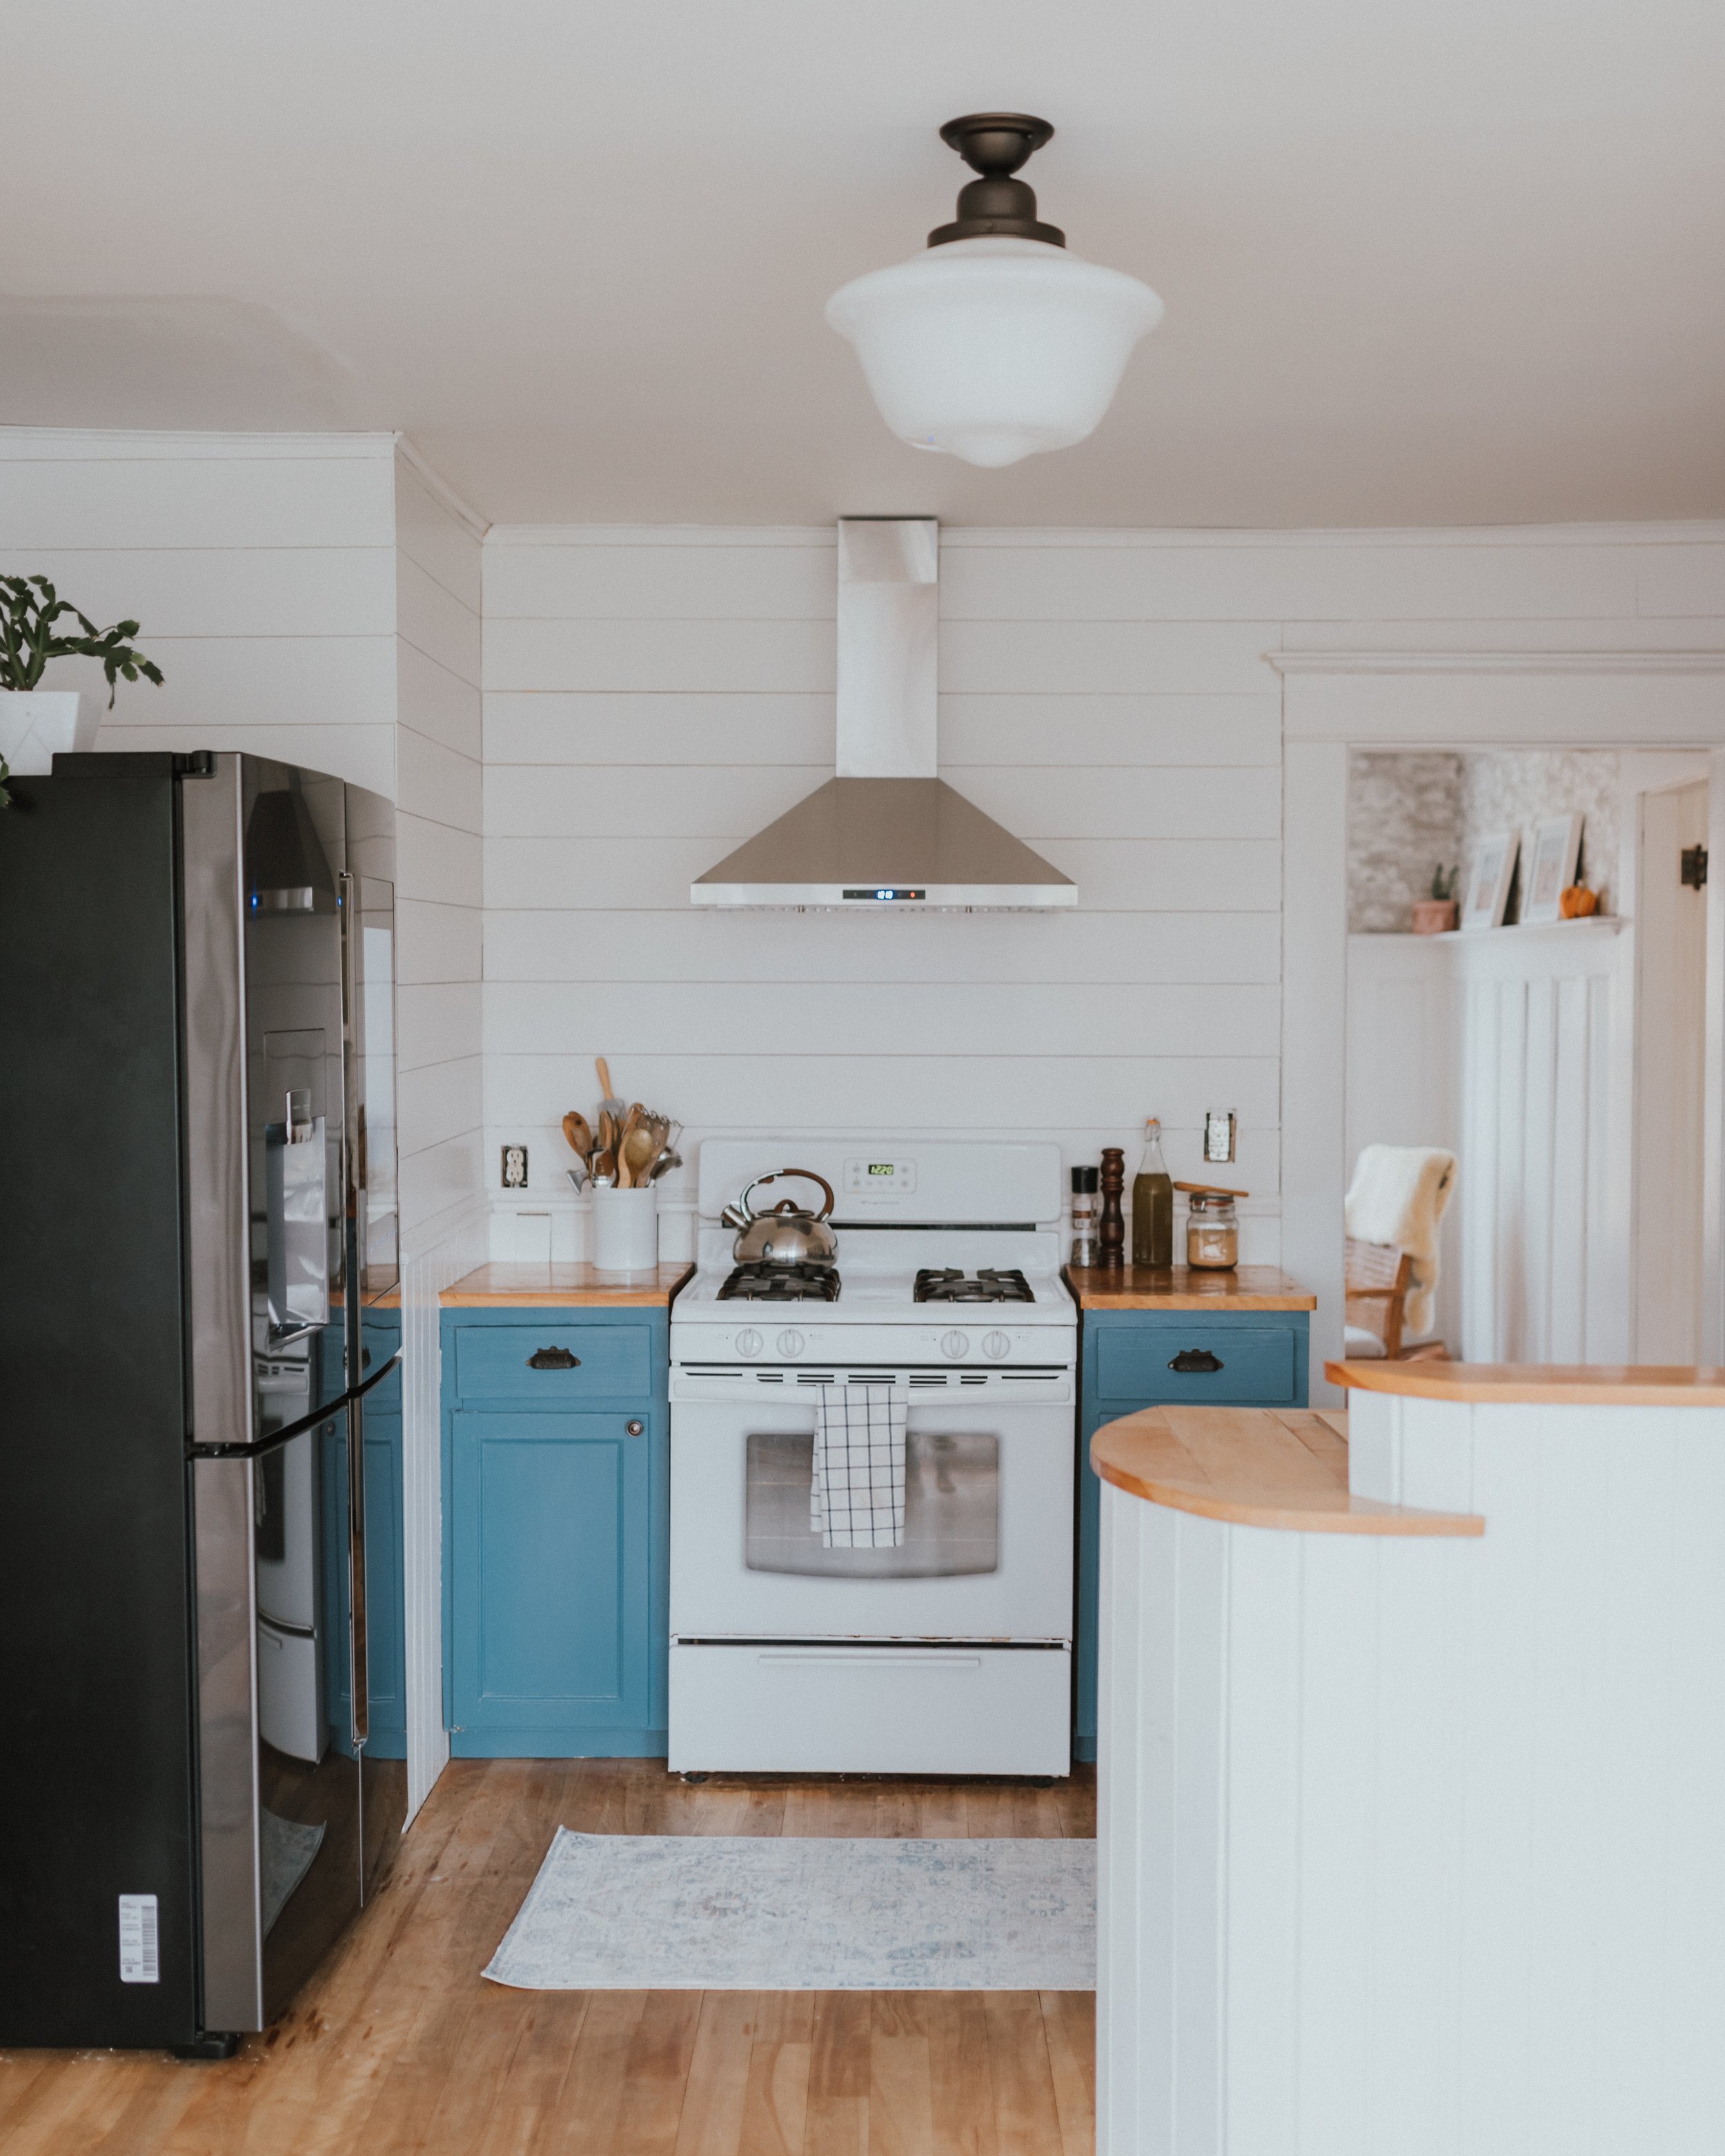
 Next, as much as my dream was a white kitchen, we felt that this house needed and could handle a good punch of color. When we received a sample of Behr Paint's new color Blueprint, which is voted their color of 2019 in a press package, we knew it was exactly the look we wanted for this kitchen. We tinted Behr's Cabinet and Trim paint in the Blueprint color and within two coats, The kitchen went from boring to happy with only a $68 can of paint
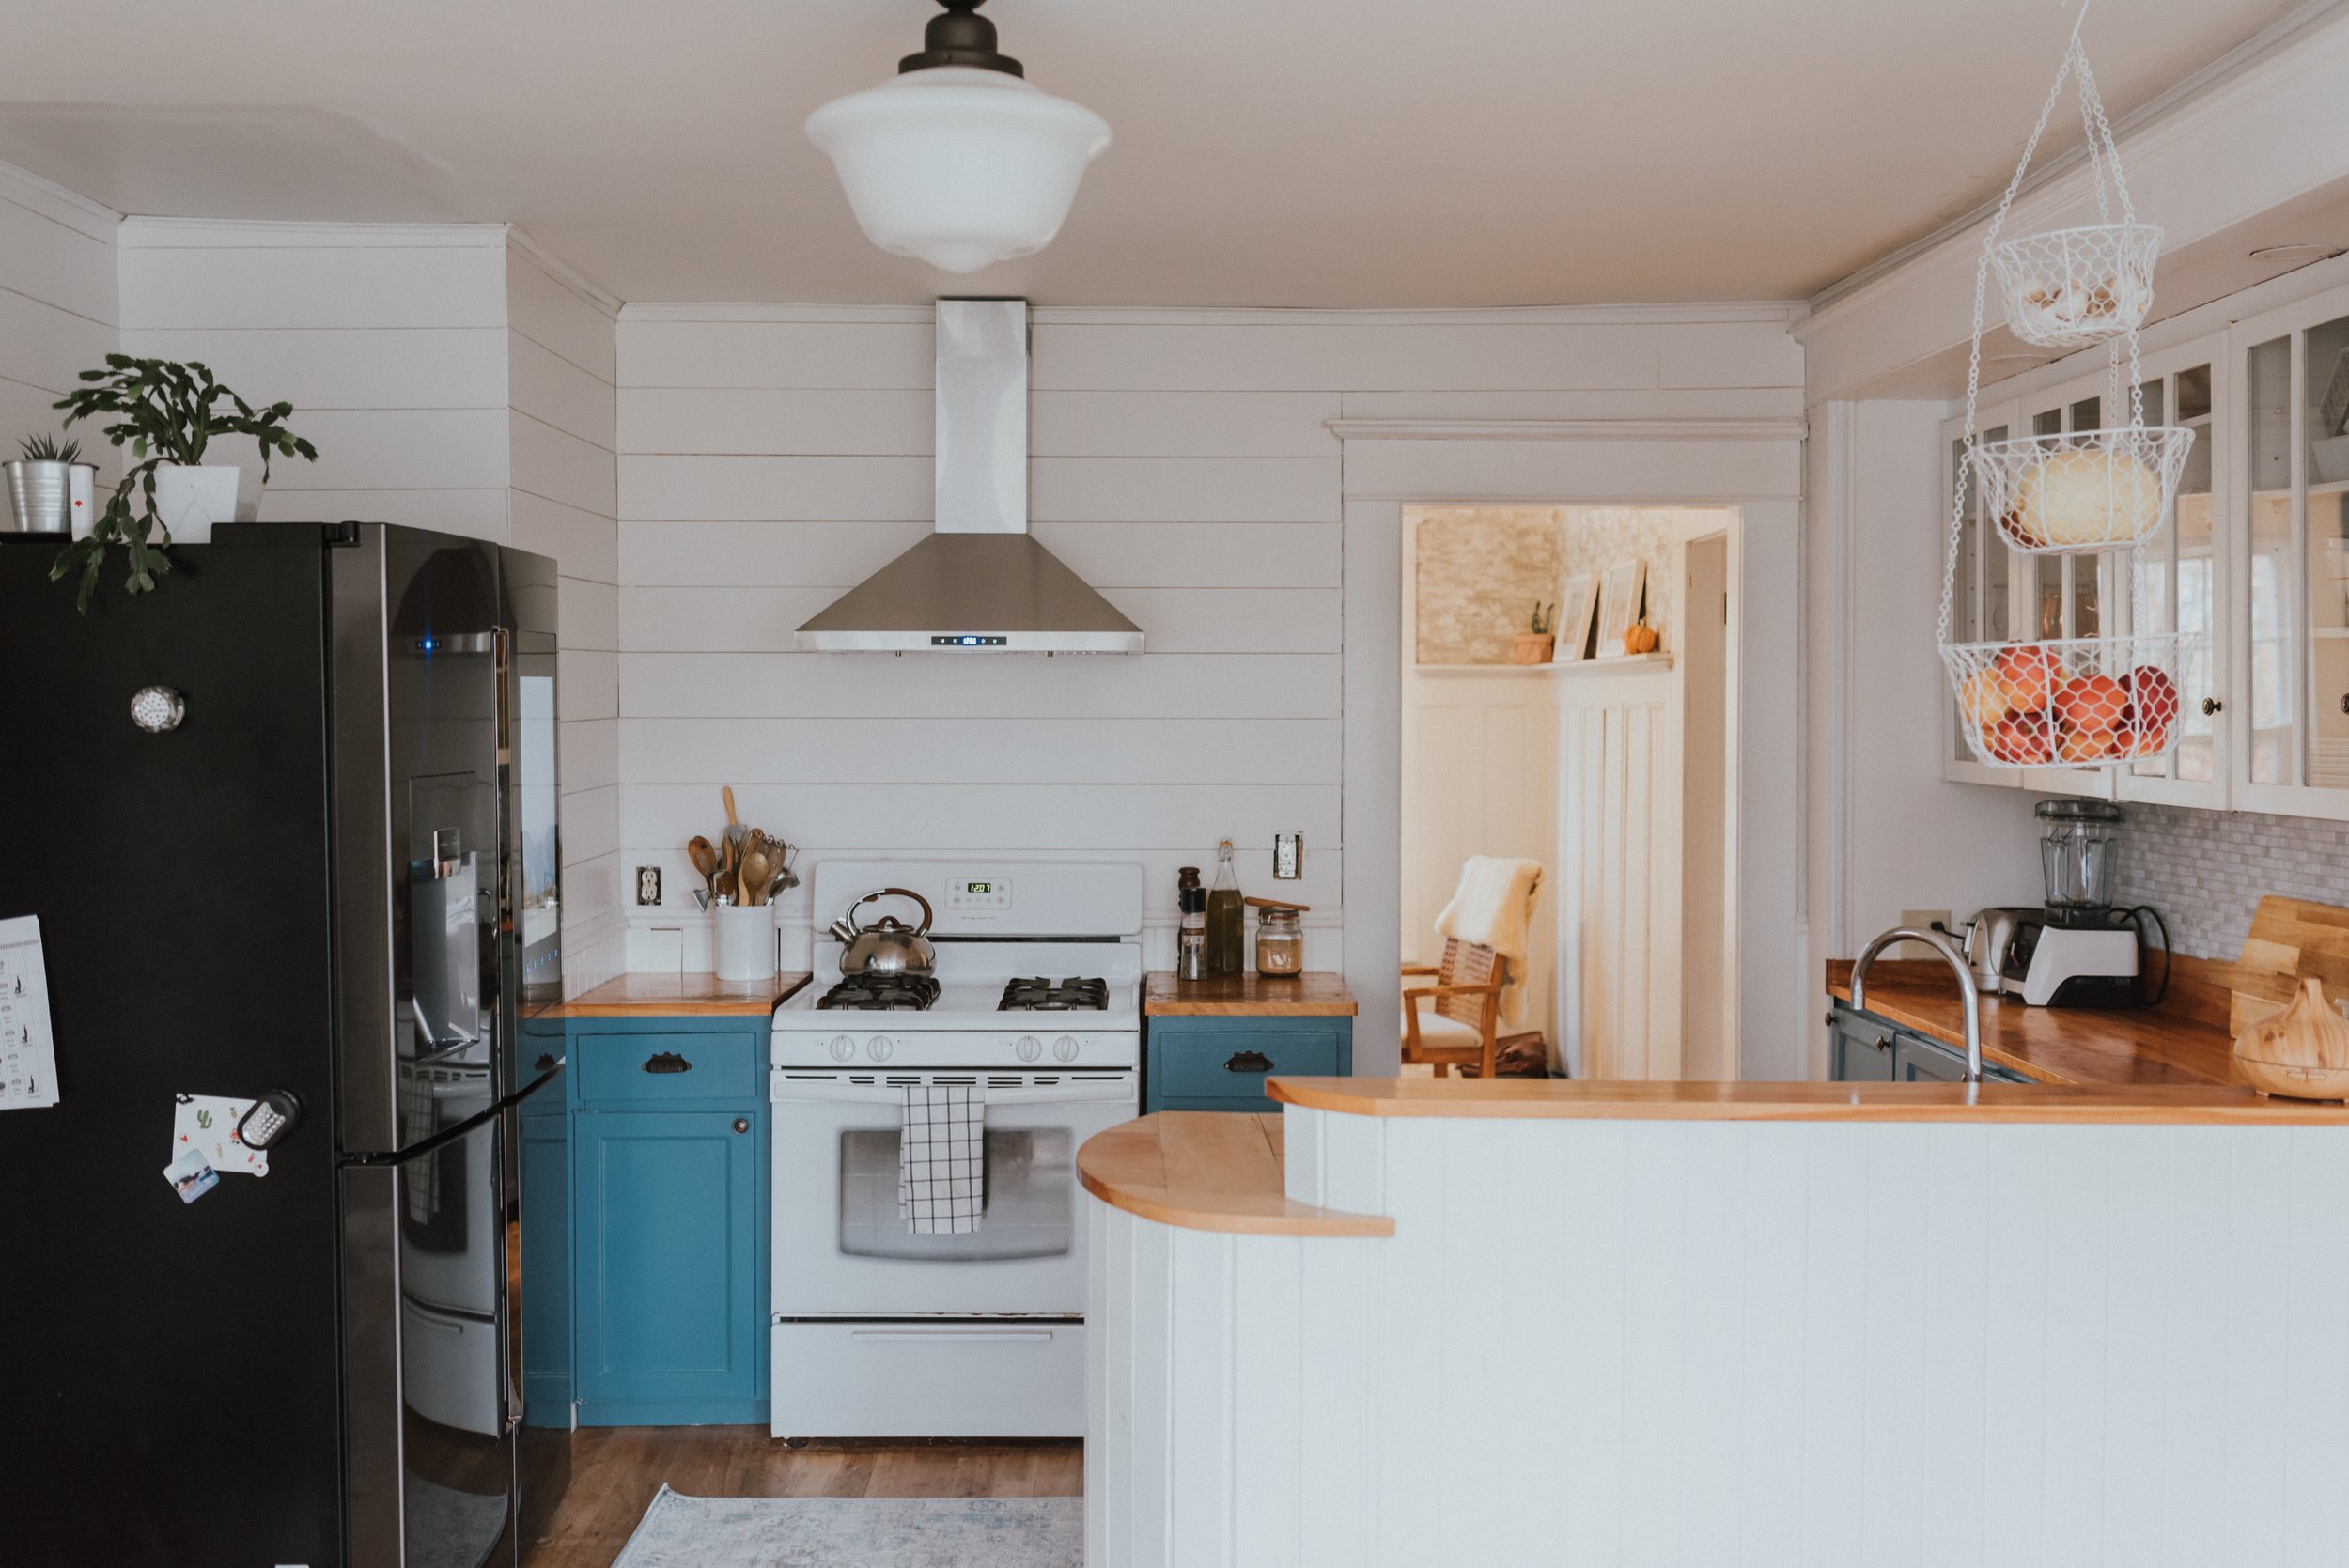
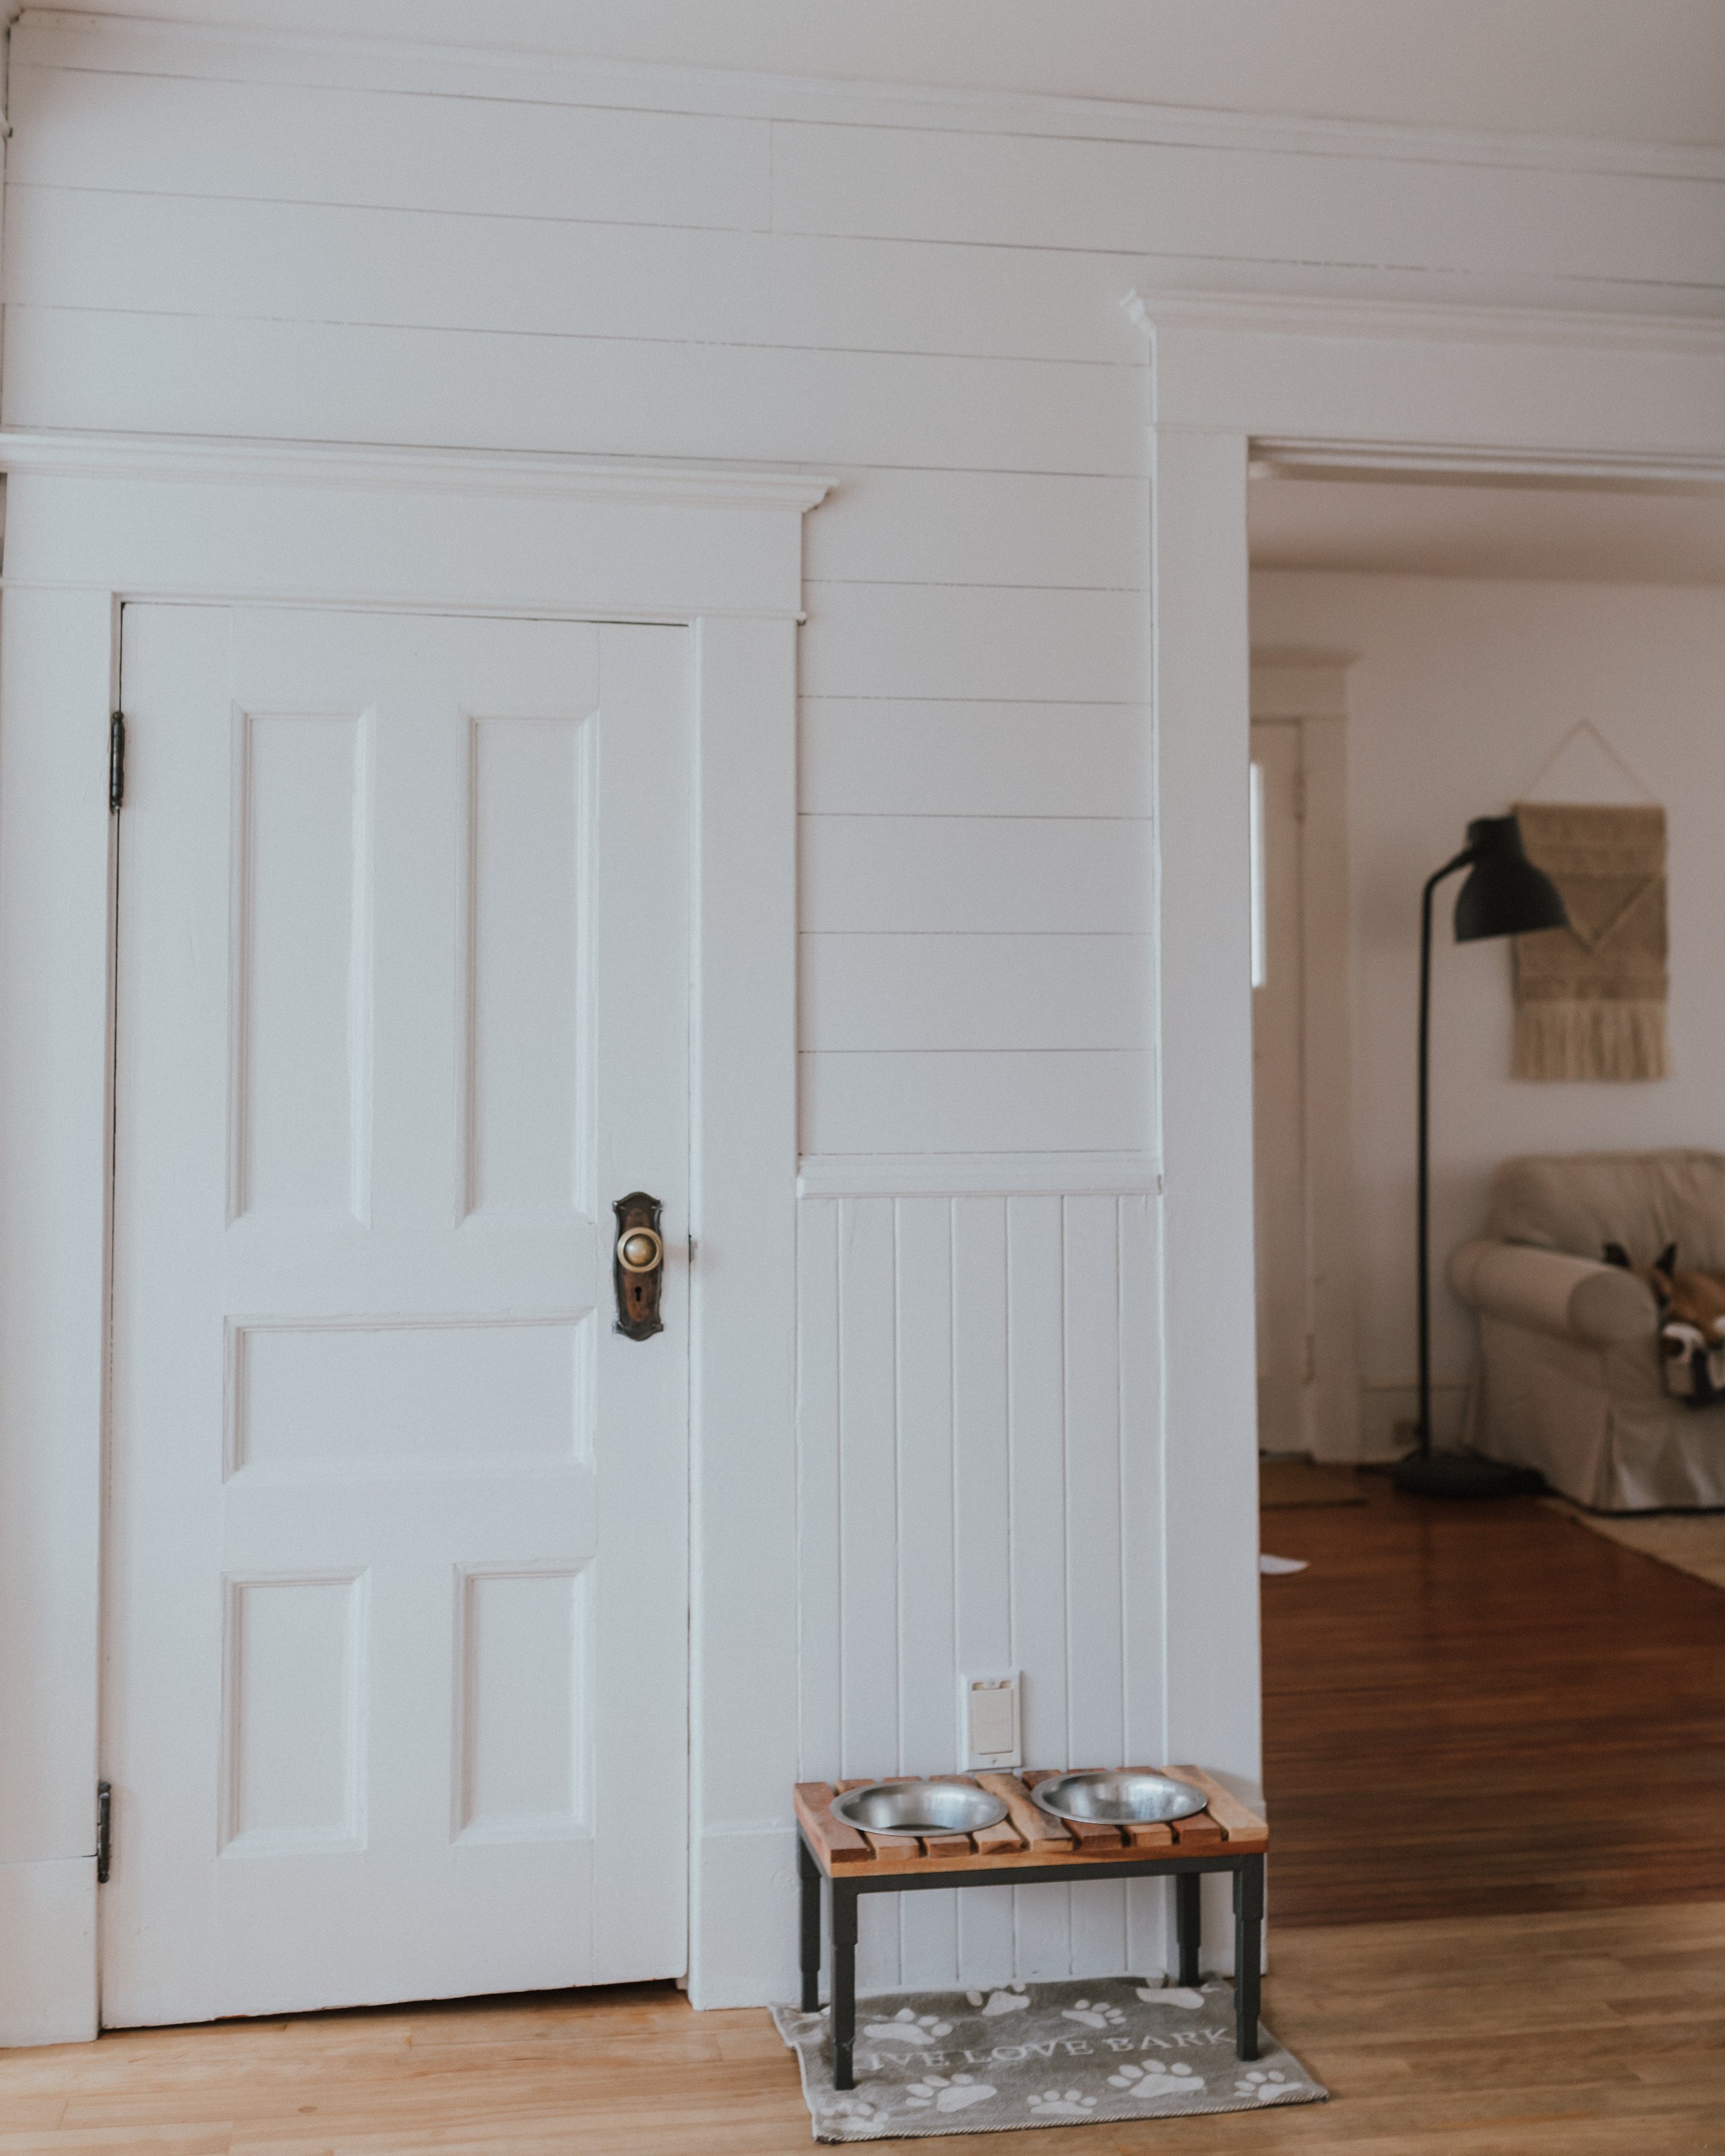
 We knew we needed a range hood for proper ventilation, so we took out the cabinets above the stove. We then realized, along with the peeling off wallpaper, something had to be done about the walls. With the help of you all on our Instagram account, we decided to risk it and cover the walls that were in horrible shape (5 layers of wallpaper half removed) with Shiplap above the original wainscotting. People were fearful that it would be too busy, but we made sure to go wide with the boards at 6 inches. We followed Farmhouse On Boone's how to and used Home Depot's RevolutionPly at only $25 per sheet. We also had the great people at Home Depot cut the strips for us to make the project that much easier. Once it was up, we painted it with Behr's Cabinet and Trim Paint in Shoelace. This part of the reno cost us $170 total.
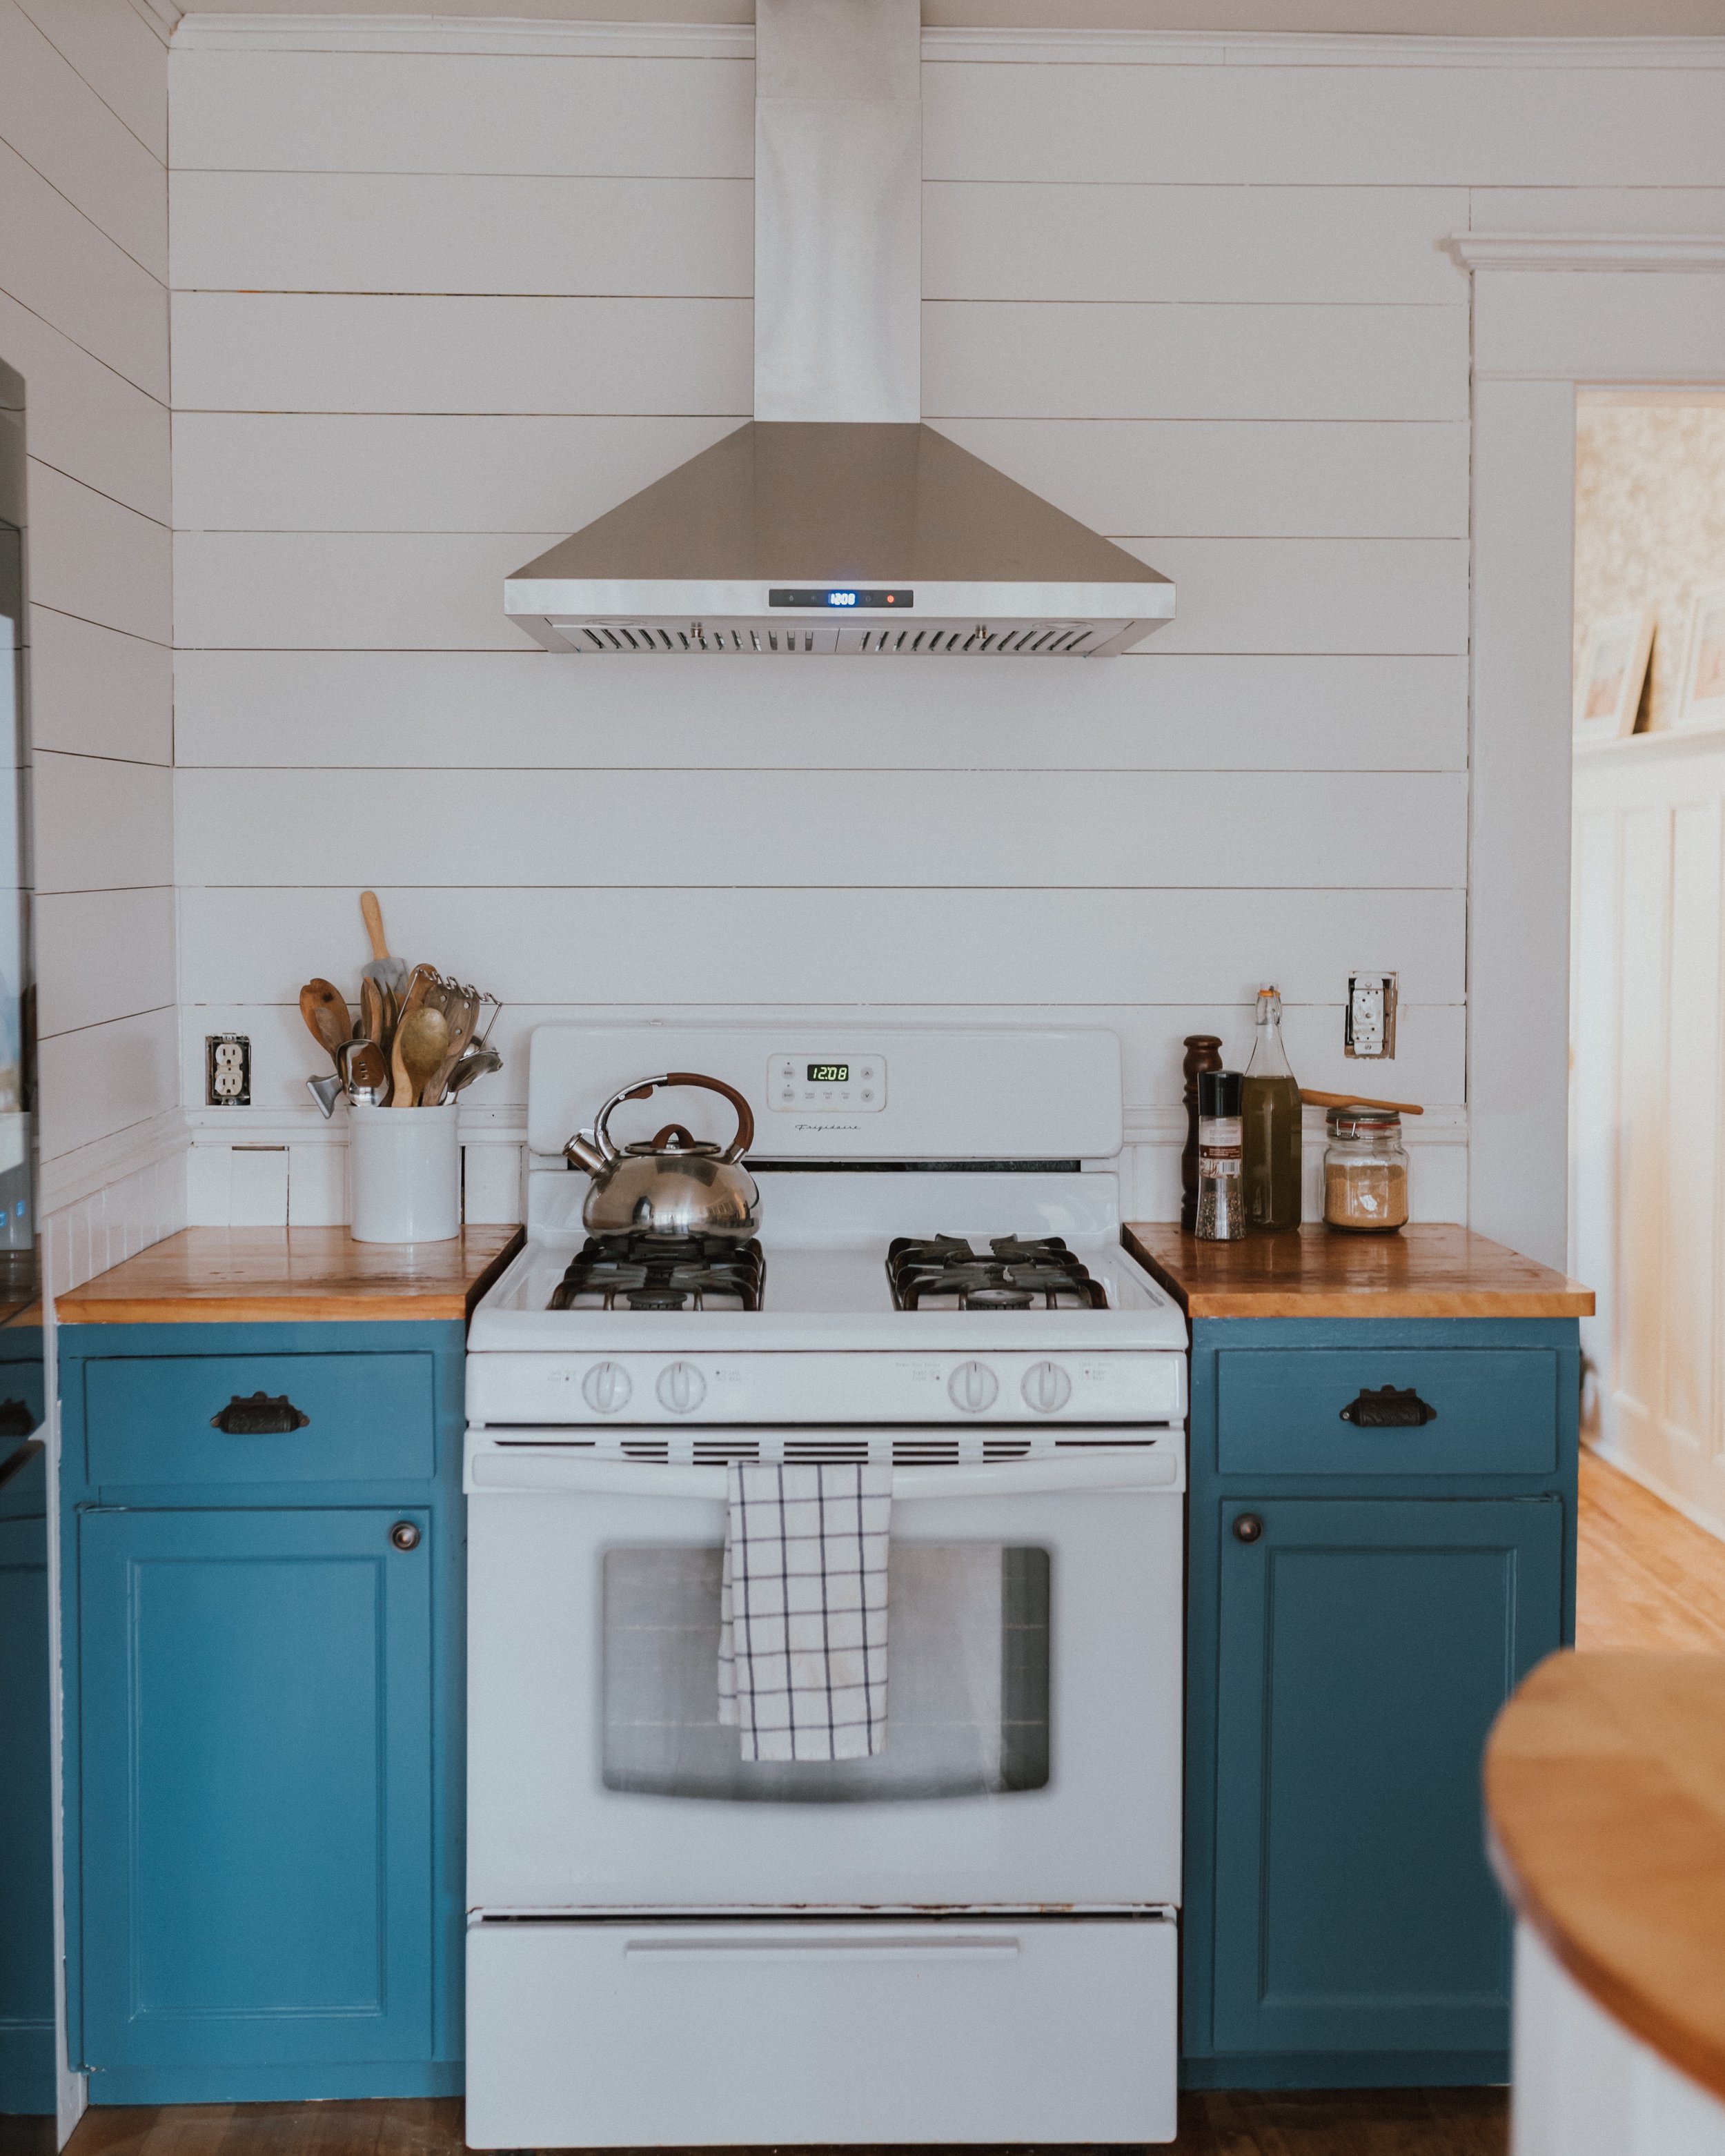
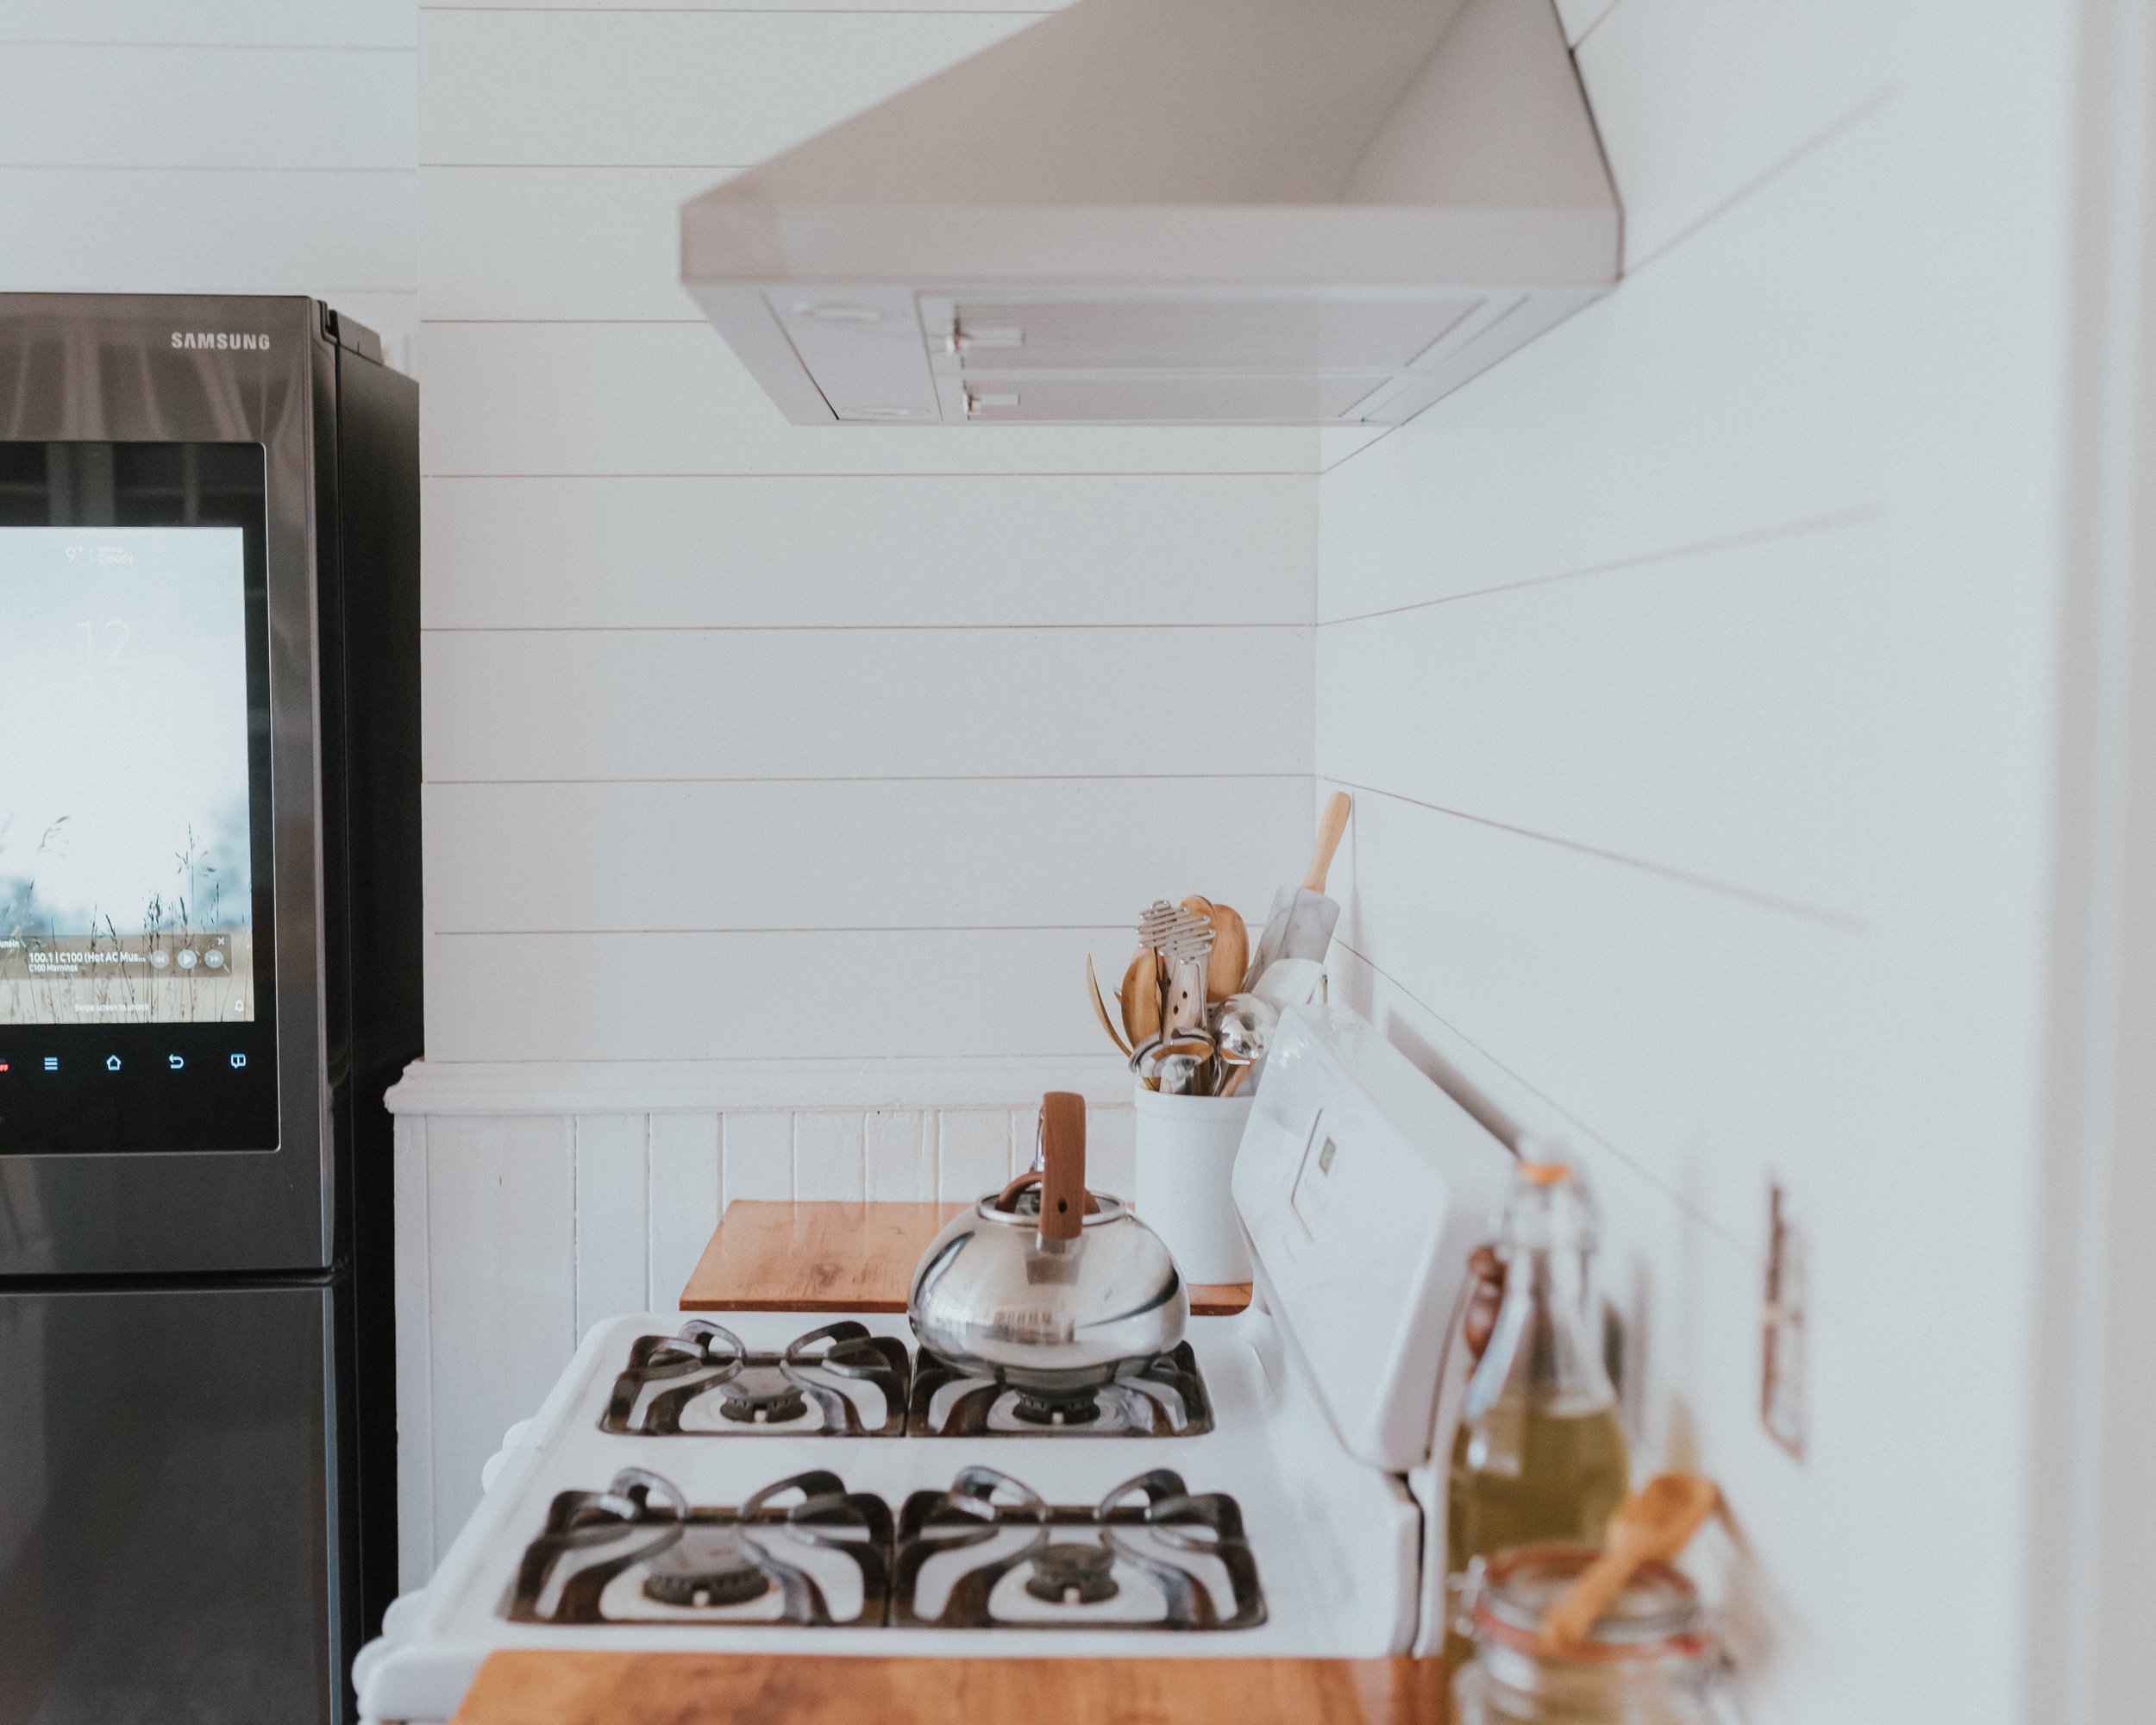 All that was left to do thus far was to add the Range hood that we scored c/o Wayfair and is only $325. What we loved about it is that it is convertible. Because the stove is on an interior wall, we couldn't vent it to the outside. This hood vent allows you to have it recirculate with Charcoal filters attached so that you don't need it to be vented to the outside. Plus, it looks so slick on that previously crowded and dark wall.
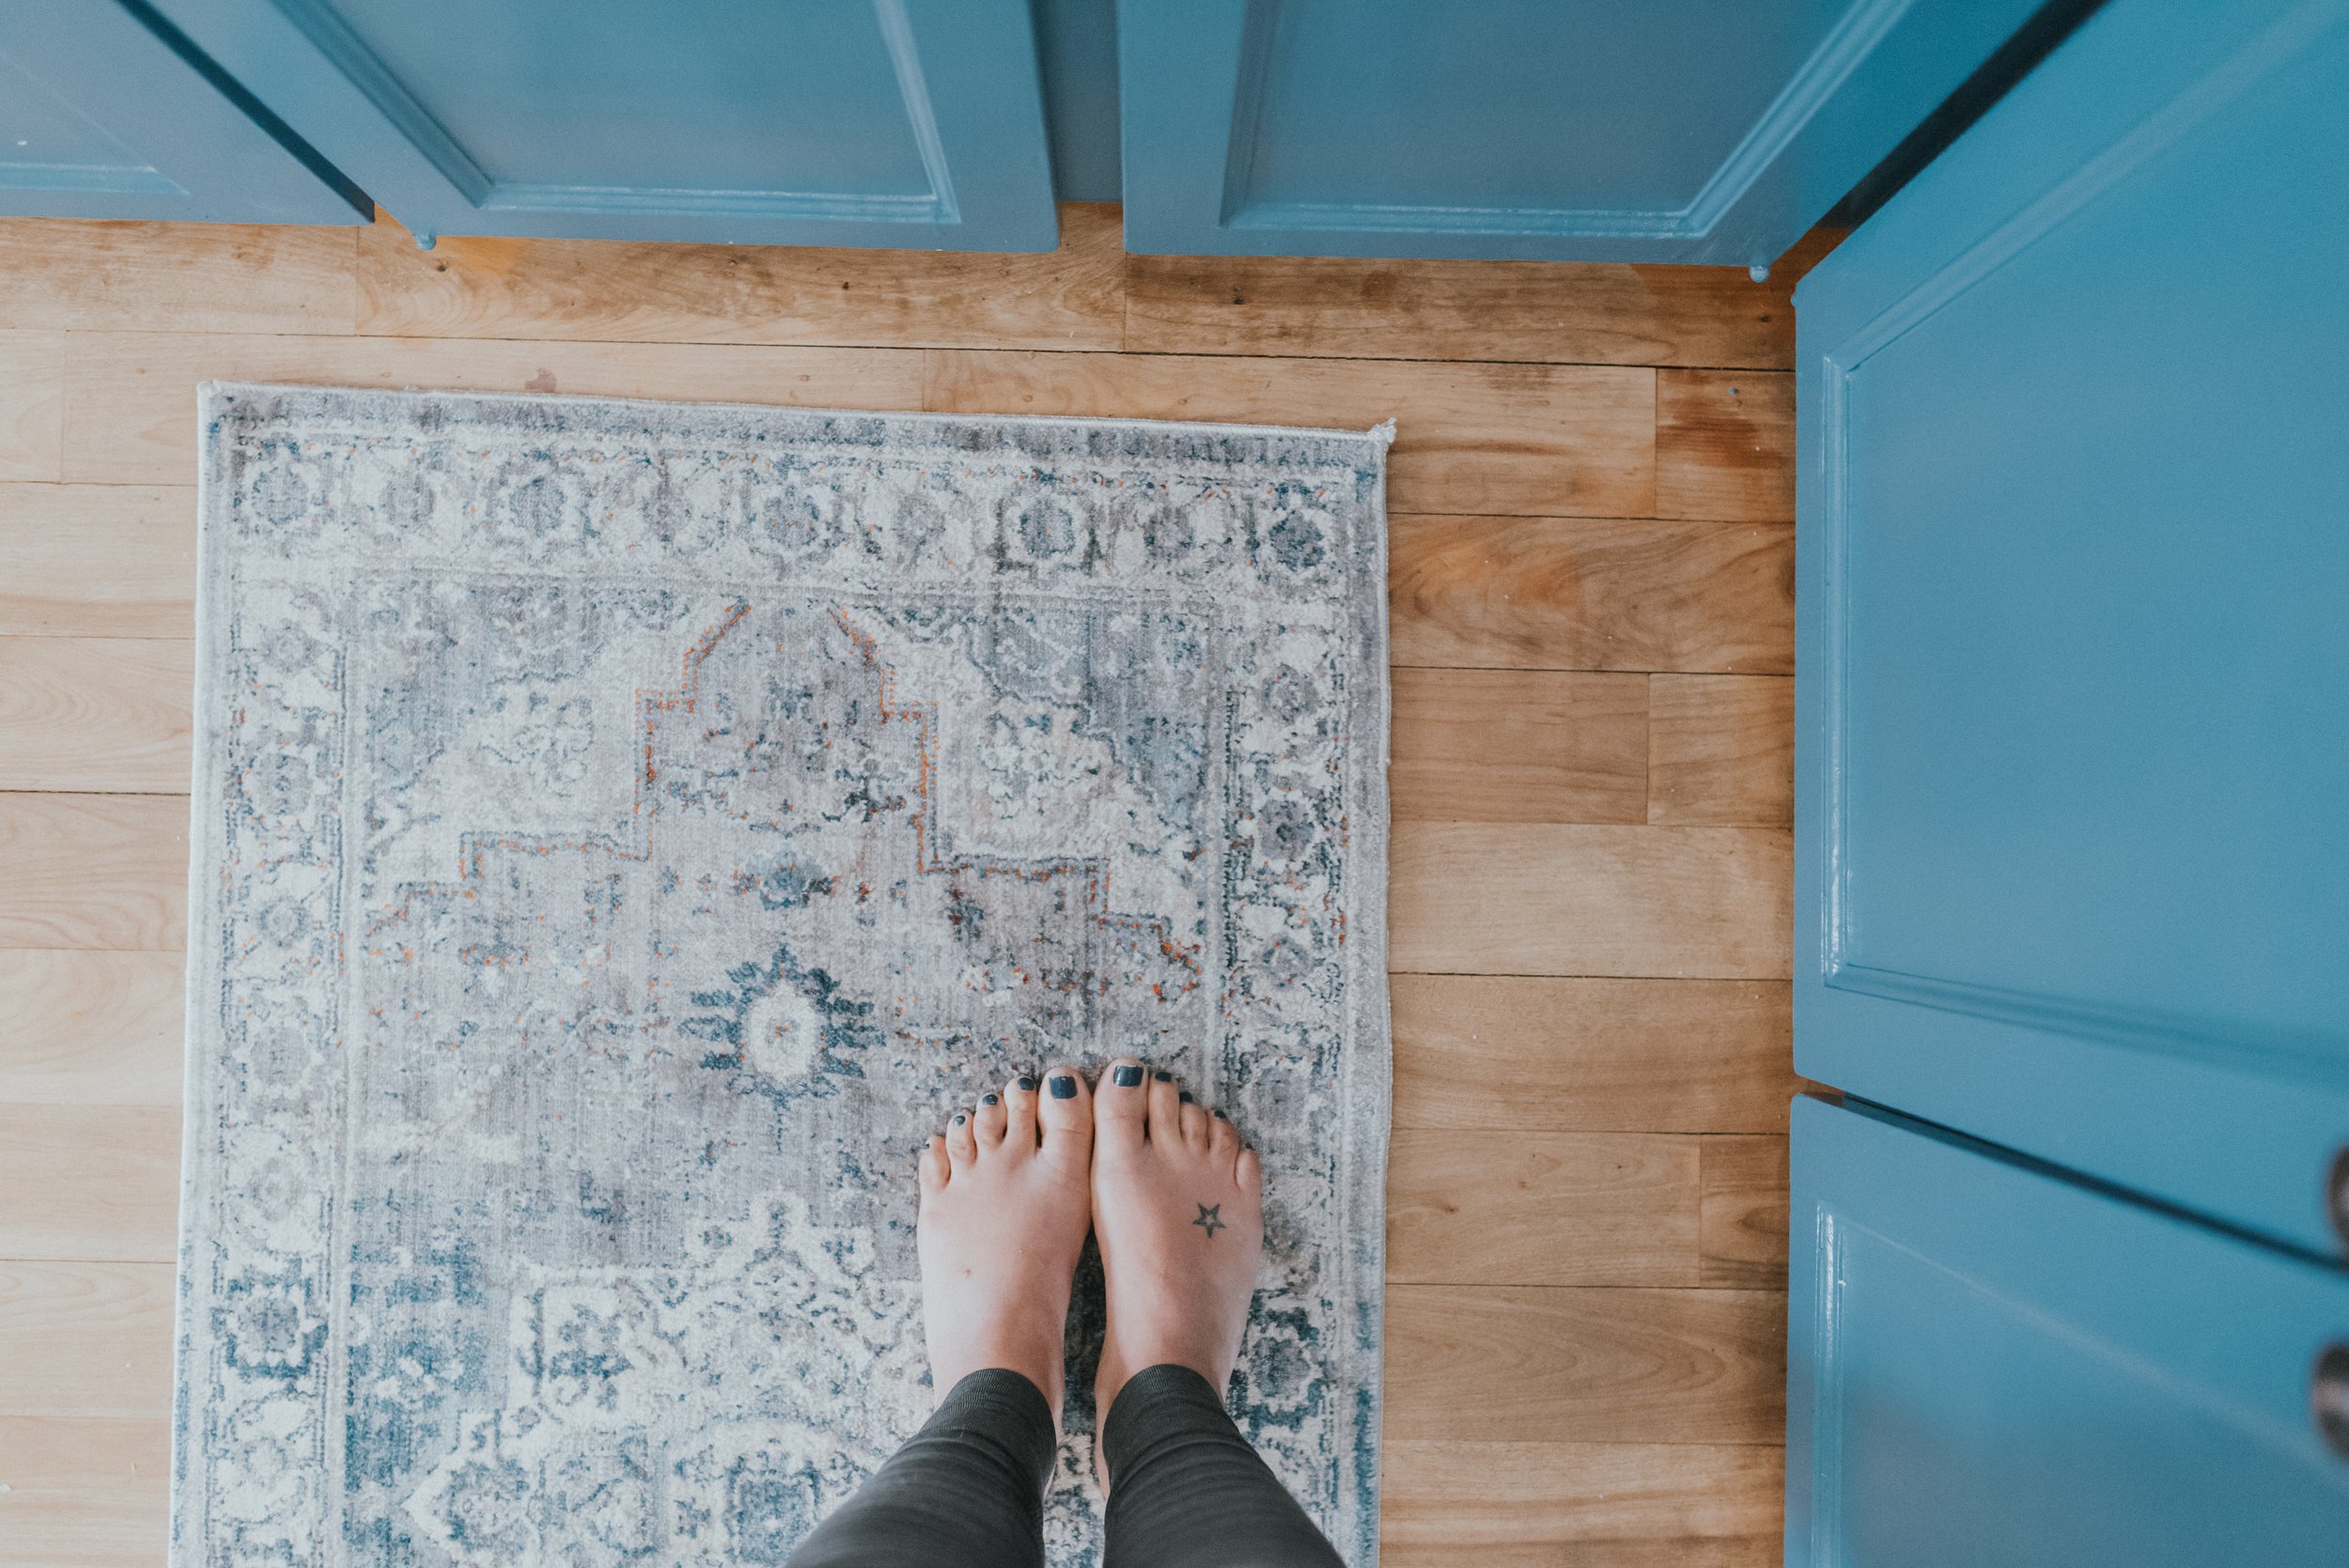 To finish up the space for now, we also grabbed THIS runner c/o Wayfair that matches the Blueprint paint color PERFECTLY. It adds some warmth to the space and at only $175 I I feel ok if it gets a bit of food spilled on it. The pattern was specifically picked so that it would hide any stains. We also switched the nasty brown light out for a gorgeous schoolhouse light c/o Hudson Valley lighting that better matches the era of our home. It was $500 and worth every penny.So to get our home from the before to the (middle?) After, it only cost us a total of
$1358.
So for less than $1500 it looks like a totally different, bright and open kitchen.
So what's next?
We have a beautiful Farm sink and new faucet from Blanco just sitting in our powder room waiting to be installed. But before we can install it, we need to order new countertops to turn that 80's style ledge behind the sink into a 48" wide eat-up Island. We are also redoing the outlet and switches so stay tuned for that as well.But, what you will see next from us is a newly renovated dining area so stay tuned as that is coming up in the next week.
