How To Make Beeswax Wraps
 Before Christmas, I went on a crafting spree and turned a yard of fabric into ten beeswax wraps for both our home as well as gifts. We have been using Wax wraps for about a year now have not had to buy saran wrap for about the same. Since moving to our new home, we seem to be totally becoming those country bumpkins who just want to live off the land and be self-sufficient. On top of that, we are becoming so much more aware of our use of plastics in the home and what is actually recycled and what isn’t. So, switching things out like buying in bulk, making things at home and even lessening our use of simple things like Saran, has made a small dent in our own waste creation. But on top of all that hippy stuff, they just look so much prettier than boring old plastic wrap when you look in your fridge or head to a party with a dish in hand.
How To Make Beeswax Wraps
What You Will Need:
- Beeswax pellets, I bought mine at Michaels, but what I do urge is that you get the classic unbleached kind, not the kind for lip balm etc.
- Fabric. You want to look for 100% cotton thin fabric. Your best choice is quilting fabric as its inexpensive and a great weight.
- Zigzag fabric scissors
- Large cookie sheet
- Parchment paper
- Paint Brush
How To Make Them:
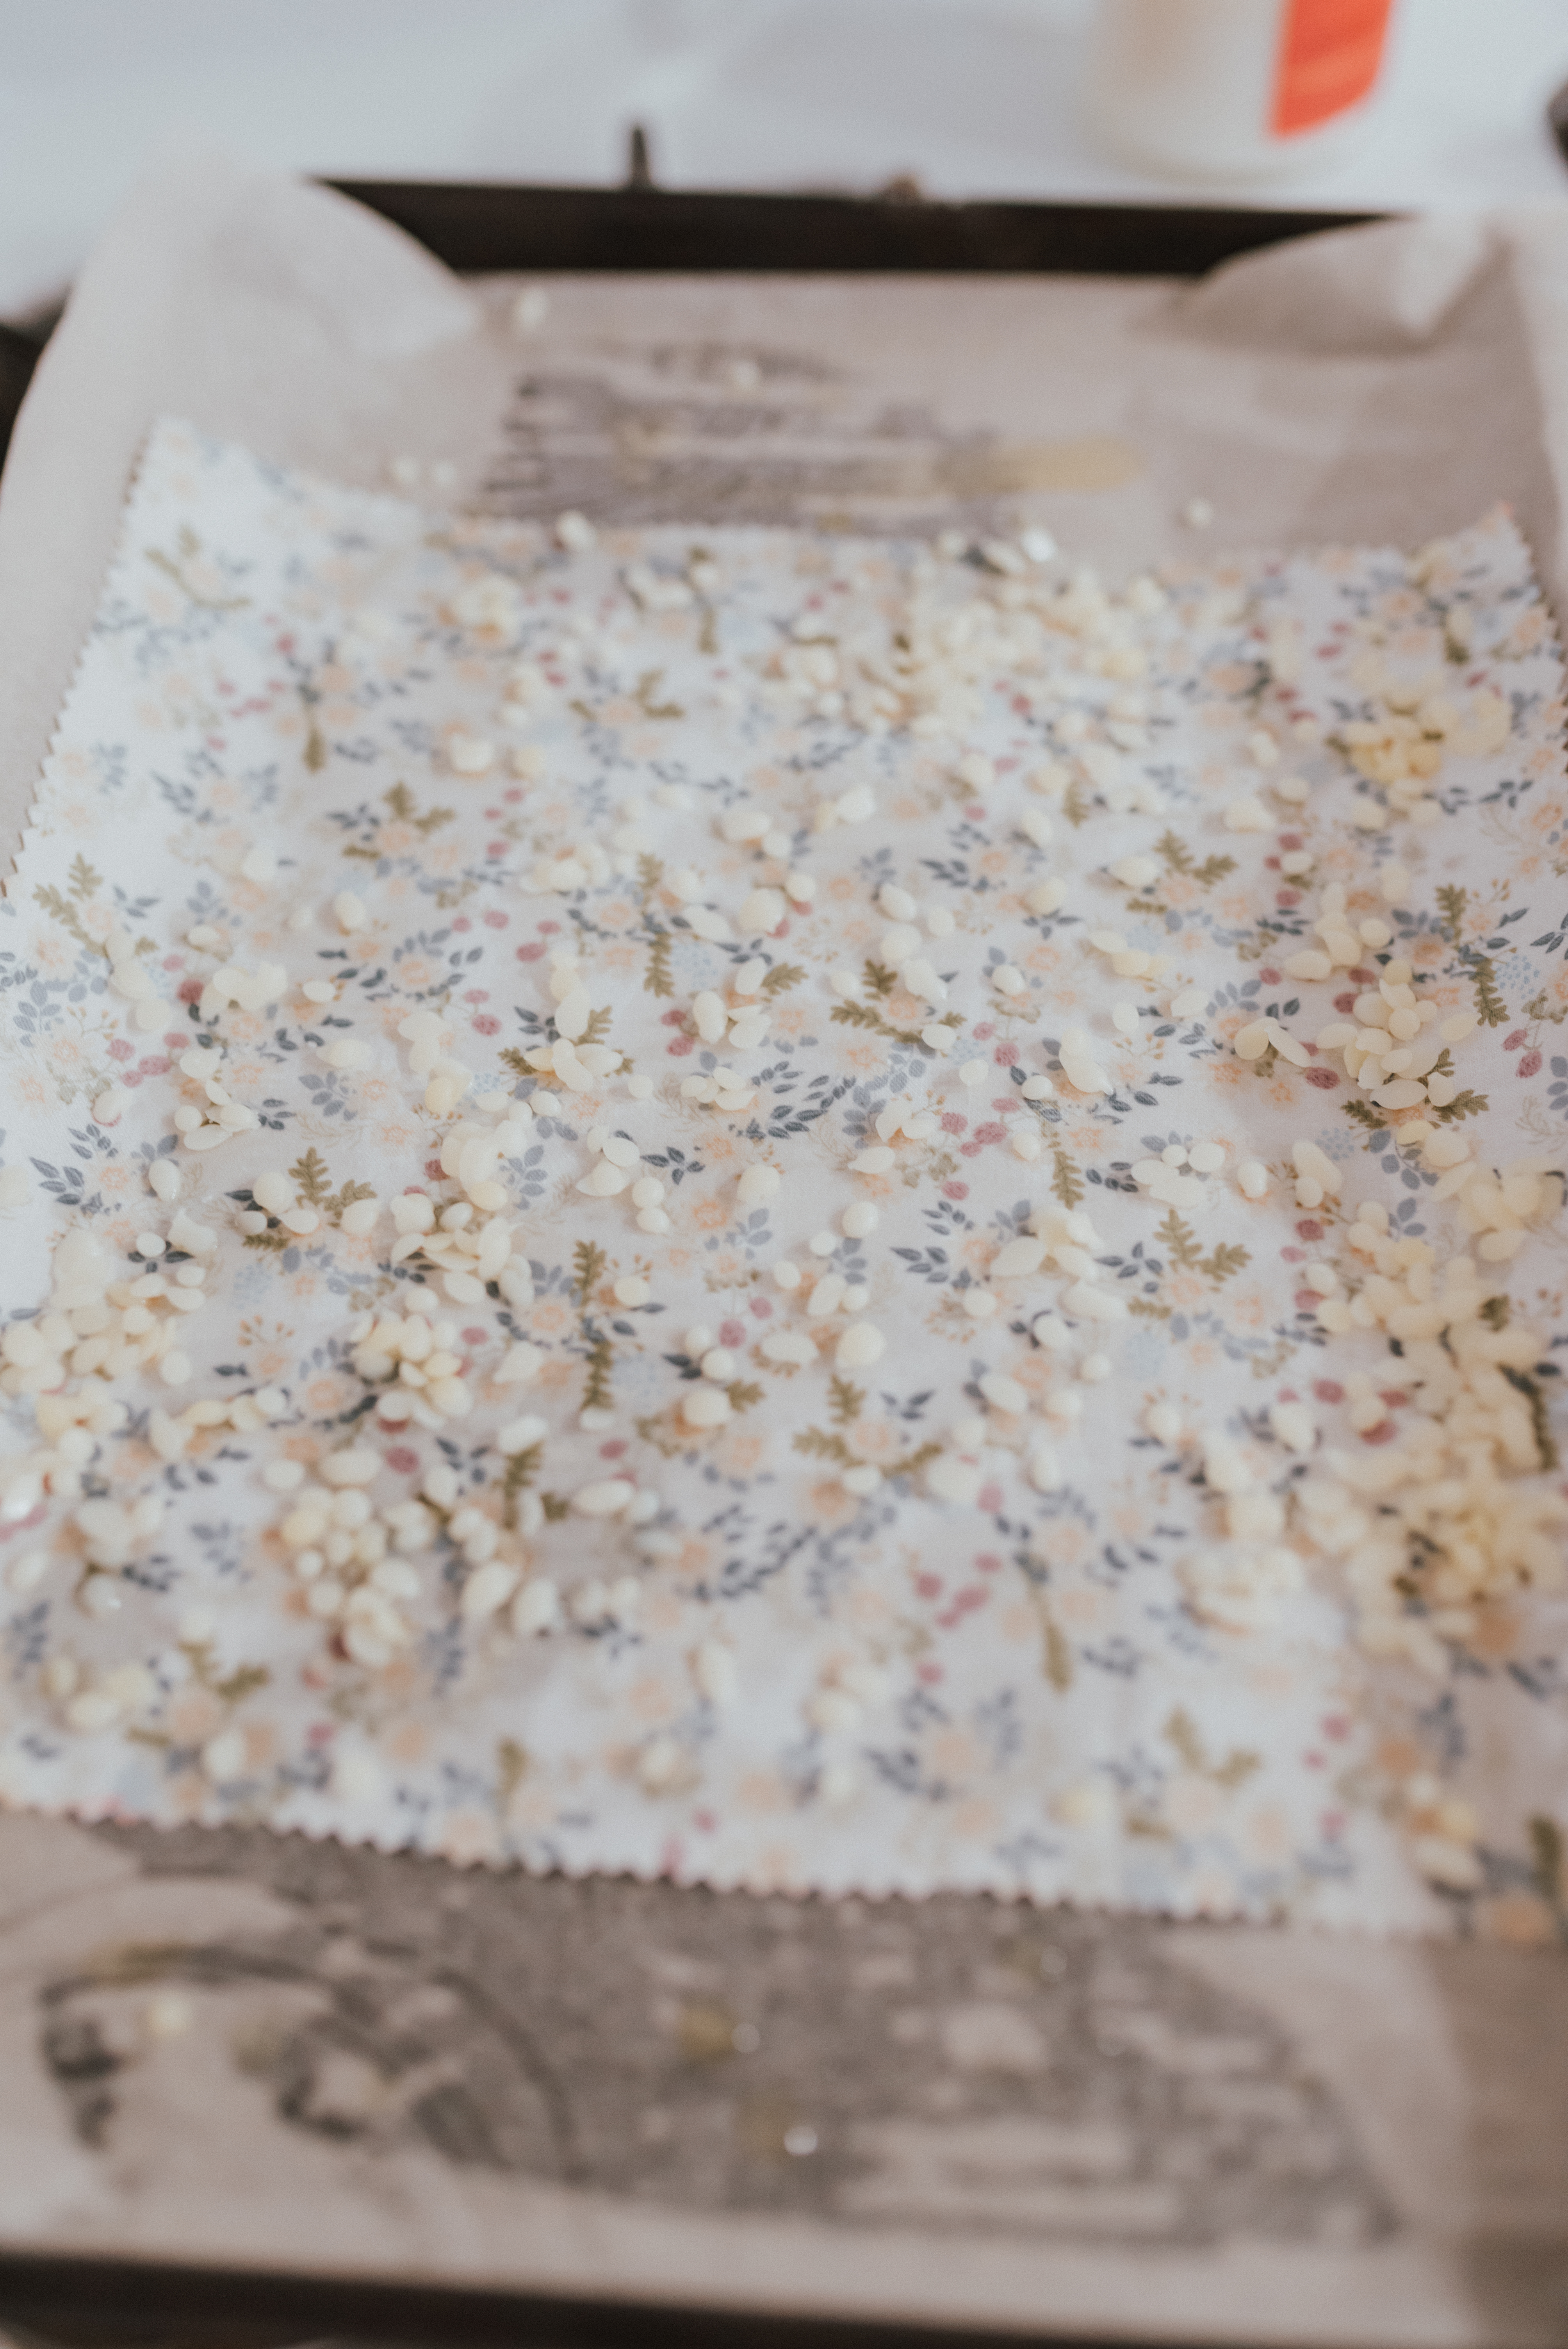
- Preheat oven to 300. line cookie sheet with parchment paper
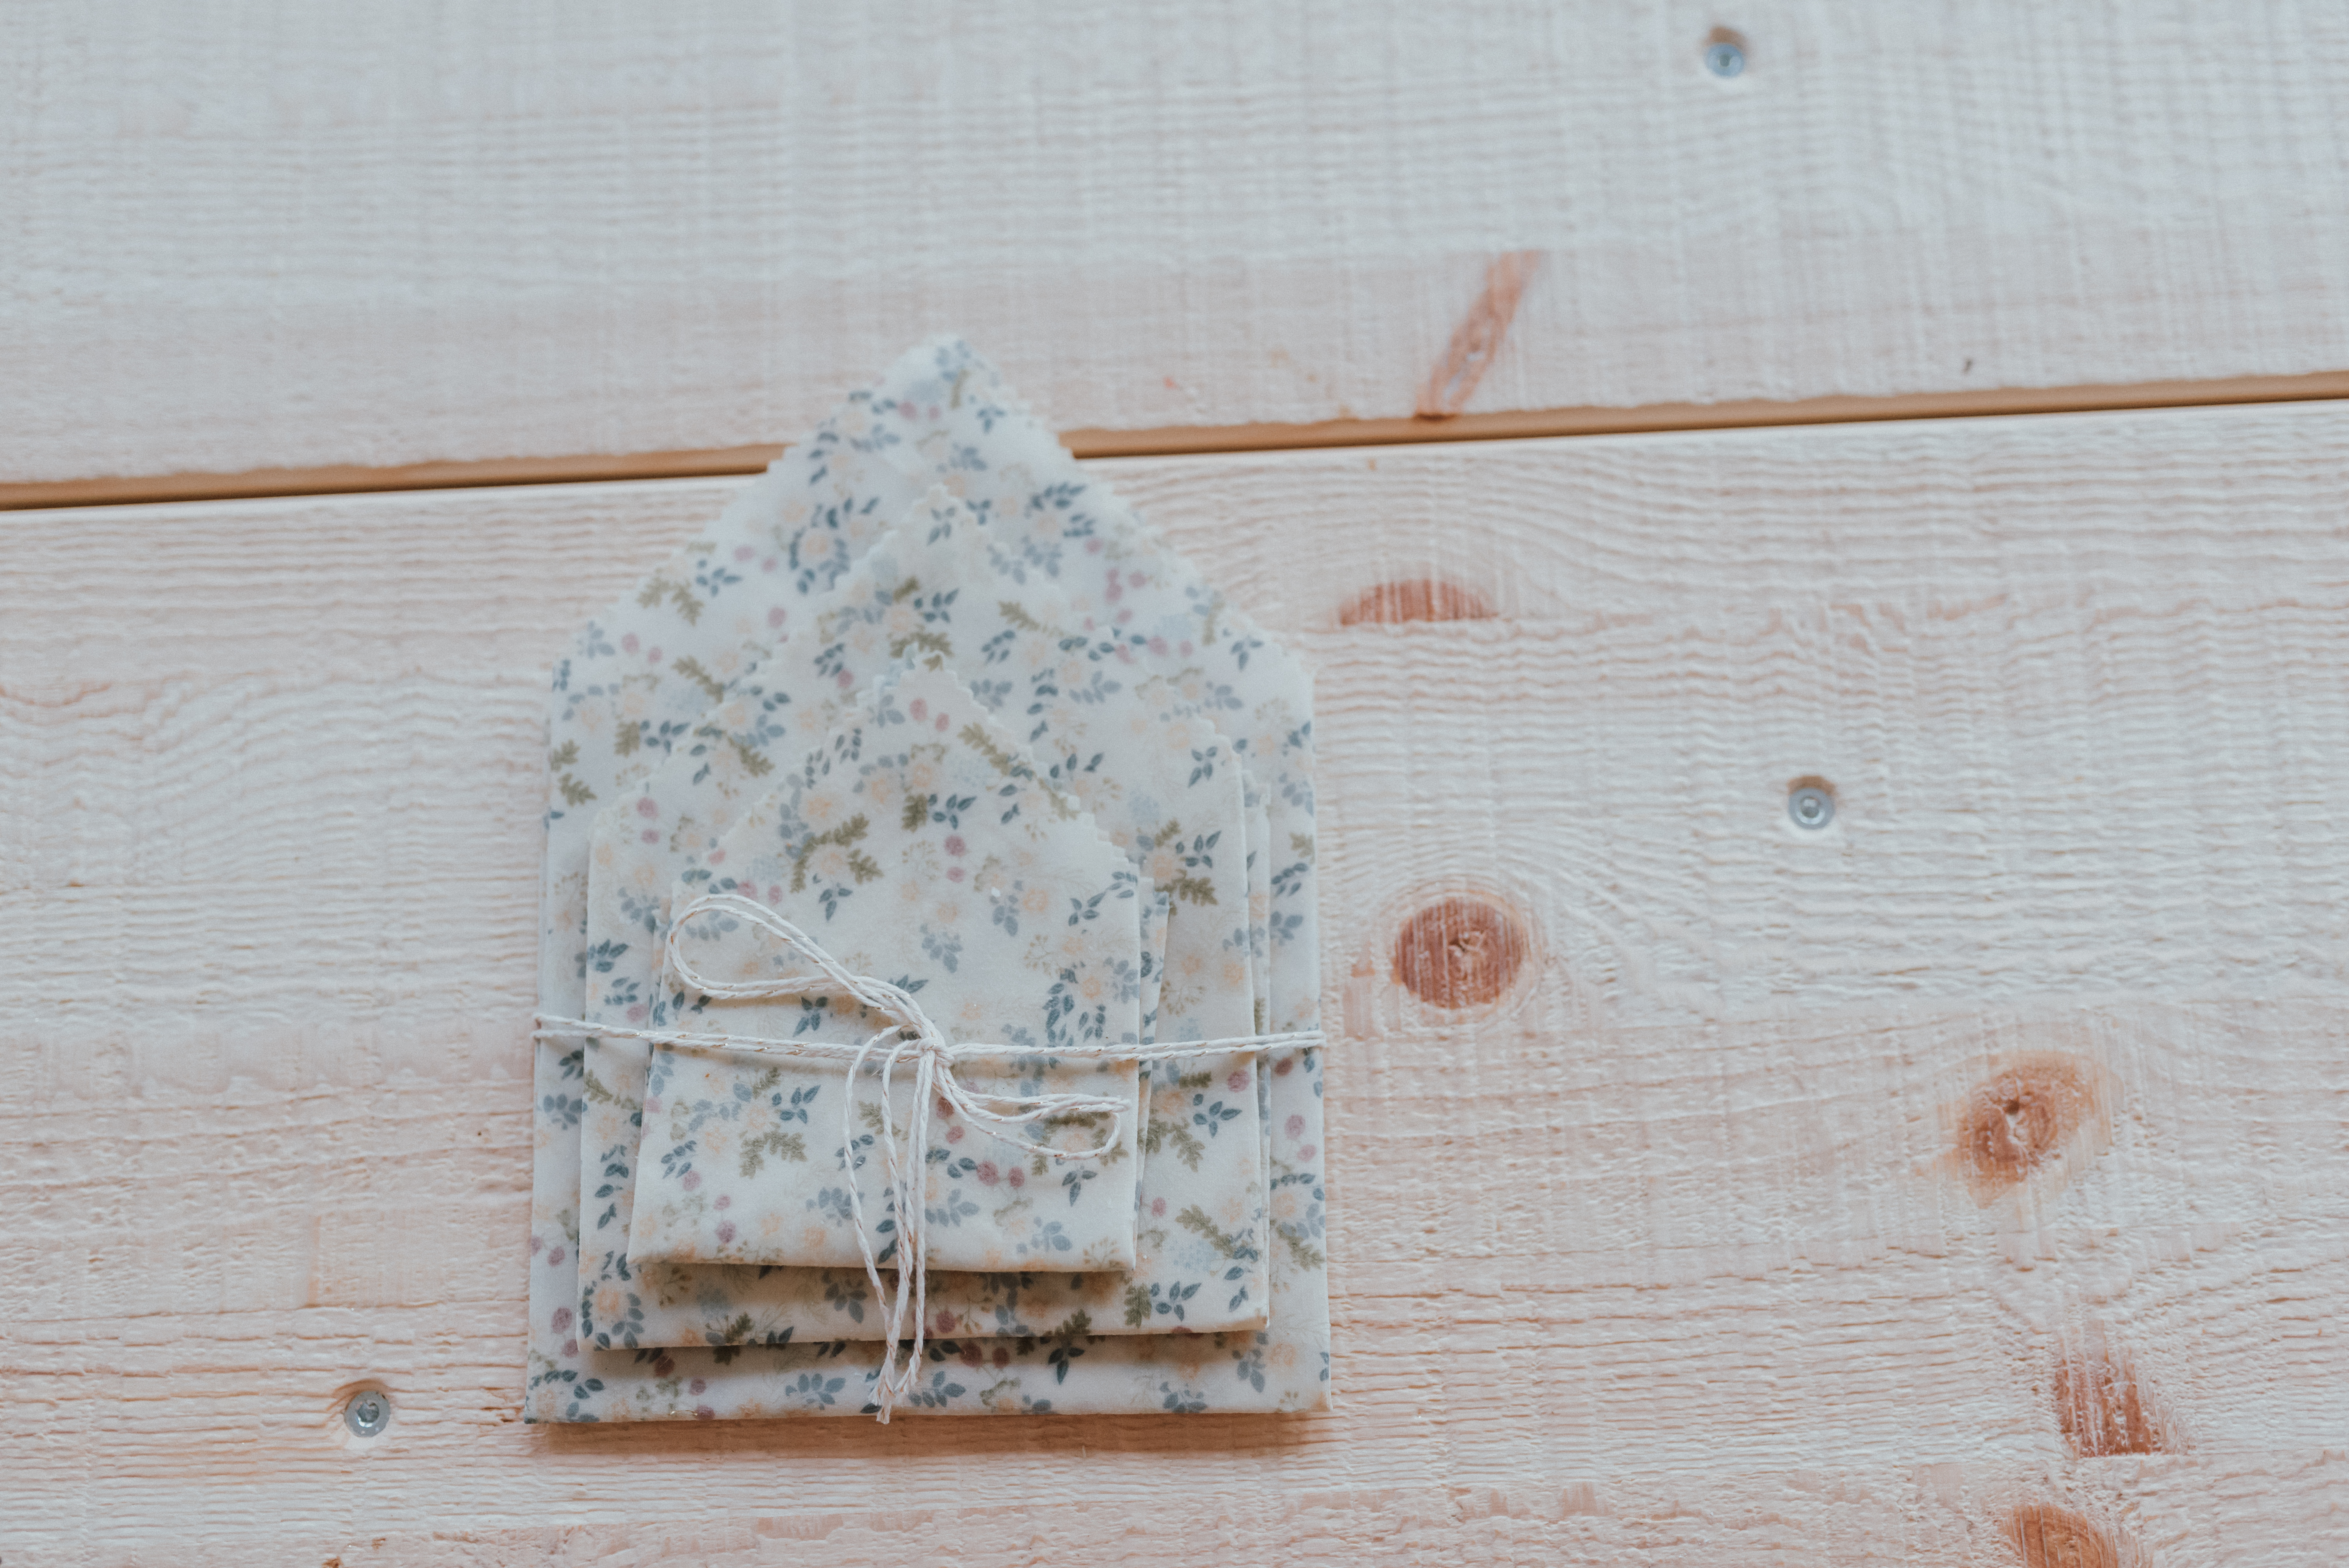
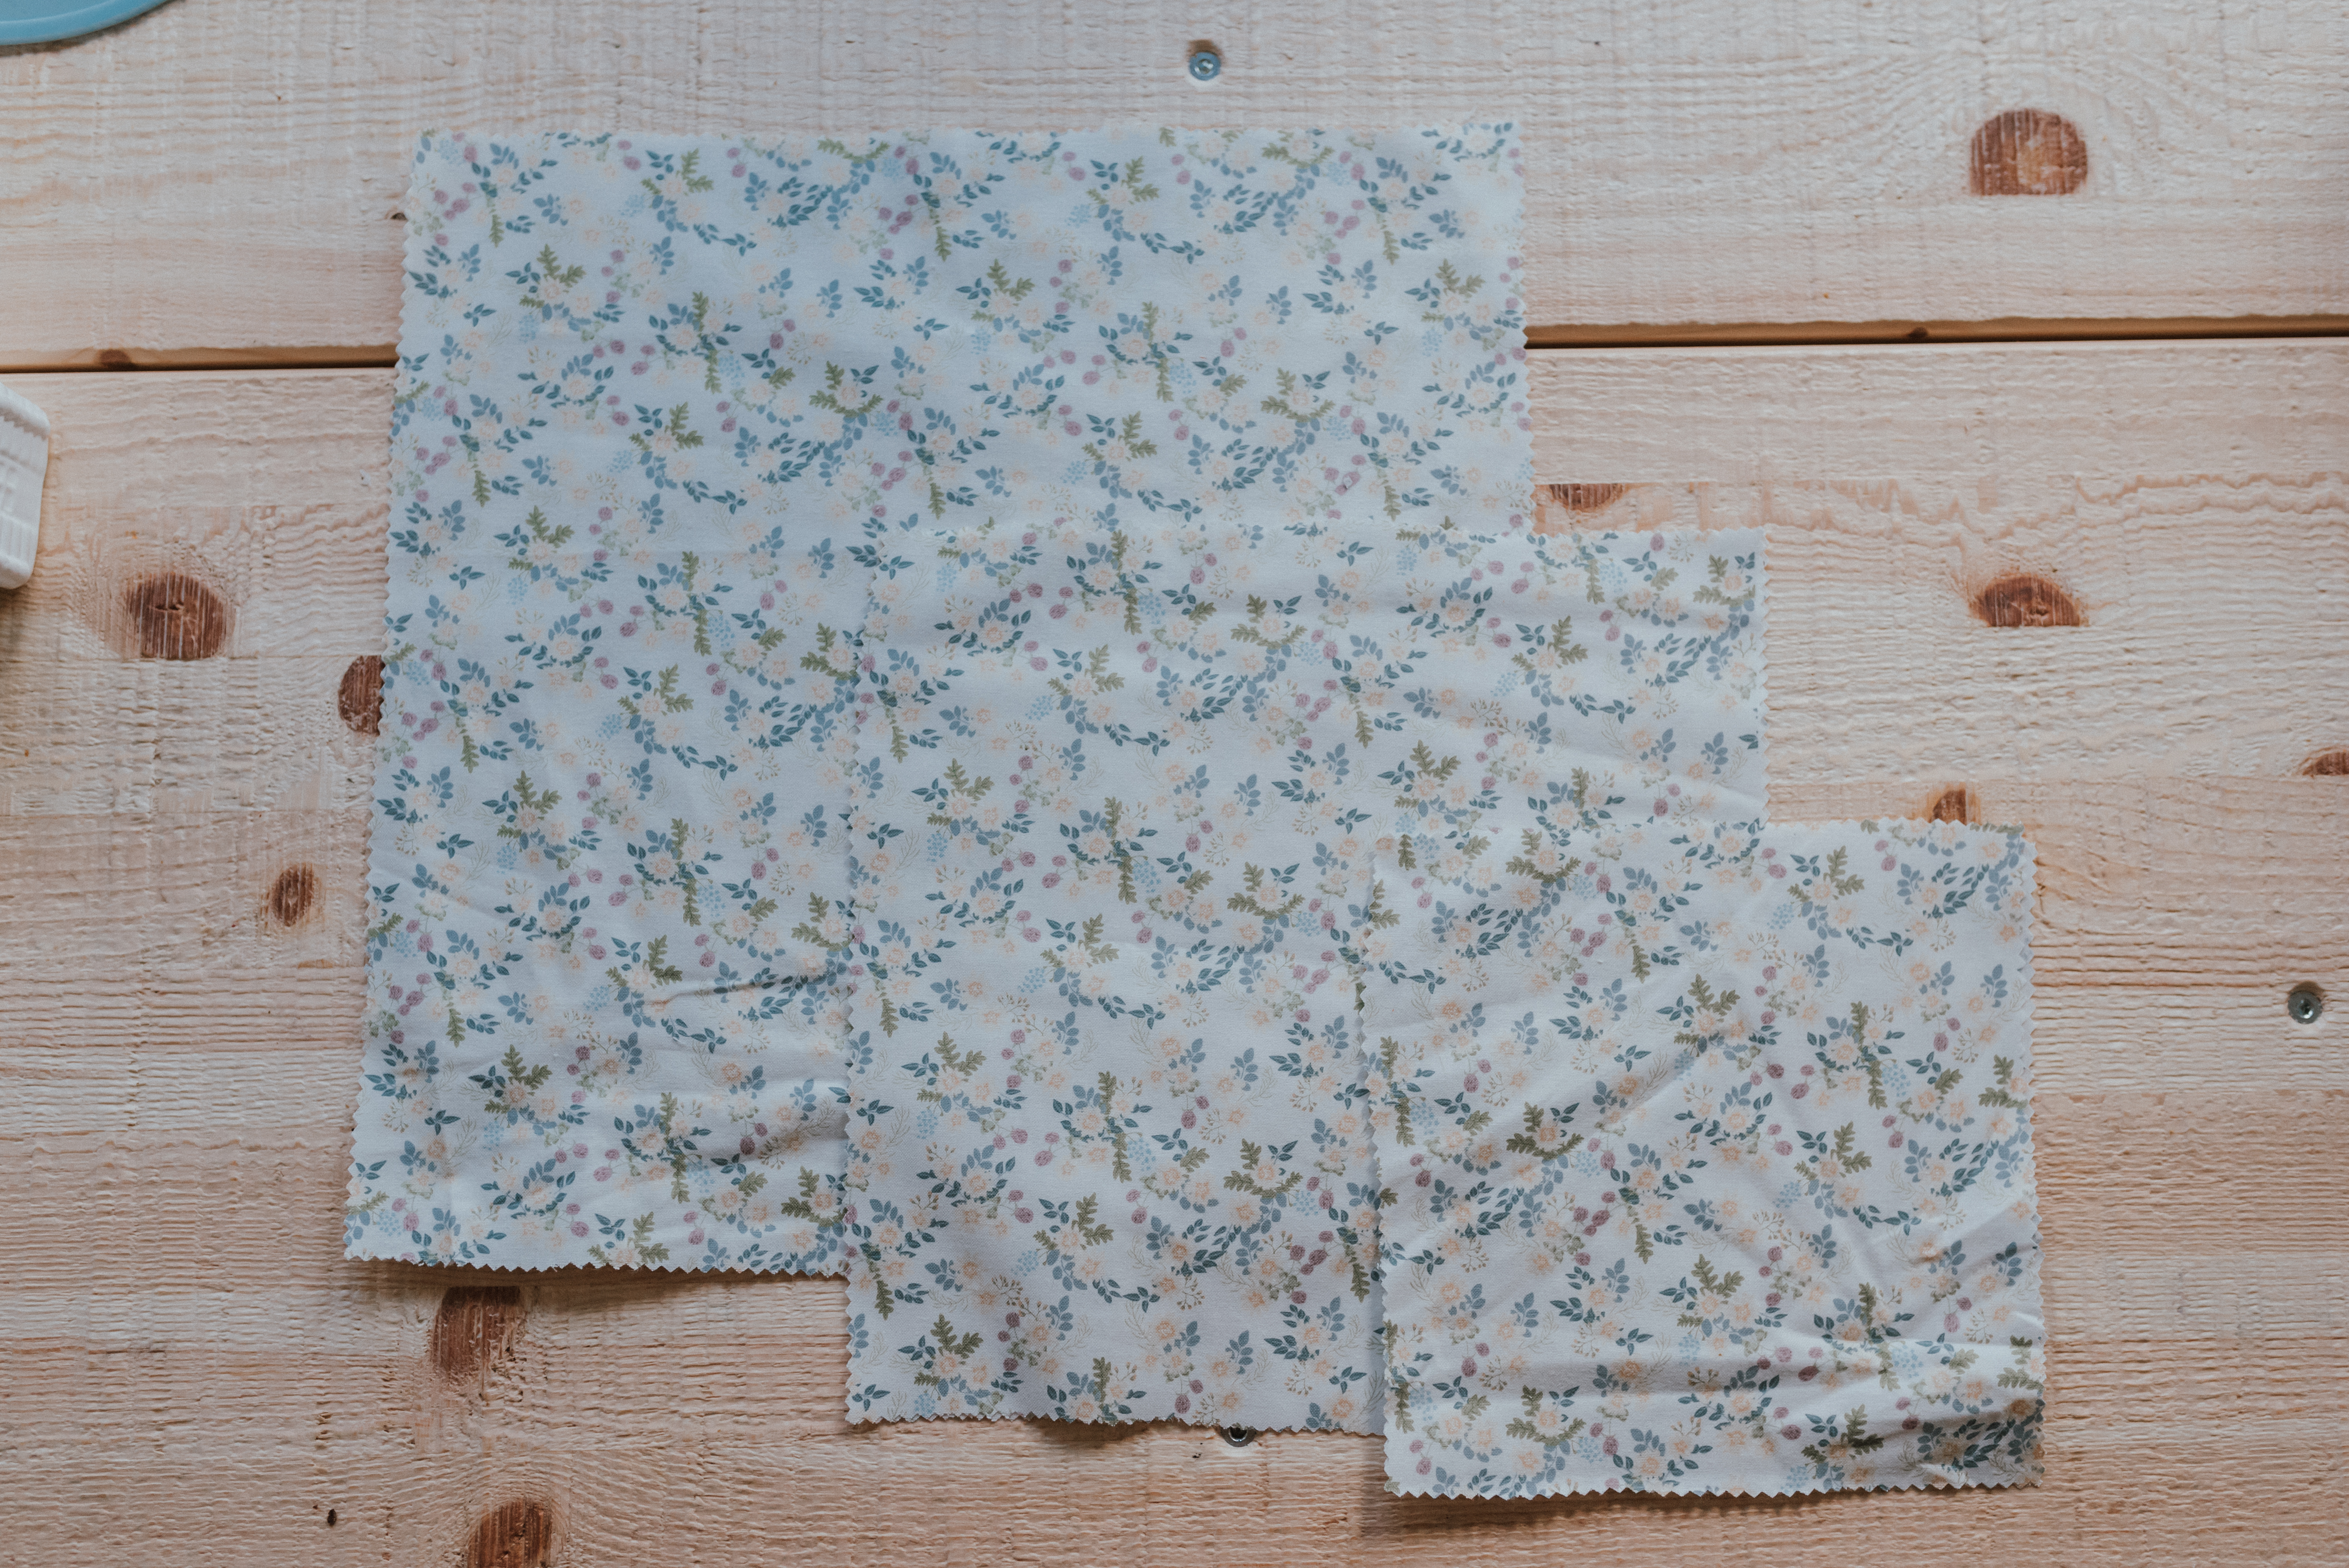
- While the oven is heating, cut out your wraps from the material using the zigzag fabric scissors so that they don’t fray. We did squares but you can also do circles. Our sizes were 7 inch, 10 inch, and 14 inch.
- Place fabric flat onto the cookie sheet and evenly spread out about 2-3 tbsps of wax pellets. Place cookie sheet in the oven and bake for about 5 mins until they are fully melted.
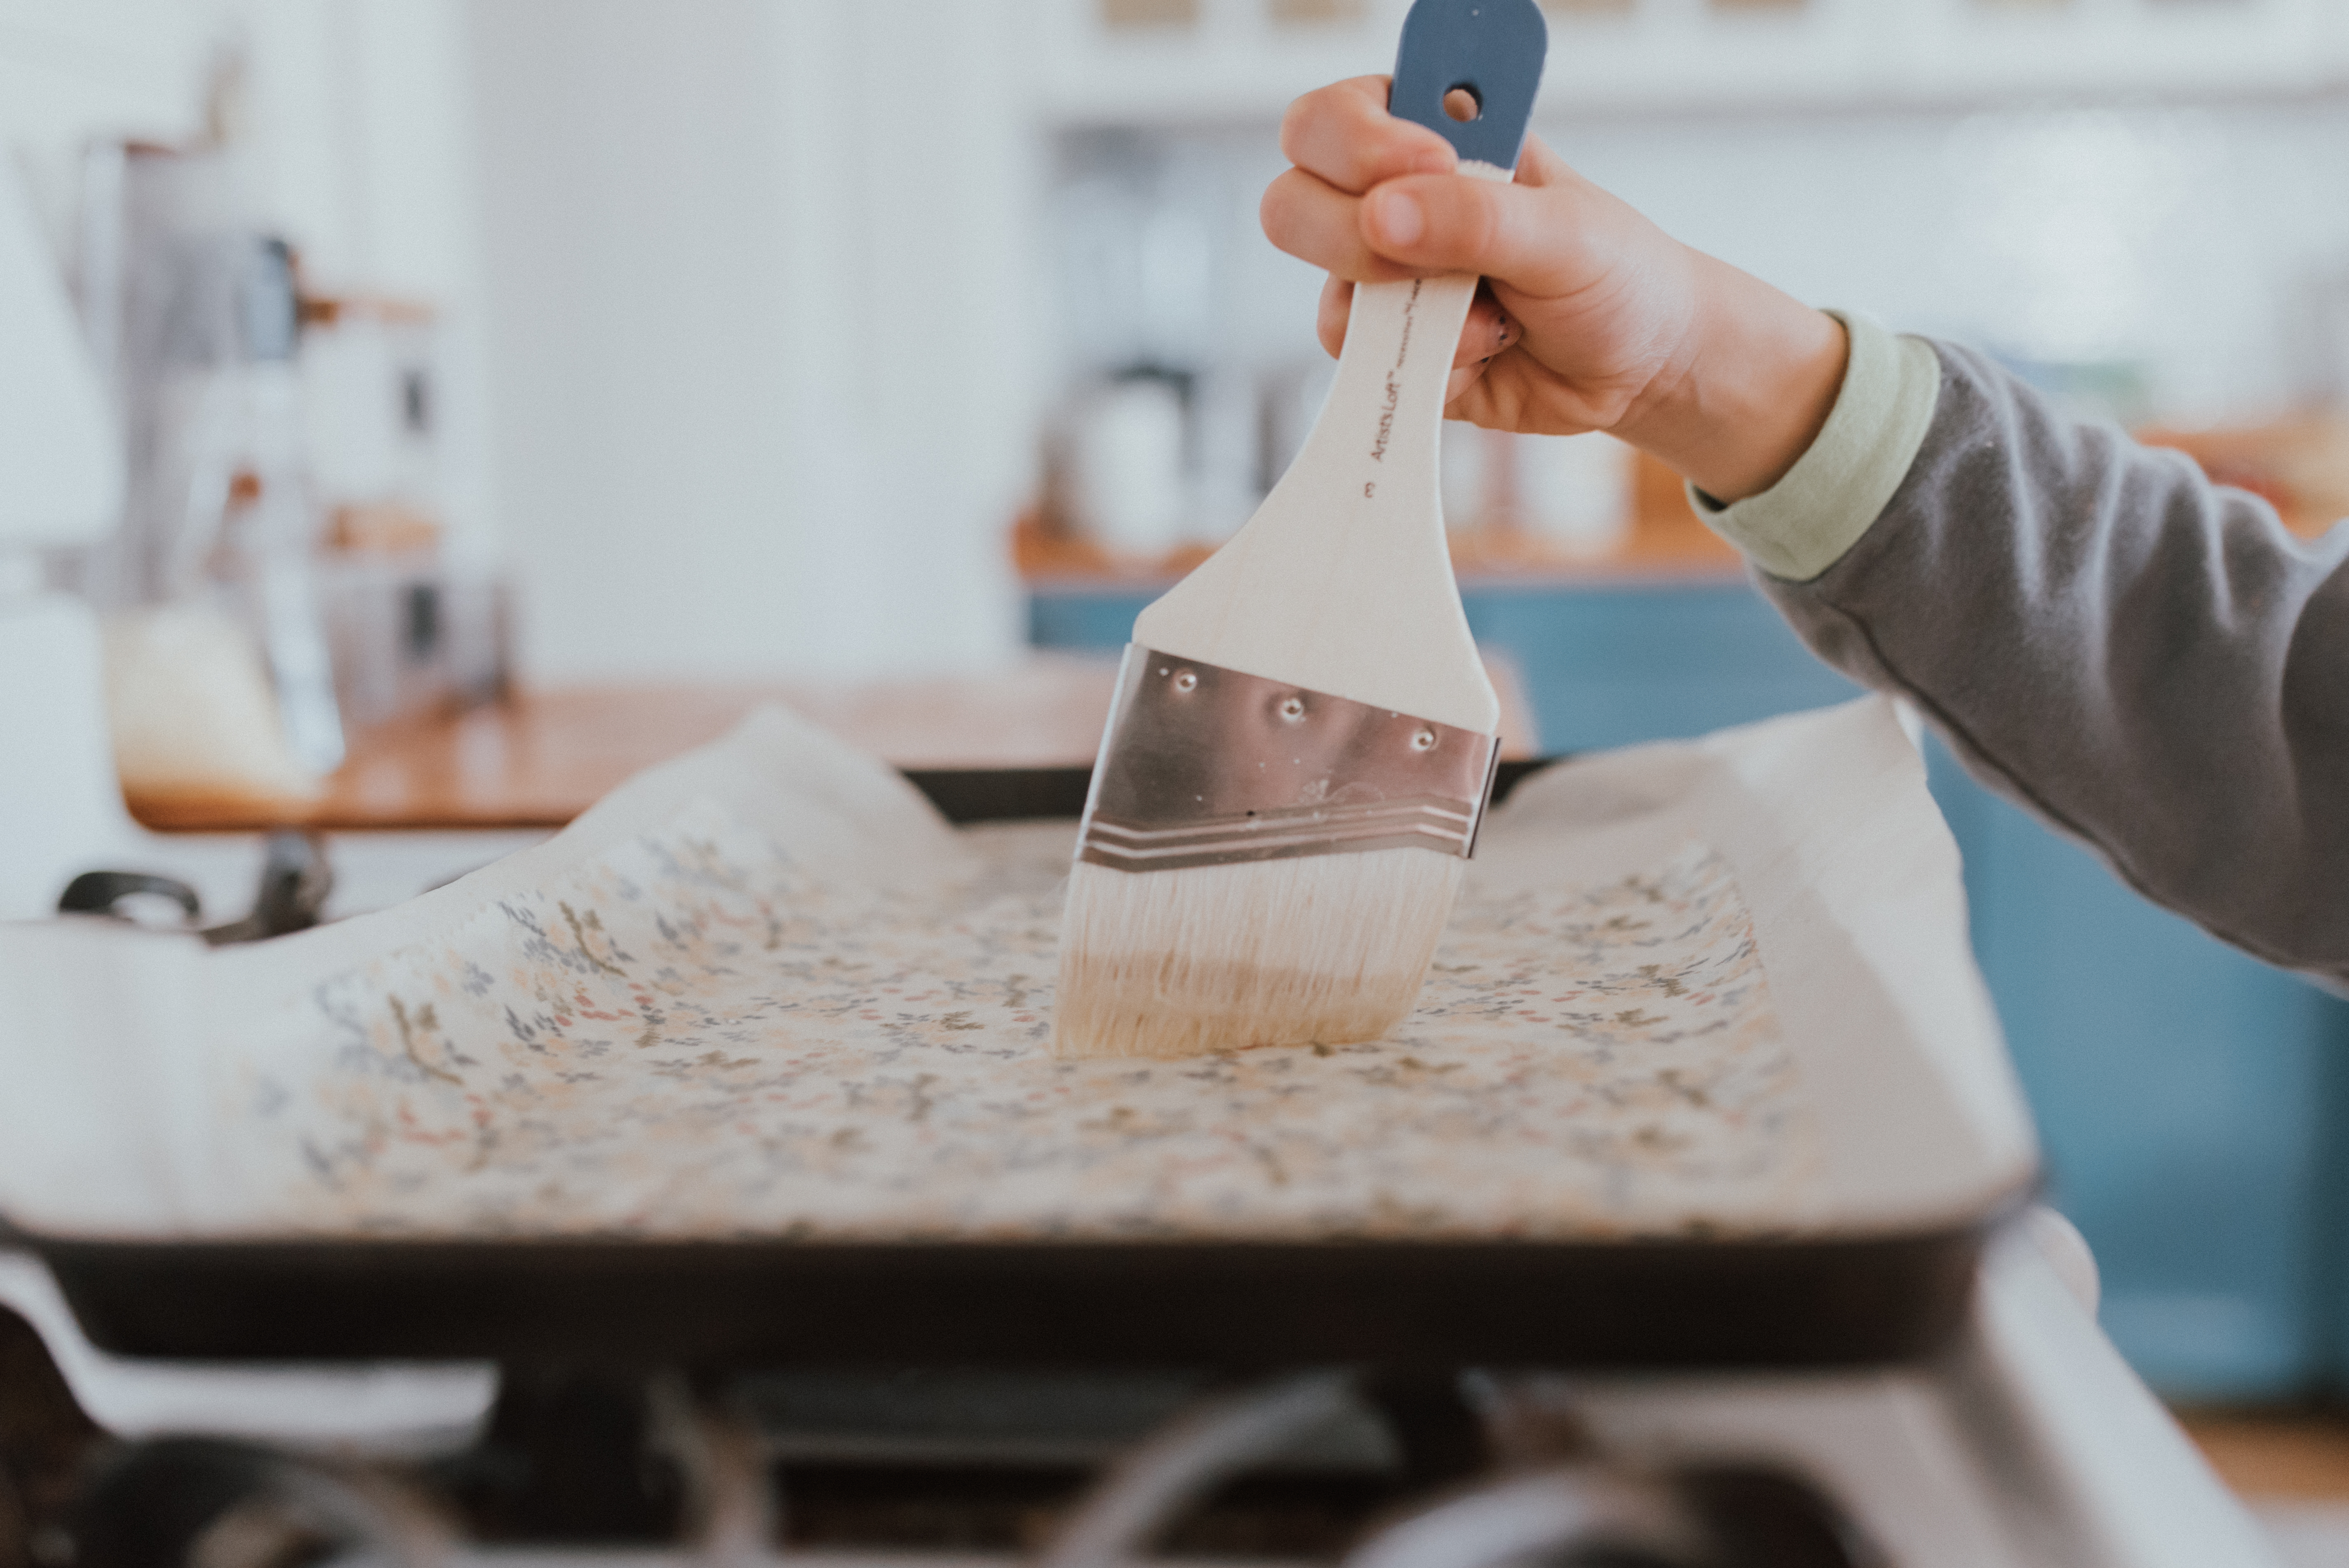
- Take the sheet out of the oven and using the paintbrush, brush melted wax all over the fabric, making sure each corner and edge is covered. Place back in the oven for another 5 mins.
- Once you take it out of the oven, take the fabric off of the pan and let drip off as it cools. I used my fingers to hold it but have heard of people creating hanging zones. it cools within a minute.

How To Use It:
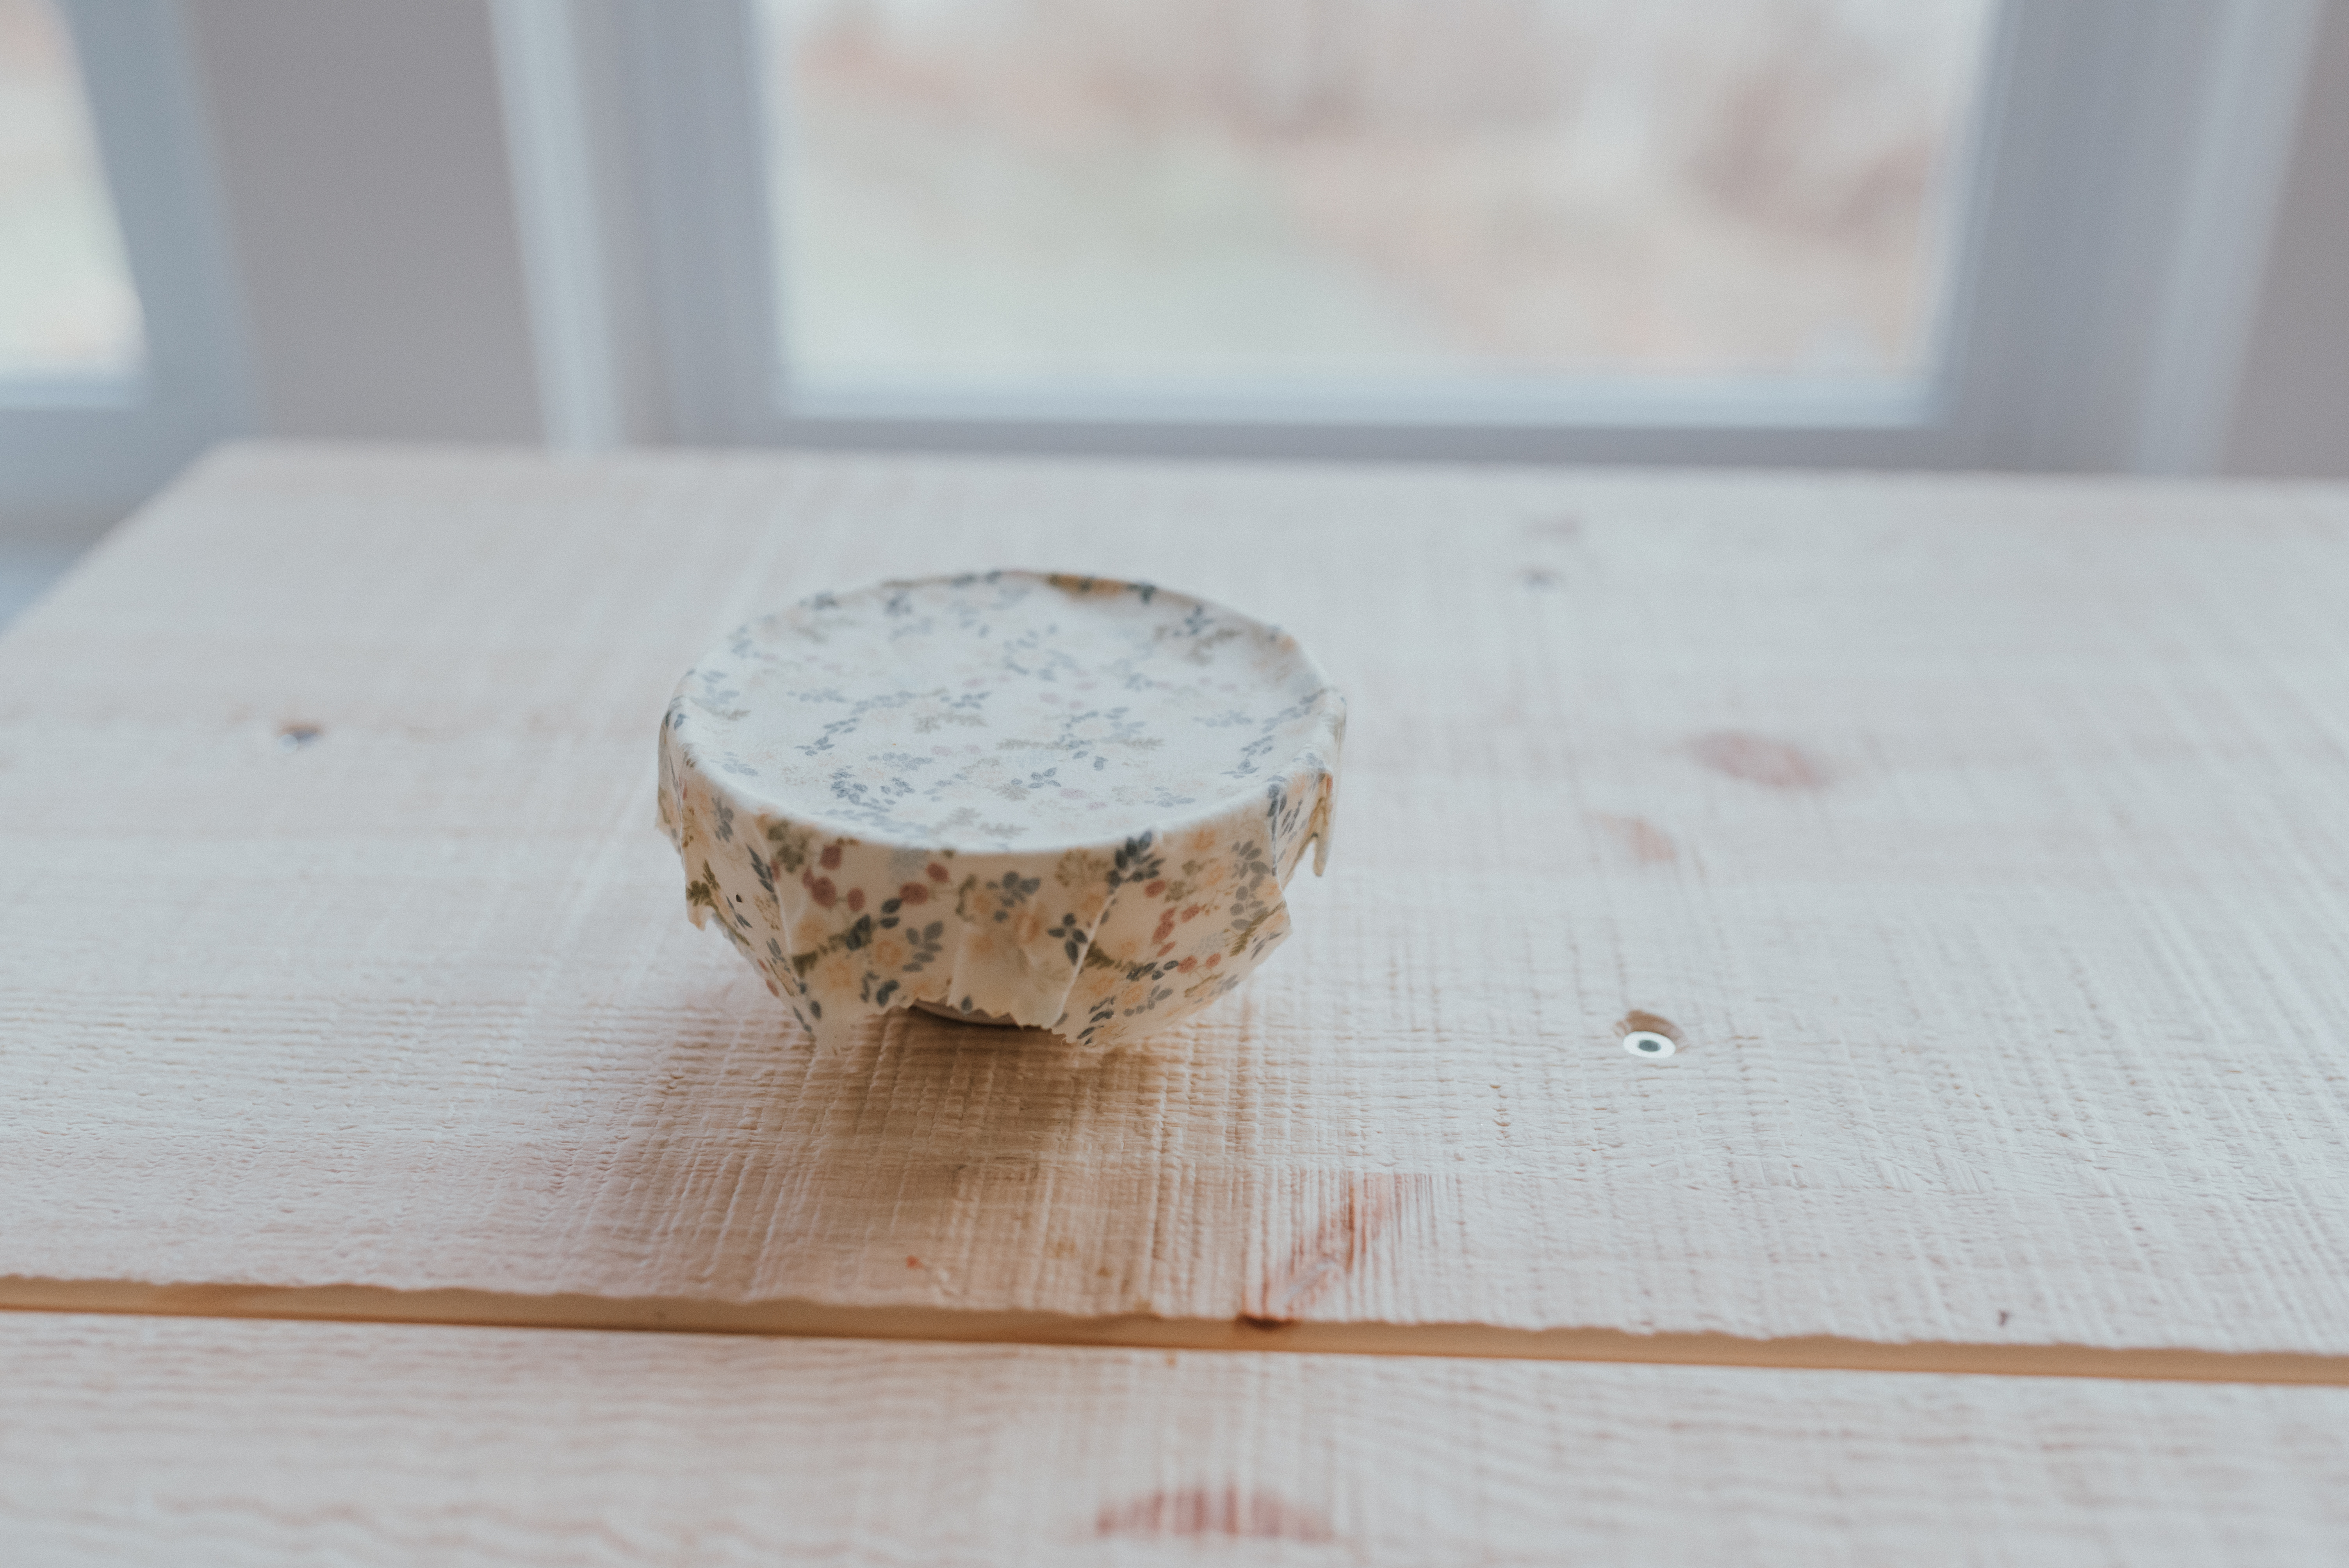
- Place wrap on a container (works best on glass and ceramic). Using the heat of your hands, warm up the wax by pushing the wrap around the edge of the container. It will begin to become pliable and sticky, creating a seal.
- To wash, rinse with mild dish soap and cool to warm water. HOT WATER WILL BREAK IT DOWN.

I can’t wait to try these!
I can’t wait to try these!
I can’t wait to try these!
I can’t wait to try these!
I can’t wait to try these!