Our Traditional Farmhouse Laundry and Mud Room
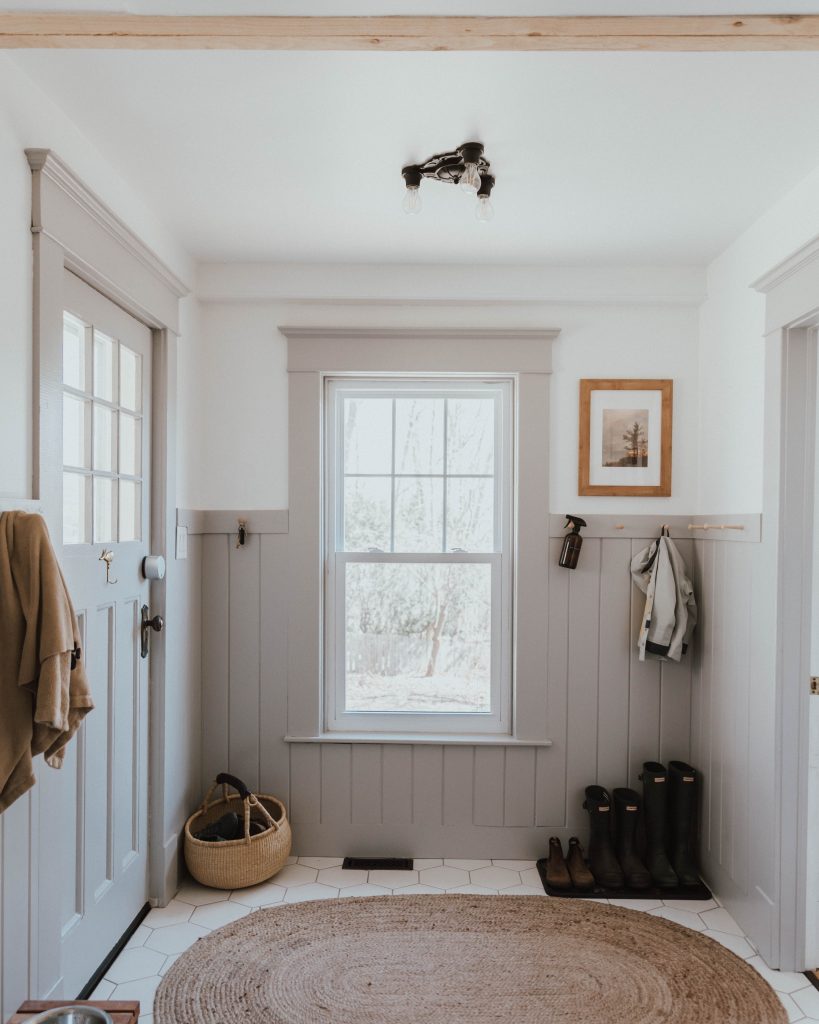
Well, 38 weeks later, I can finally say that our Laundry and Mud room is complete. This definitely was not an episode on HGTV and was a complete labour of love. But, it also shows you the realistic timeline it takes to do a major renovation while budgeting it out over time.
We started with a tiny purple mudroom that our entire family couldn’t fit into at the same time. On top of that, a large family room addition that was an awkward layout and always just full of the kids junk and unorganized. So, combining the two, we were able to make a comfortable family space to crash and play in, as well as a main level laundry (laundry was previously in our cinderblock basement) and mud room to keep us clean and the rest of our home mud free.
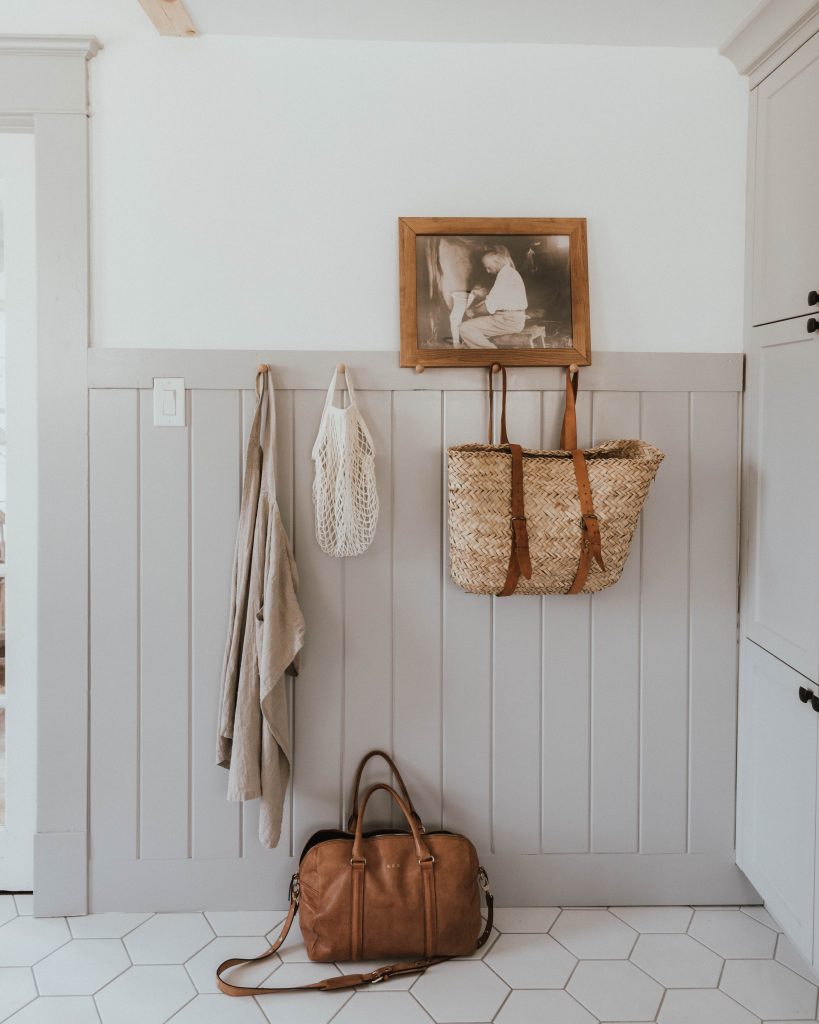
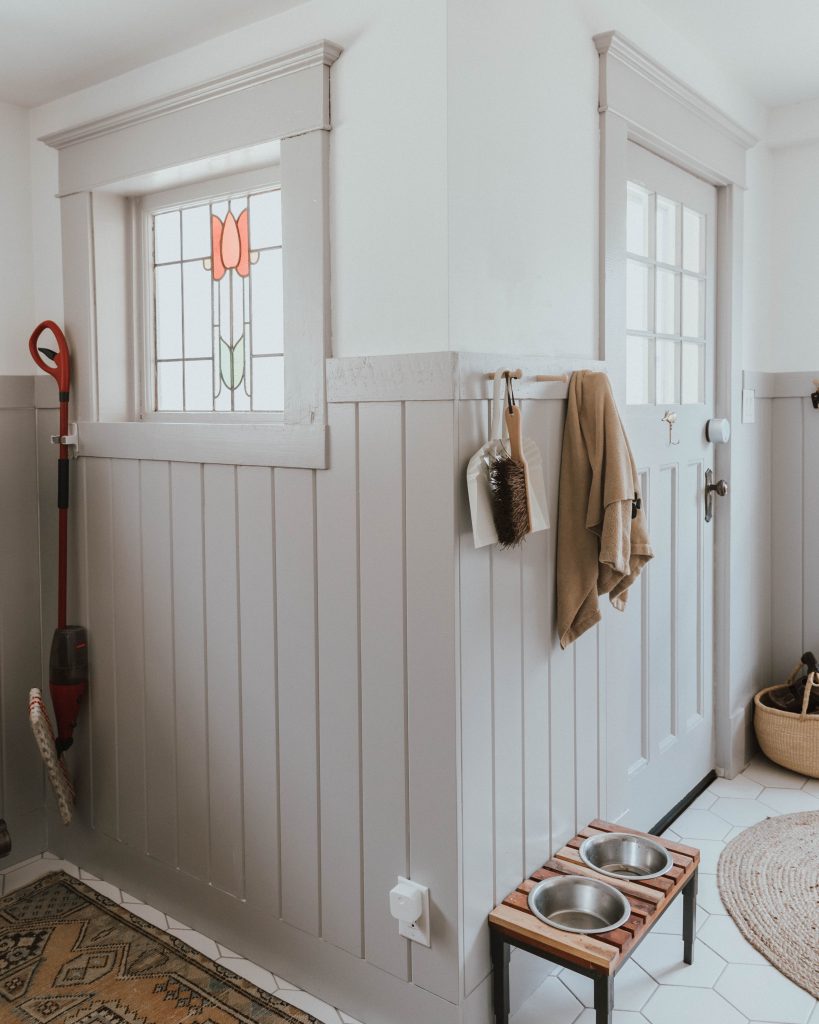
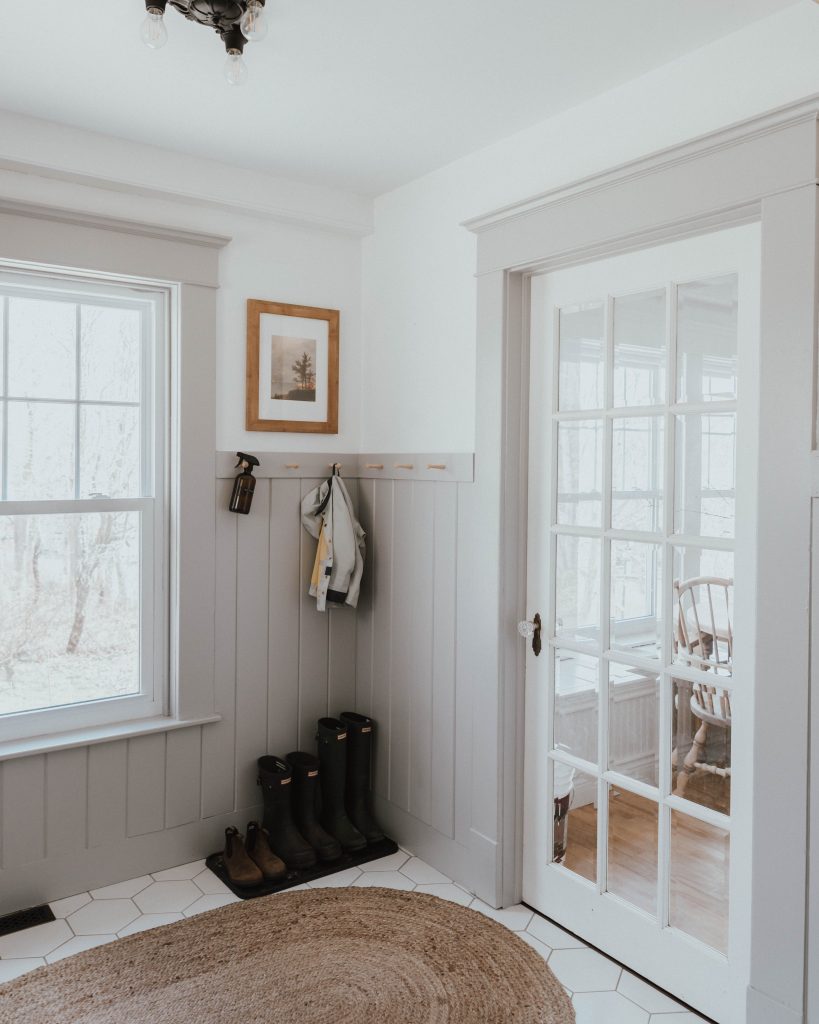
As you saw in our previous Blog, the cabinets and flooring had been put in, and we had bought and installed a new Washer and dryer. We were saving for phase two, which would take our laundry from somewhat modern to traditional like the rest of our 1917 Craftsman home is. The perfect way to do that, would be to add slatted wainscotting and shaker pegs to the entire surrounding, painted a monochrome grey to match the custom cabinets we are so happy we had invested in.
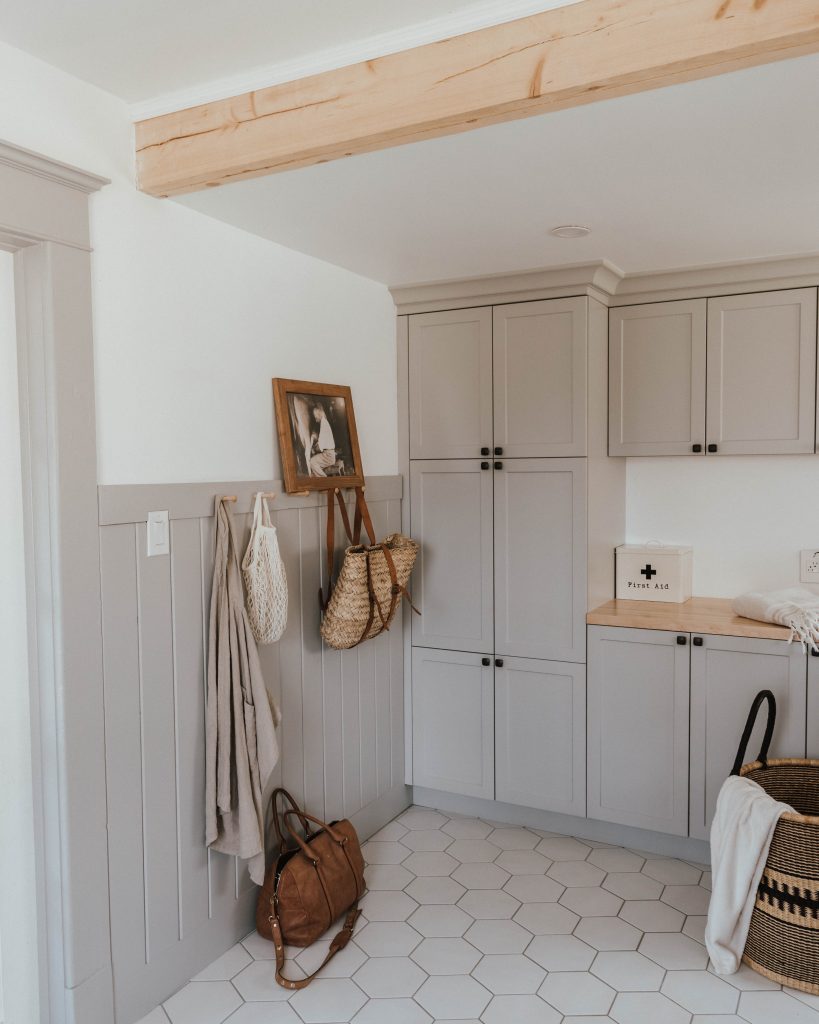
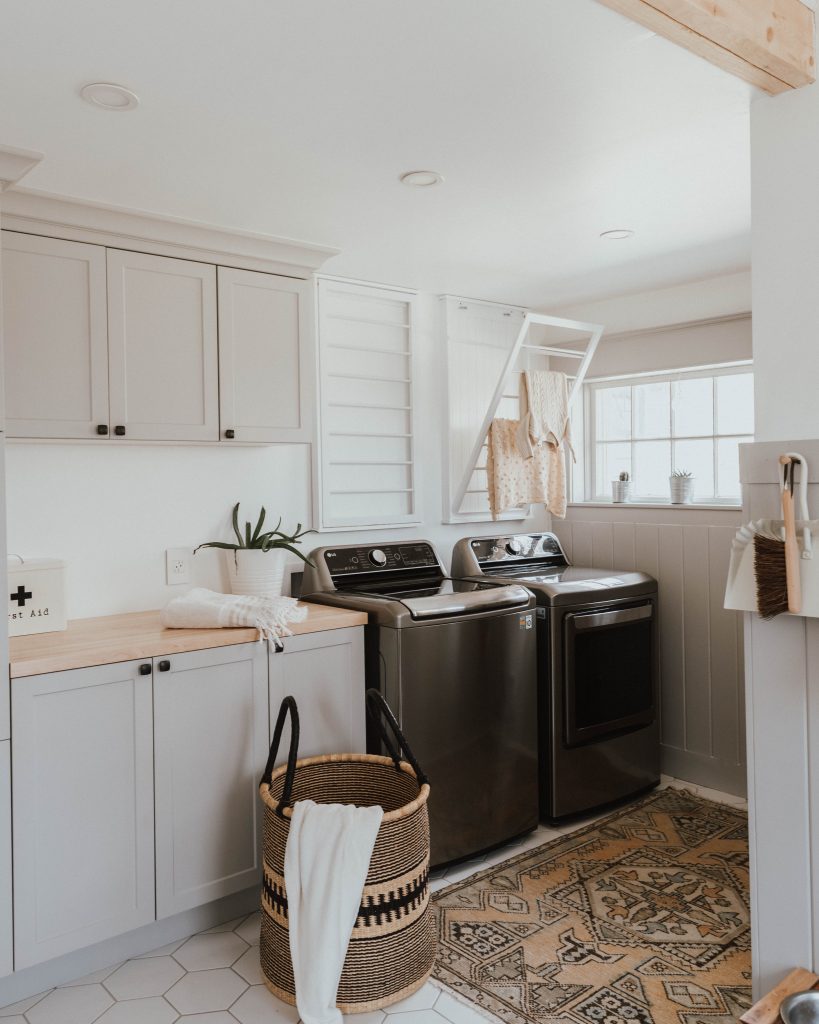
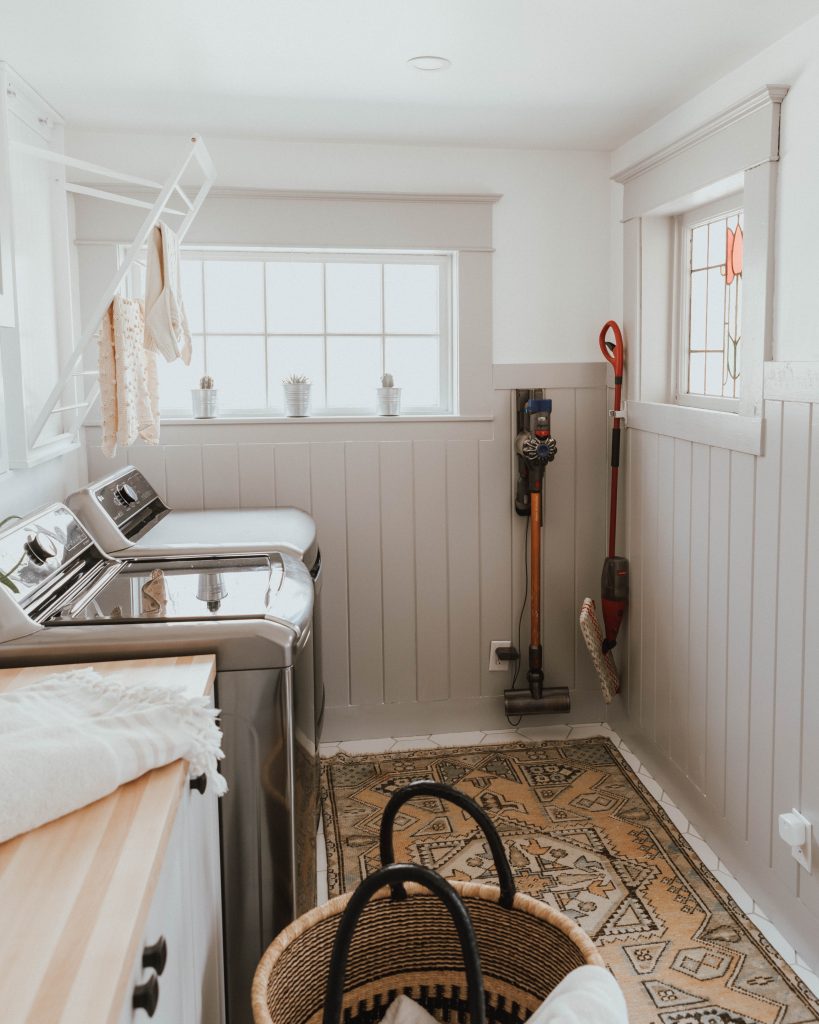
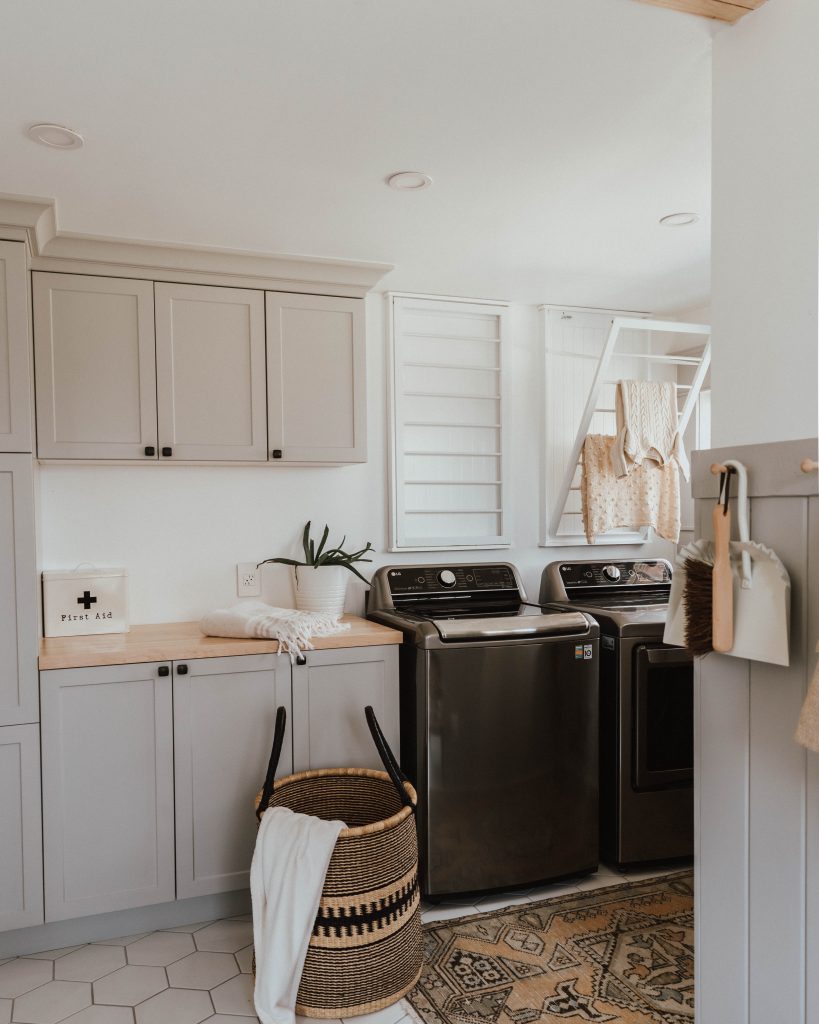
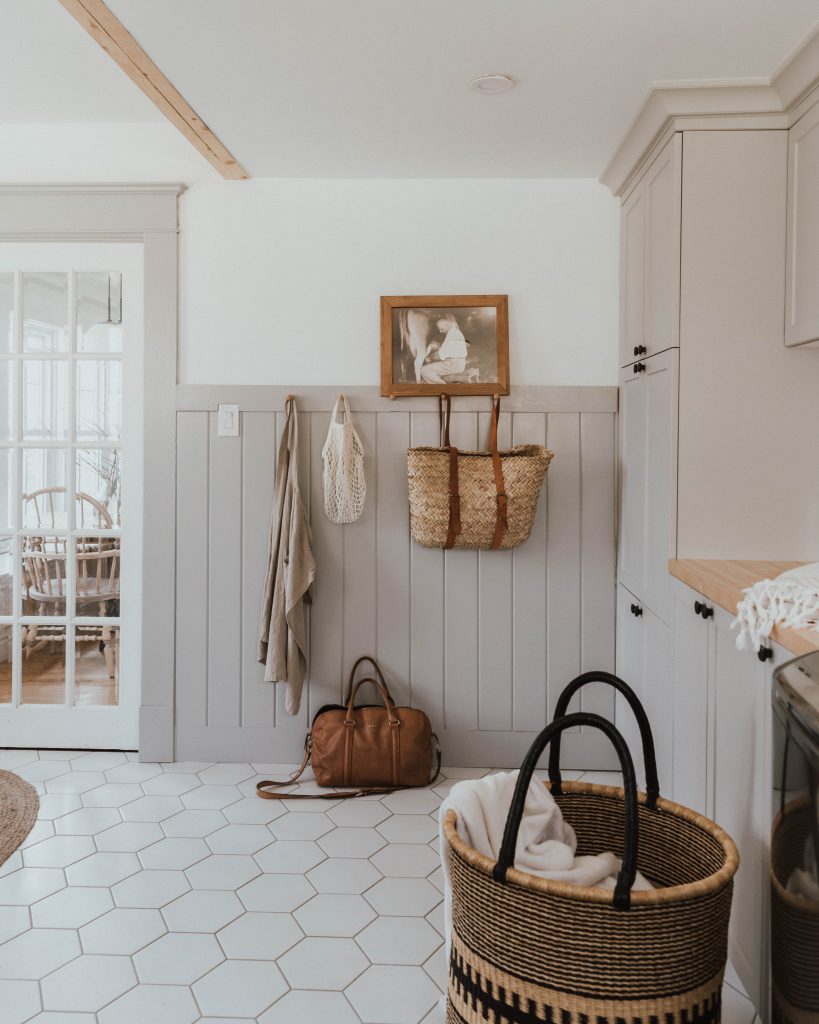
We paid about $700 for everything we needed to DIY the walls. this included all of the wood, the nails, paint, caulking, screw in pegs, etc. And for that price it was 100% worth the wait. What do you think of the space?
Head to this blog for all the links to everything that you see!
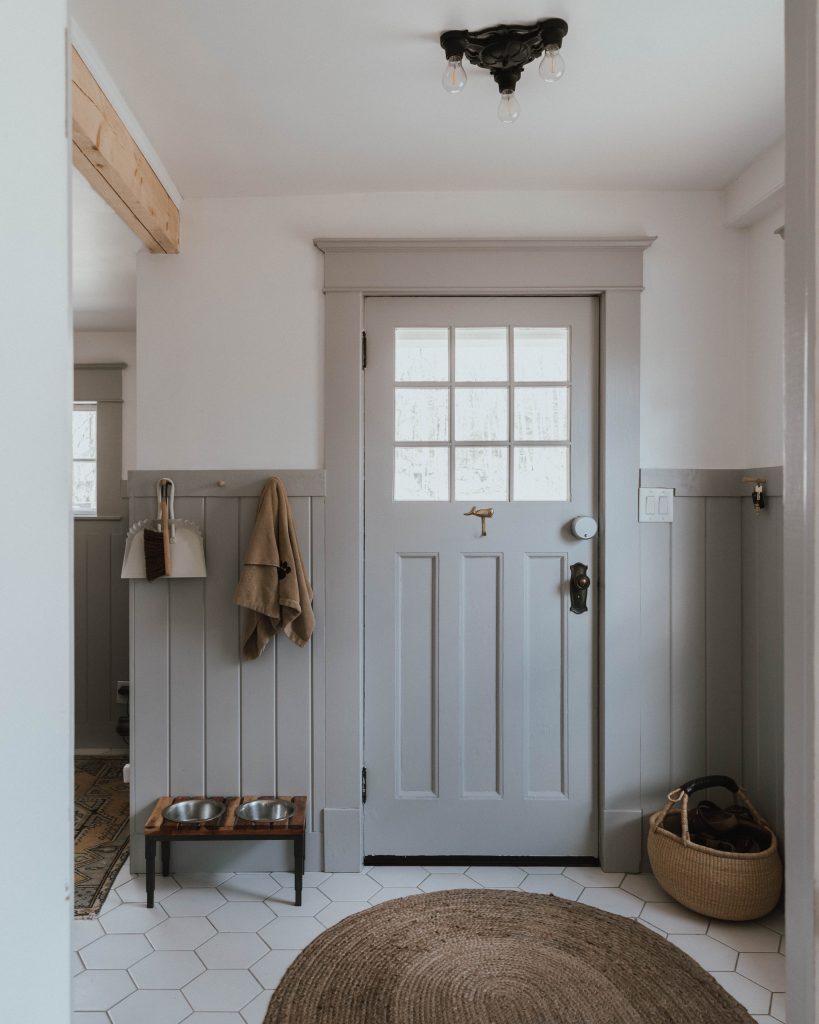



Hello. What color is the mudroom ?
its a custom mix
Hello. What color is the mudroom ?
its a custom mix
Hello. What color is the mudroom ?
its a custom mix
Hello. What color is the mudroom ?
its a custom mix
Hello. What color is the mudroom ?
its a custom mix
Oh my goodness I just came upon your IG and love it! So I subscribed! We are doing our mud room also and yours was my inspiration!!! I LOVE the classic v- board on your walls. Just timeless beauty! Can you tell me what height you did on your v-board?
we just cut the 8ft board in half to have no waste. 6 inch baseboard below that.
Your laundry is my inspiration! Thank you so much for sharing! Could you tell me why theres no sink?
Well there are many reasons. this room had no plumbing in it as we created it by dividing up our family room. That meant having to run all new plumbing for the washer which was very expensive so to add more plumbing to the price was out of our budget. We also wanted to maximise on counterspace. We have a small kitchen and having extra counterspace for folding laundry, etc was extremely important. We will never own a front loading washer as we find them dirty and smelly so the only way to maximise on counterspace was to design without a sink. We also have a massive farm sink in our kitchen so we have managed perfectly well using that.
The floors you had put in is so beautiful. Did you put in a darker grout? I can’t tell from the pictures. I would love to put similar flooring in my kitchen but don’t think light grout would work well. Whatever you did, looks amazing and very durable. If you could advise!
we did a medium grey grout. i believe it was called manhatton grey.
What color did you use for trim/cabinetry in the laundry mud room?
It’s unfortunately a custom color match but will post the color codes and brand of paint tomorrow in a separate blog.
I love this grey color! Could you repost the custom color code? I don’t see it on your site. Thanks so much!
What color did you use for trim/cabinetry in the laundry mud room?
It’s unfortunately a custom color match but will post the color codes and brand of paint tomorrow in a separate blog.
I love this grey color! Could you repost the custom color code? I don’t see it on your site. Thanks so much!
What color did you use for trim/cabinetry in the laundry mud room?
It’s unfortunately a custom color match but will post the color codes and brand of paint tomorrow in a separate blog.
I love this grey color! Could you repost the custom color code? I don’t see it on your site. Thanks so much!
What color did you use for trim/cabinetry in the laundry mud room?
It’s unfortunately a custom color match but will post the color codes and brand of paint tomorrow in a separate blog.
I love this grey color! Could you repost the custom color code? I don’t see it on your site. Thanks so much!
What color did you use for trim/cabinetry in the laundry mud room?
It’s unfortunately a custom color match but will post the color codes and brand of paint tomorrow in a separate blog.
I love this grey color! Could you repost the custom color code? I don’t see it on your site. Thanks so much!