How I Edit My Photos
 One of my most asked questions recently has been what Camera do we use and how do I edit my photos. I thought it was time to finally summarize it all in a blog post for you. First, let me say that I am in no way trained or a professional, though my husband is a photographer. But, after writing this blog for 4 and 1/2 years now, I have self-taught myself a thing or two about editing and my husband and I have gone through a few cameras.
When I started out, we used my old school iPhone as well as Rob’s (at that time) 6-year-old Nikon D40 which was one of the old school basic kit cameras Nikon made. It was slow and we only had a lens that was made for distance, so all of our photos had to be taken literally like 20 feet away to fit it into the shot. Once my parents saw that my blogging was becoming a great hobby, they bought us a Nikon D3100 with the basic 55mm lens that it came with. I used that camera for the next 2 years, investing in a 35mm lens so that we could achieve that blur to the background that everyone loves. But, it still wasn’t that professional look we wanted.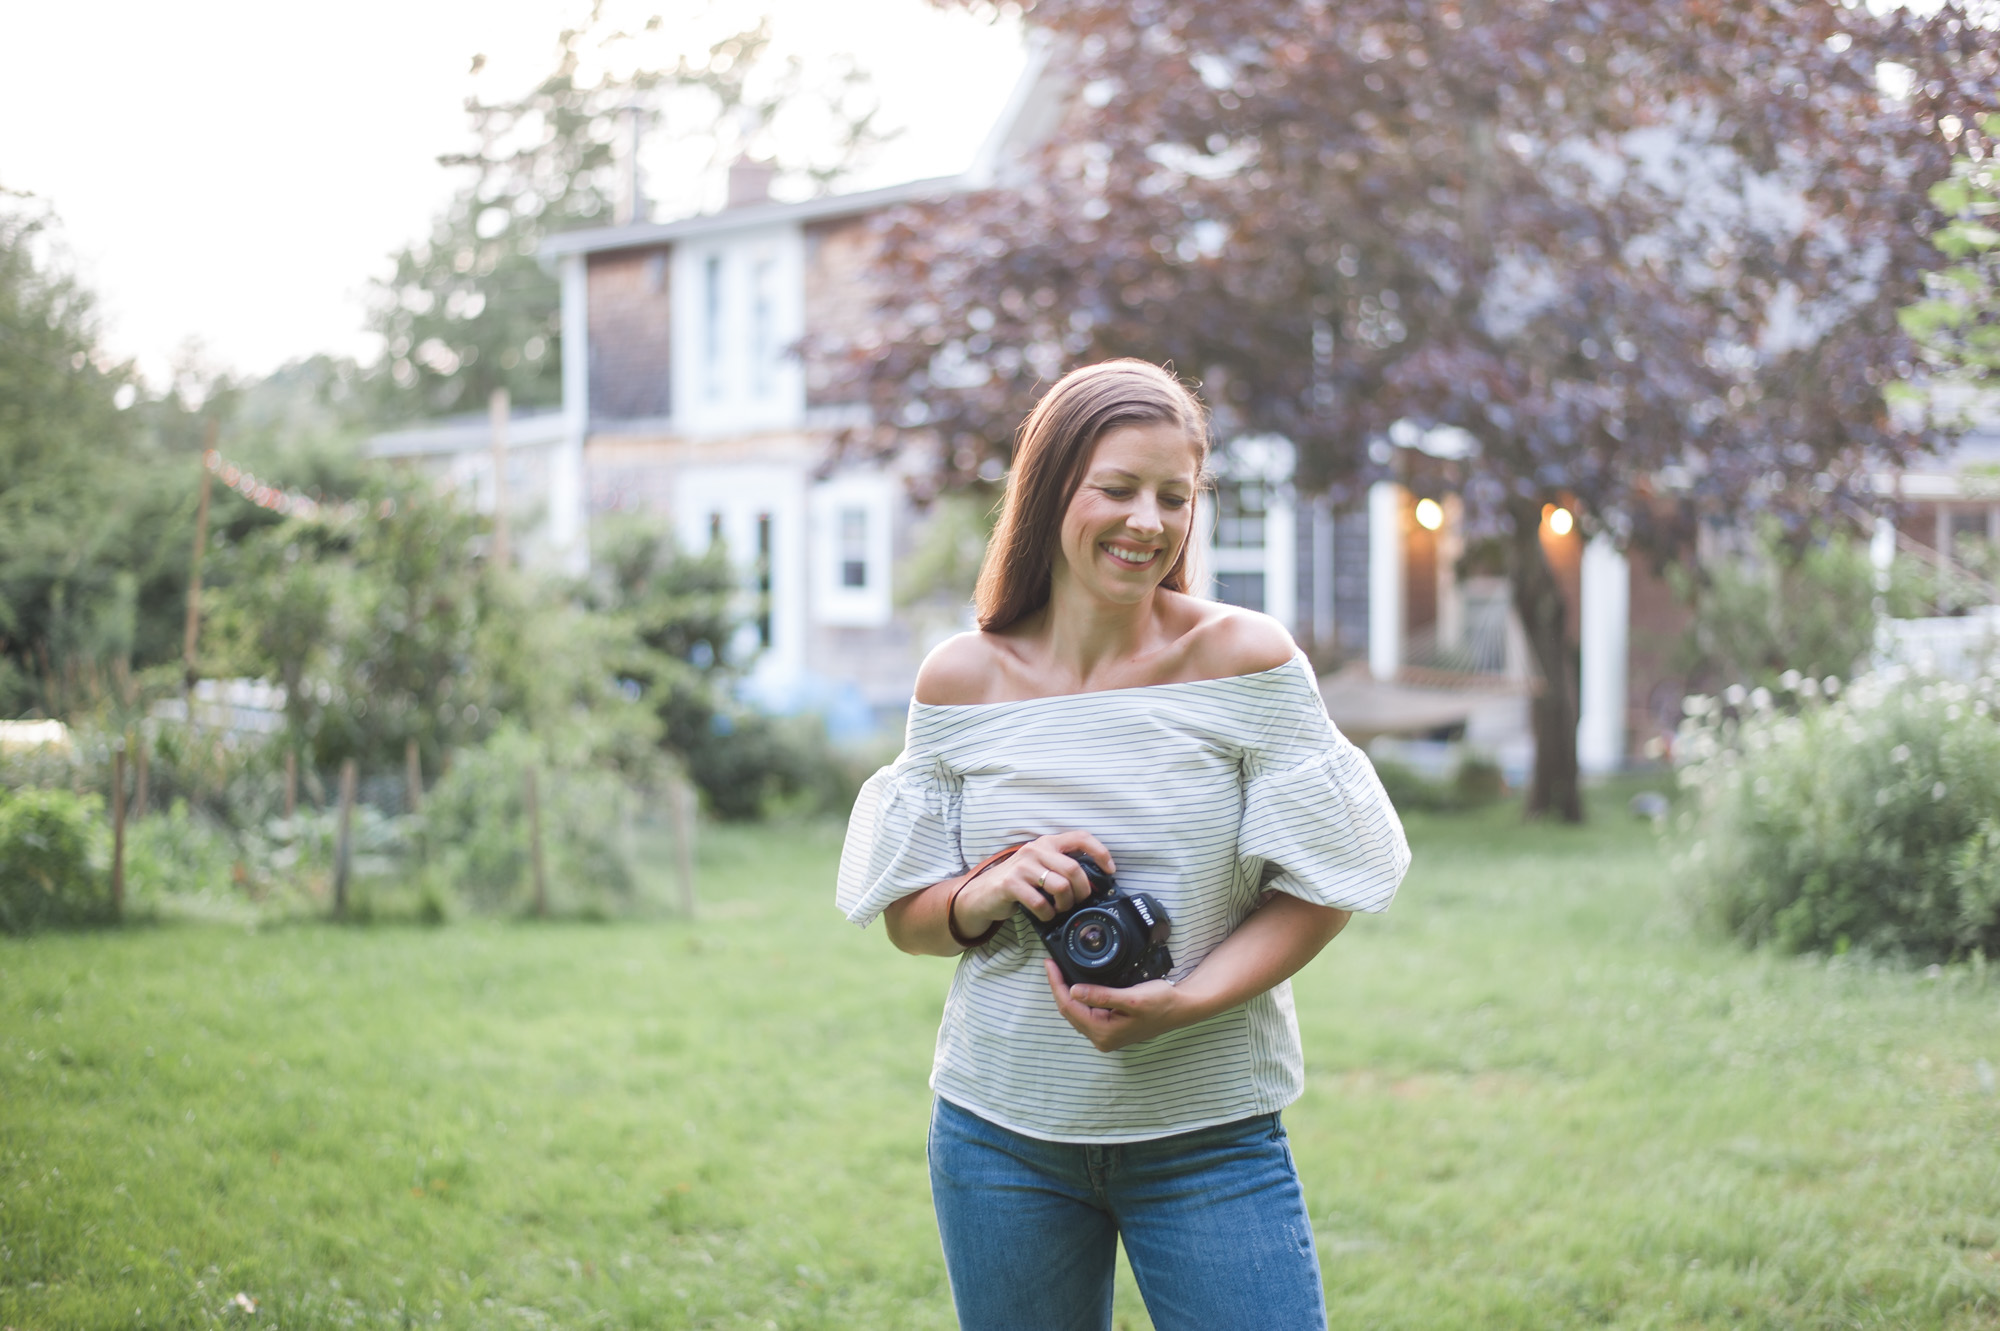
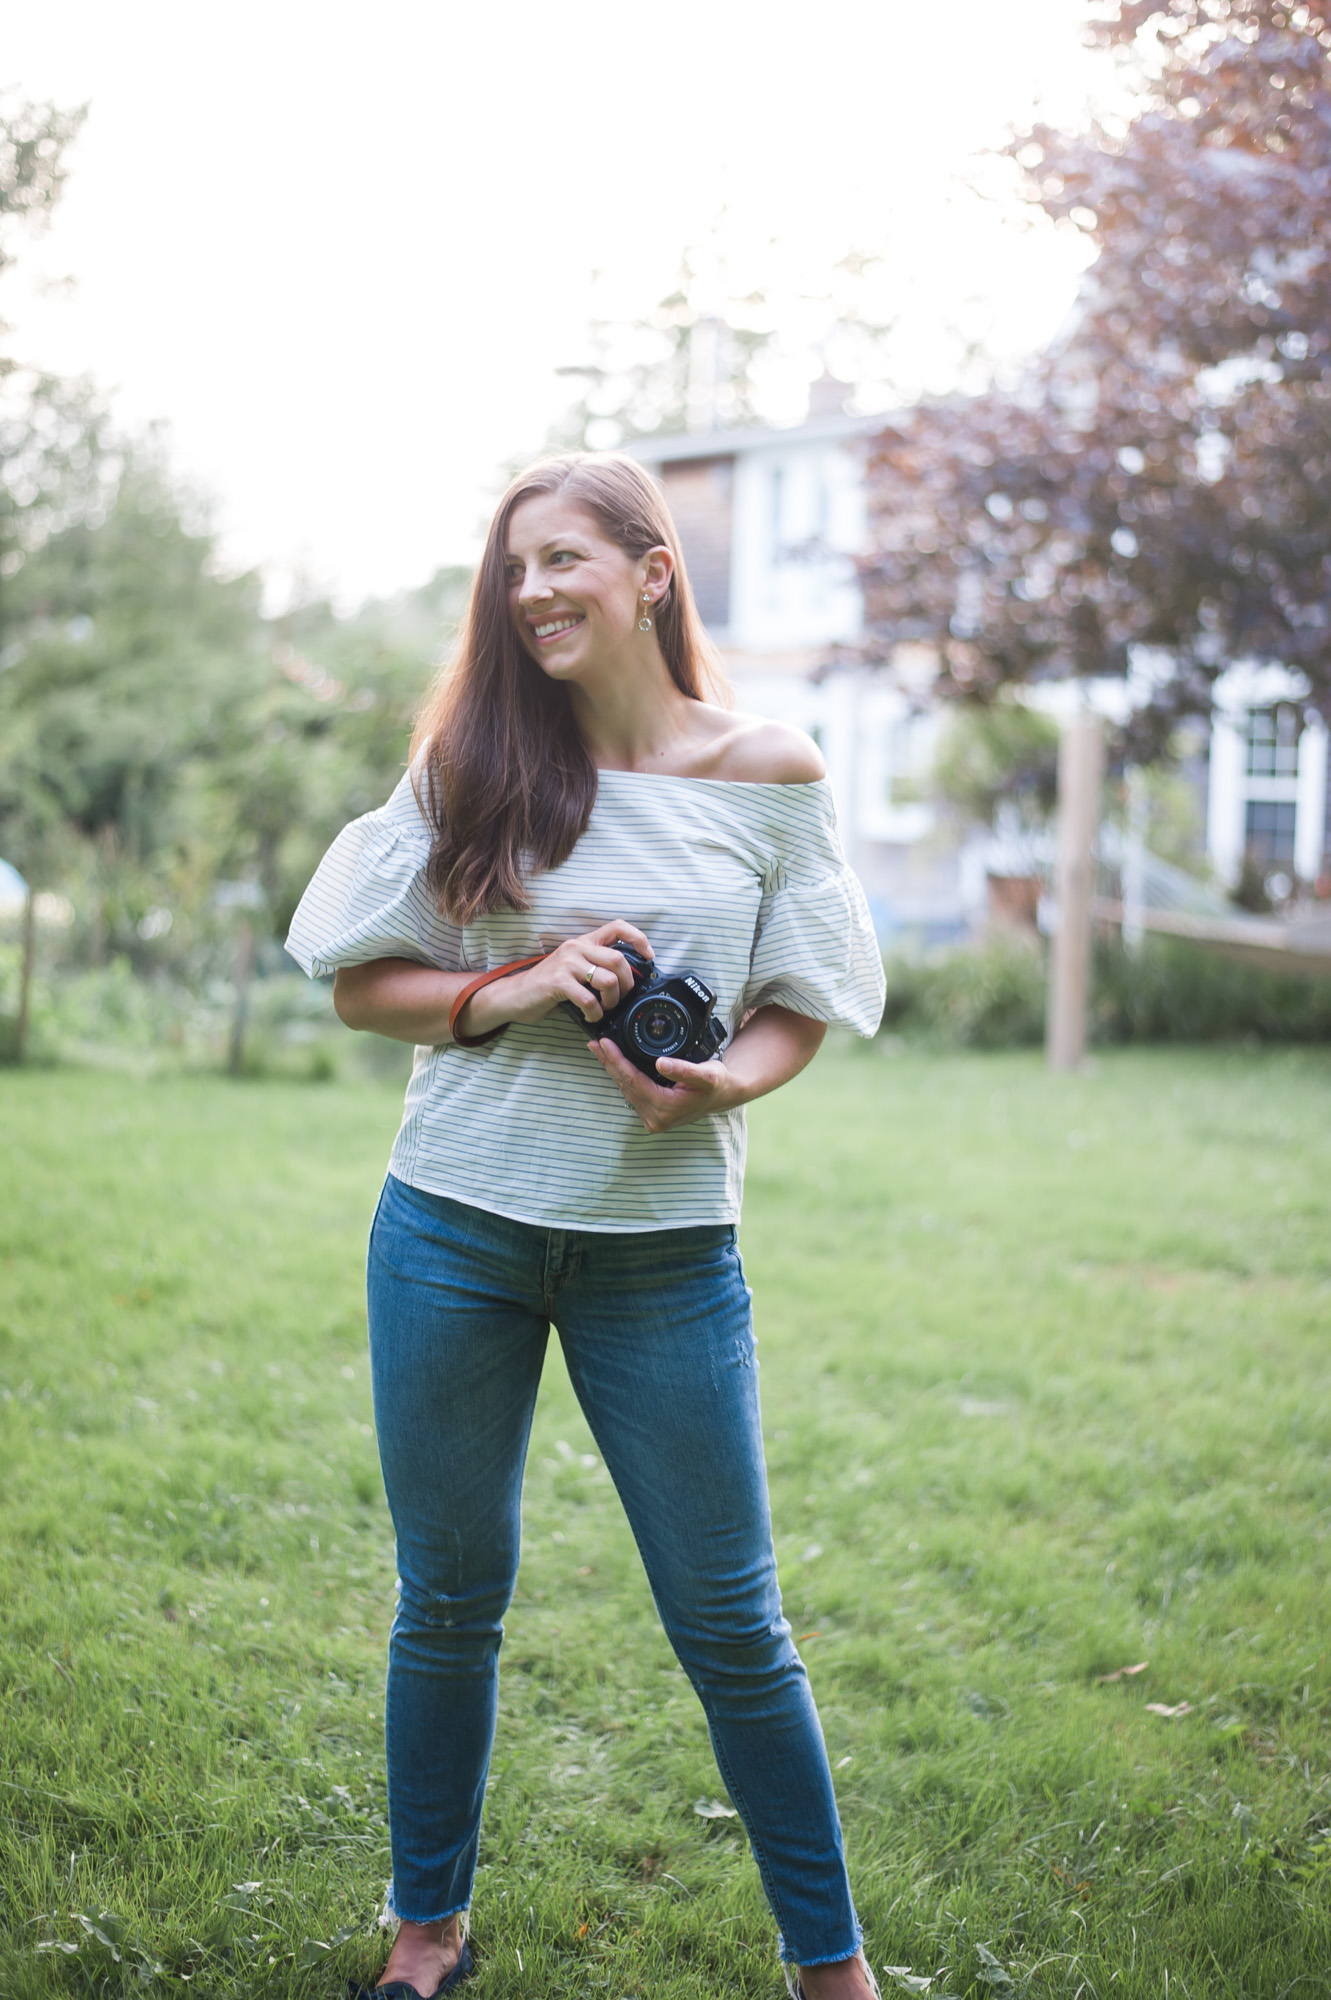
Last year, right after Poppy was born, we took the jump and purchased the Nikon D750 which is said to be just as good as some of their more expensive professional grade cameras. With it, we bought the 50mm lens with a 1.8 f stop. That is what has been our main camera for all of my photography on both my blog and Instagram for the past 13 months. With Rob now shooting professionally, we also recently came across a second hand Nikon D3 in amazing condition and had to get it. That way, we have two cameras for shooting events. We will probably also soon invest in a wide angle lens for more interior shots as we redo our home and for those amazing shots of venues.
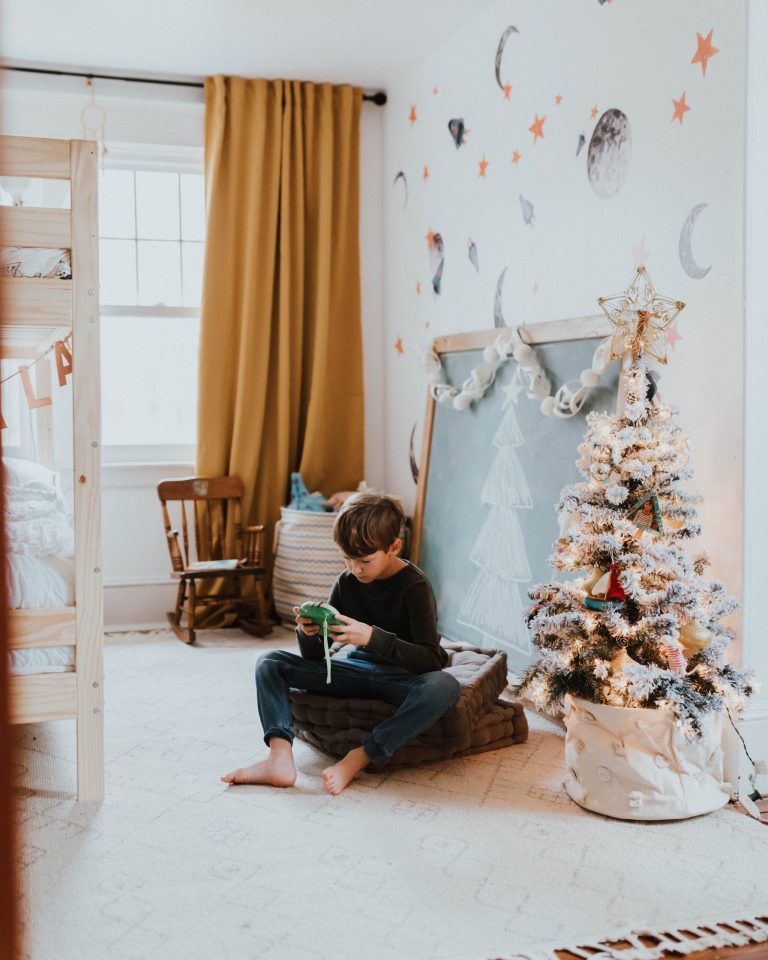
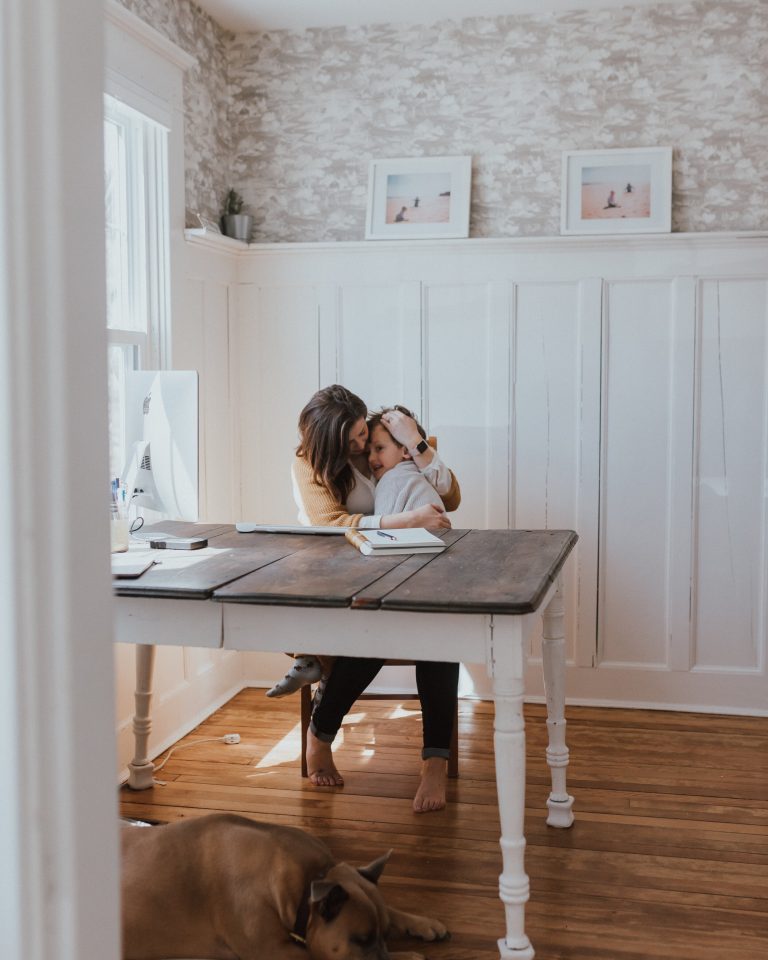
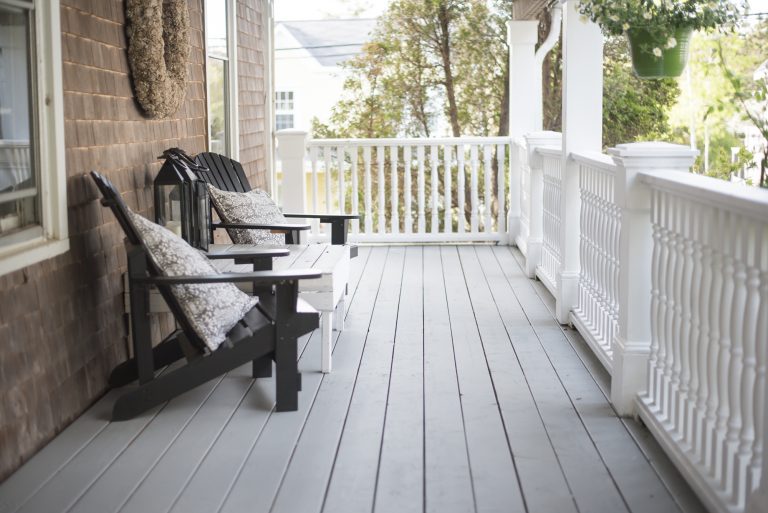
Now for the editing. As soon as I started taking blogging seriously, I bought a subscription to Lightroom and Photoshop for my desktop iMac. After the past 3 years of watching every youtube video know to man on how to use it, as well as purchasing a few presets, I finally created a Preset on Lightroom that I place on all of my photos. After applying I adjust only a few components of it like exposure. In a nut shell, I up my exposure a bit to get that soft bright look and also up my contrast to keep the image sharp. Next, I lower my whites, up my blacks and up the clarity. For coloring, I desaturated my greens so that they aren’t taking away from the photo, as grass tends to photograph too bright sometimes. Finally, I like to sharpen my image and turn up the noise reduction a bit.
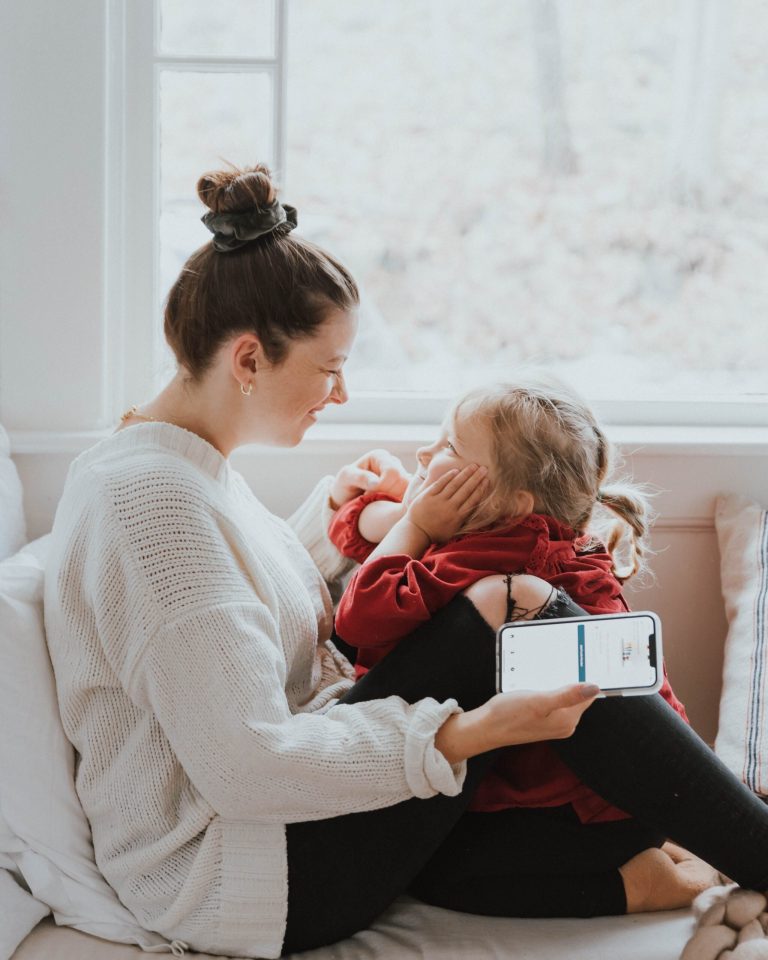
Before posting any image to Instagram, I always load it into my VSCO app transferring it to my phone through Dropbox. Once in VSCO, I apply A6 filter to the photo and adjust the strength depending on the photo. This step makes sure that the photo has the same coloring and feel as the rest of my feed so that it tells a story and is pleasing to the eye. Depending on the season, I do change up my filter that I use in VSCO, but am really loving A6 and it’s warmer tones lately.
And that’s it!
Let me know if you would be interested in purchasing my Preset for your Lightroom as I have toyed with the idea of adding it to my site due to the demand. xo