How To Make Flour Sack Stockings

Rob and I love to shop in little vintage stores. It’s one of our favourite dates to do when the kids are at school, heading to all of our favourite antique stores searching for one of a kind items that we never knew we wanted. We restore them for our home and love knowing there’s history behind them before we ever owned them.
One of my favourite past finds was an old flour sack from italy in gorgeous old cotton. We took that flower sack and made it into two throw pillows that often get moved from room to room in our home. They are one of my favourite pieces of decor that literally match all season.
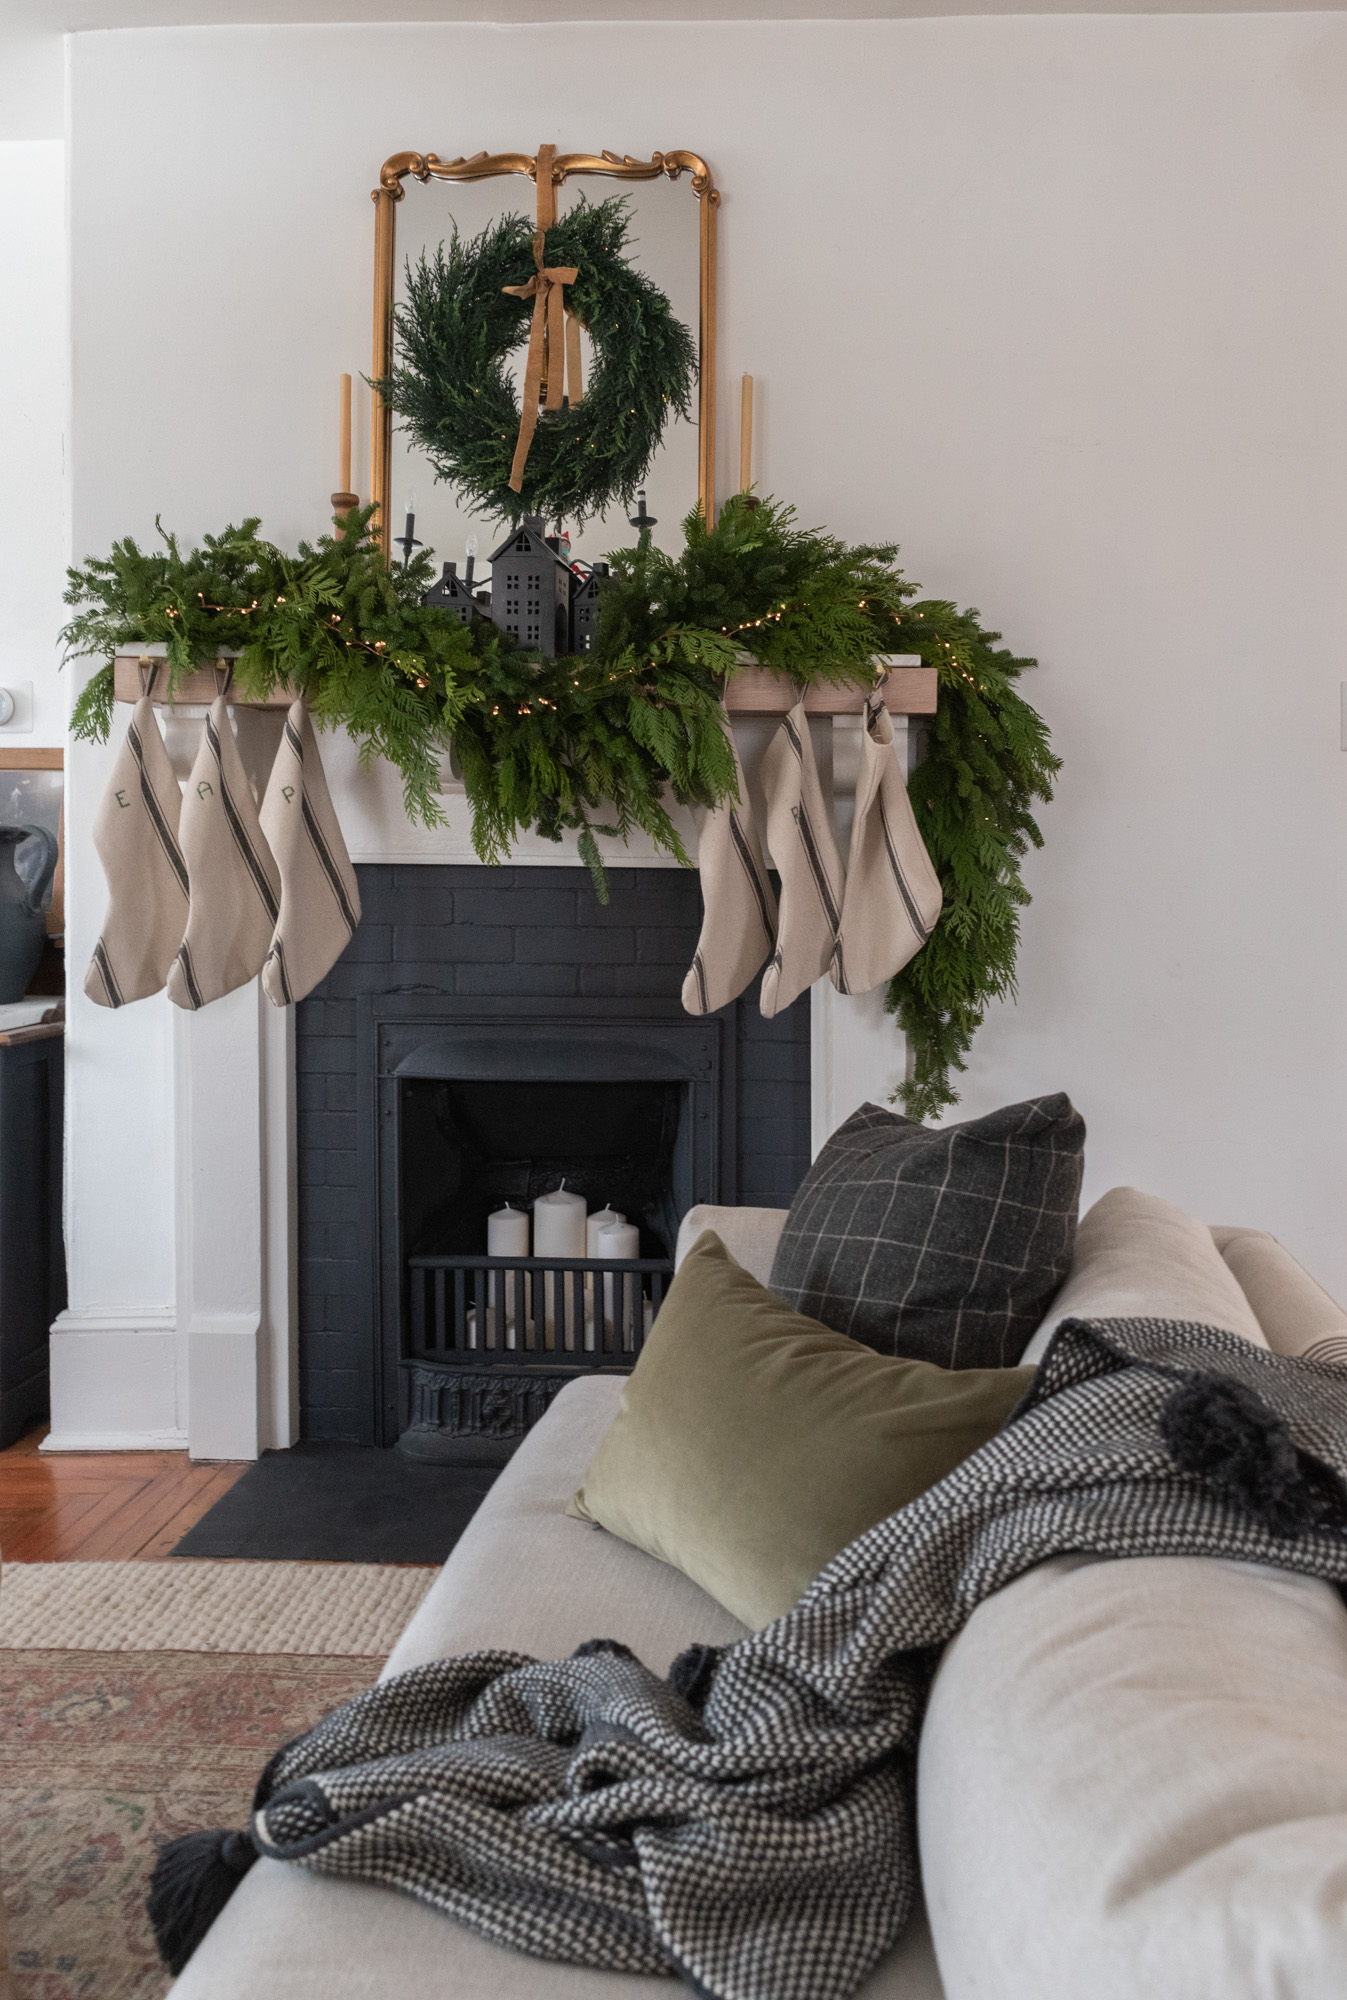
This year, our main stockings that the kids have a Santa deliver presents to got ruined in our basement. Our basement is not much better than a gravel bottom and cinderblock due to the age of our home, so in the summer, mold Reeks havoc on some of our items. I decided it was time to make our family new ones that would be just as timeless as the pillowcases I love so much.
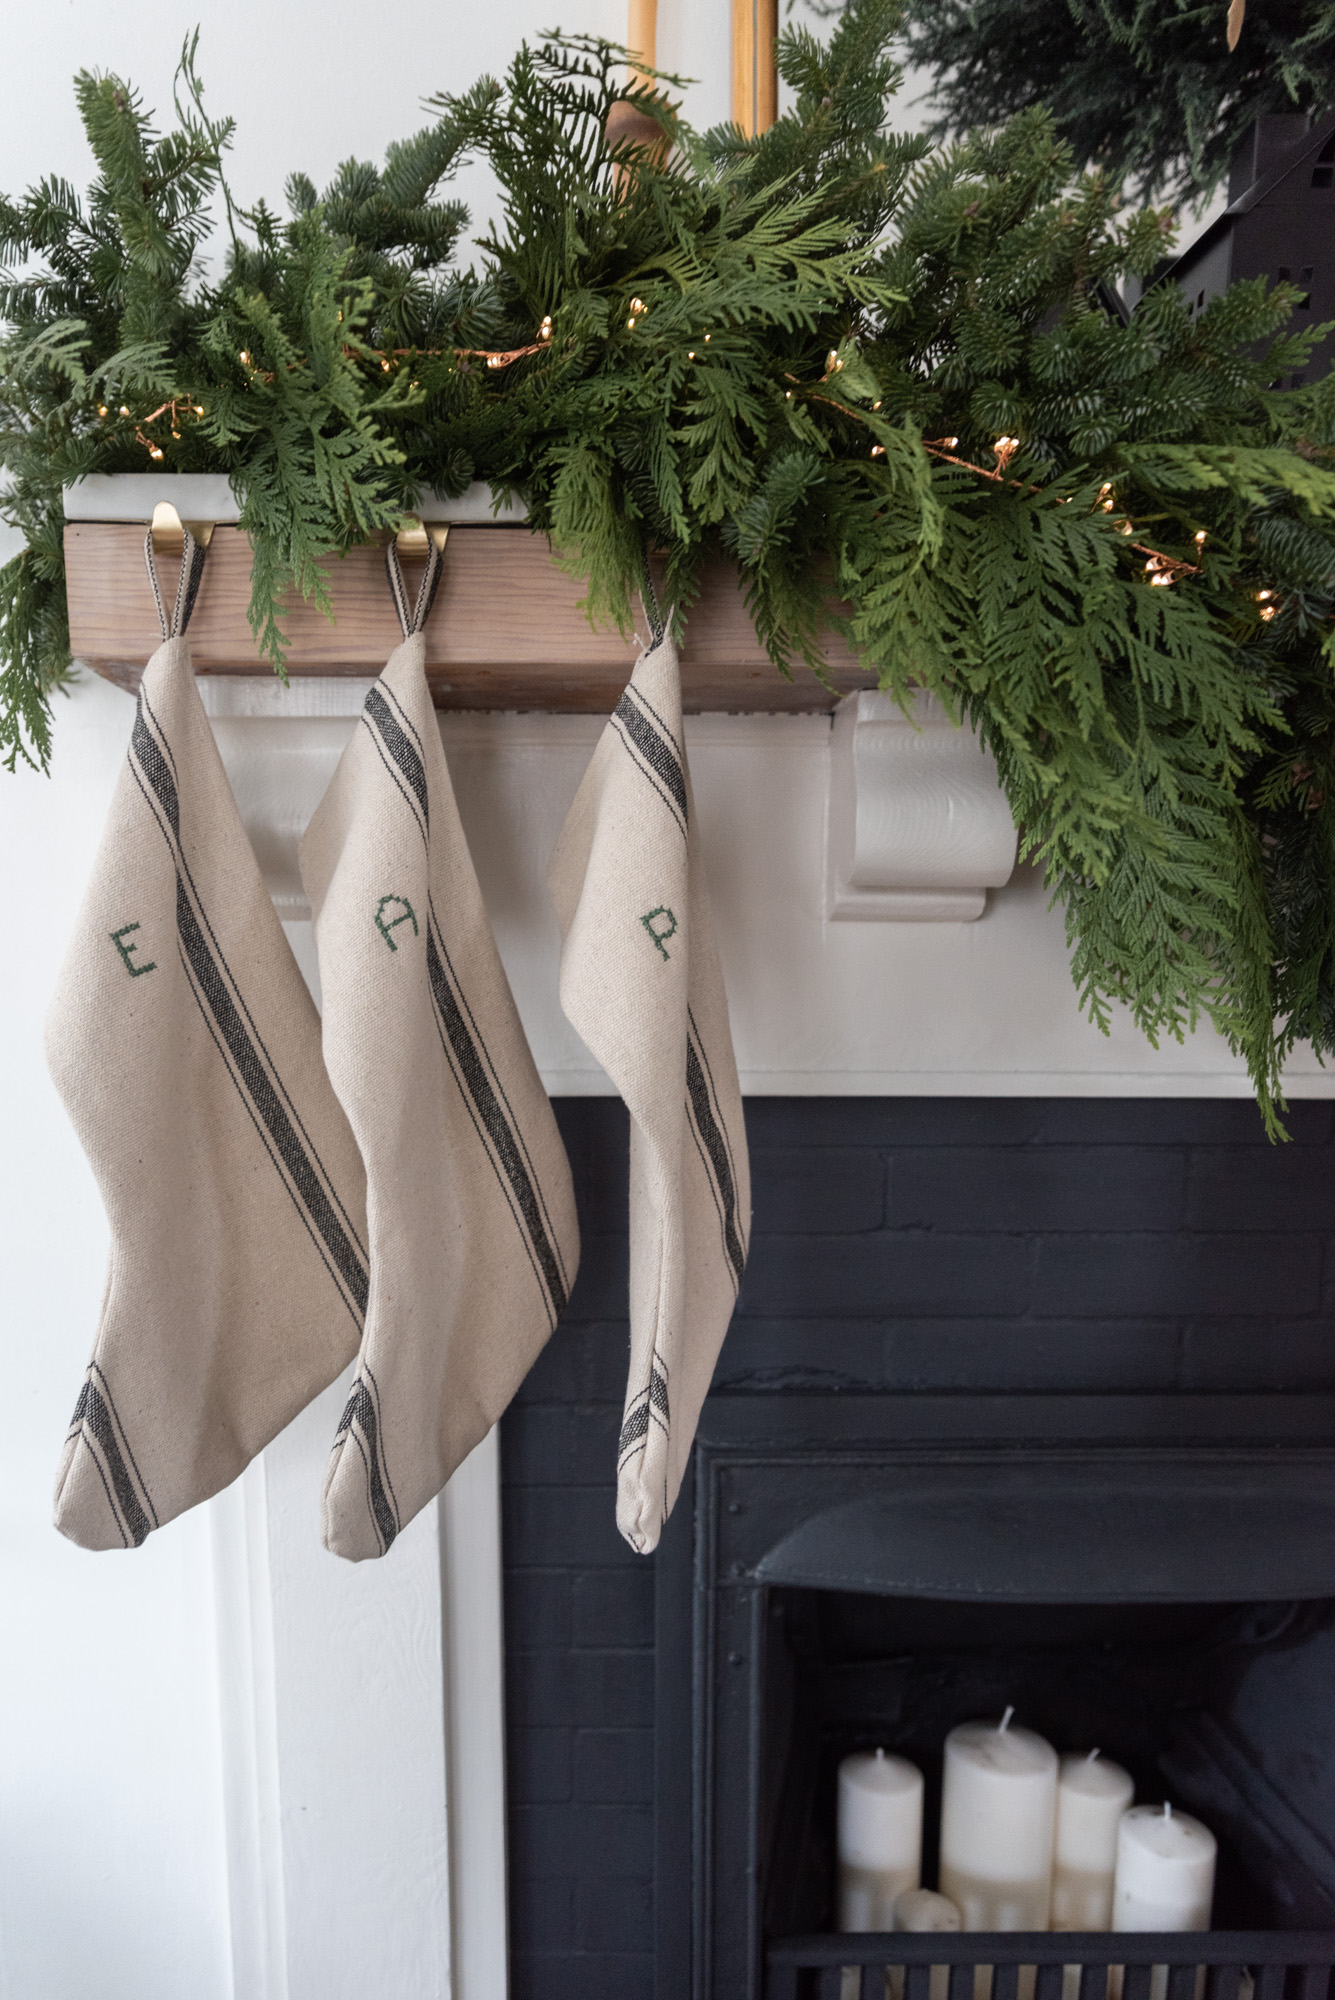
The big thing for me is that I wanted to have them personalized. There’s nothing worse than all of your stockings looking the same, but having no idea who’s is who’s. I used to embroider as a kid and I wanted to test my ability to still do that.
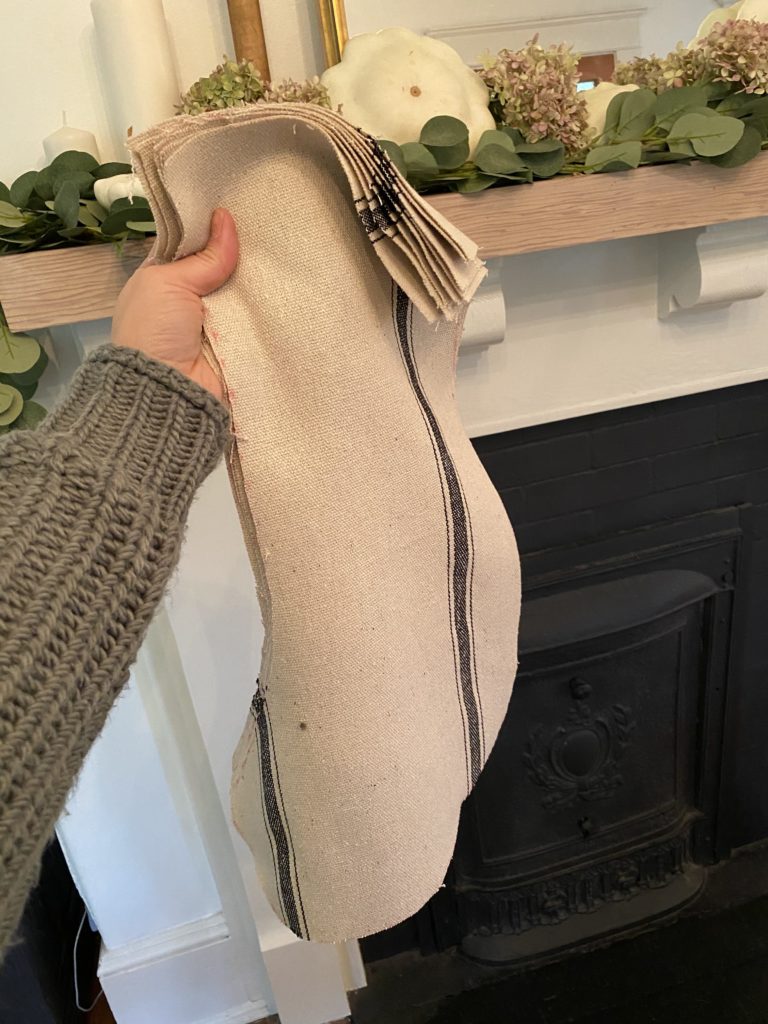
Having no luck finding the perfect flour sack at any of our antique shops, I ended up heading to Fabricville and purchasing their flour sack material in a beautiful greige color with black stripes. .It gave the exact same vibe as the antique version would’ve, but I only spent half the price on three times the amount of material. Plus, with the open weave of the fabric, I knew it would be easy to cross stitch our initials onto it.
I searched online for a printable stocking pattern with no luck. Instead I ended up taping three pieces of printer paper together and drawing my own. I wanted to make sure that the stocking was thick enough to hold good size items but also give a seam allowance as I will be sewing them on the sewing machine.
So here is how I made them:
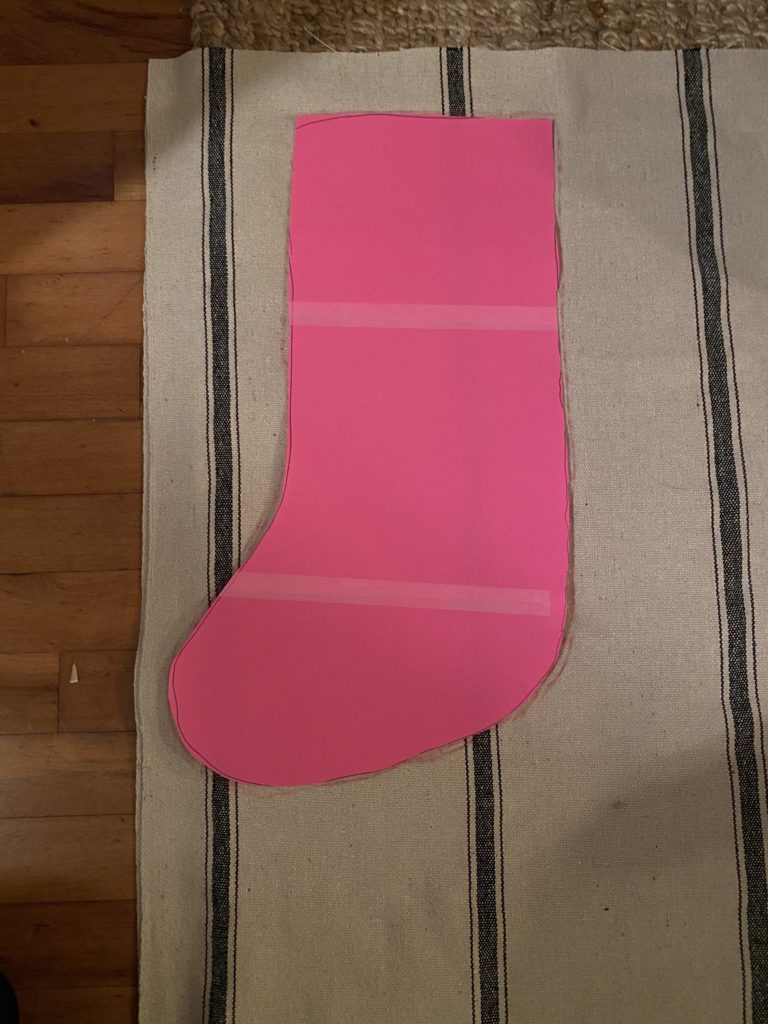
- draw a pattern onto paper the size of the stocking you would like, taking into consideration the seam allowance you will need when sewing on a maching. I added a 1/4 of an inch around the whole stocking.
- place your template on the fabric which has been folded in half and using a fabric crayon, trace the pattern onto the fabric. cut alont the traced line. Repeat this until you have the amount of stockings you need.
- Tip: I matched the stripes up when I folded the material so the back and front were lined up the same. I also placed the template at the same position so that each stocking matched.
- once you have your material cut, it’s time to embrioder.
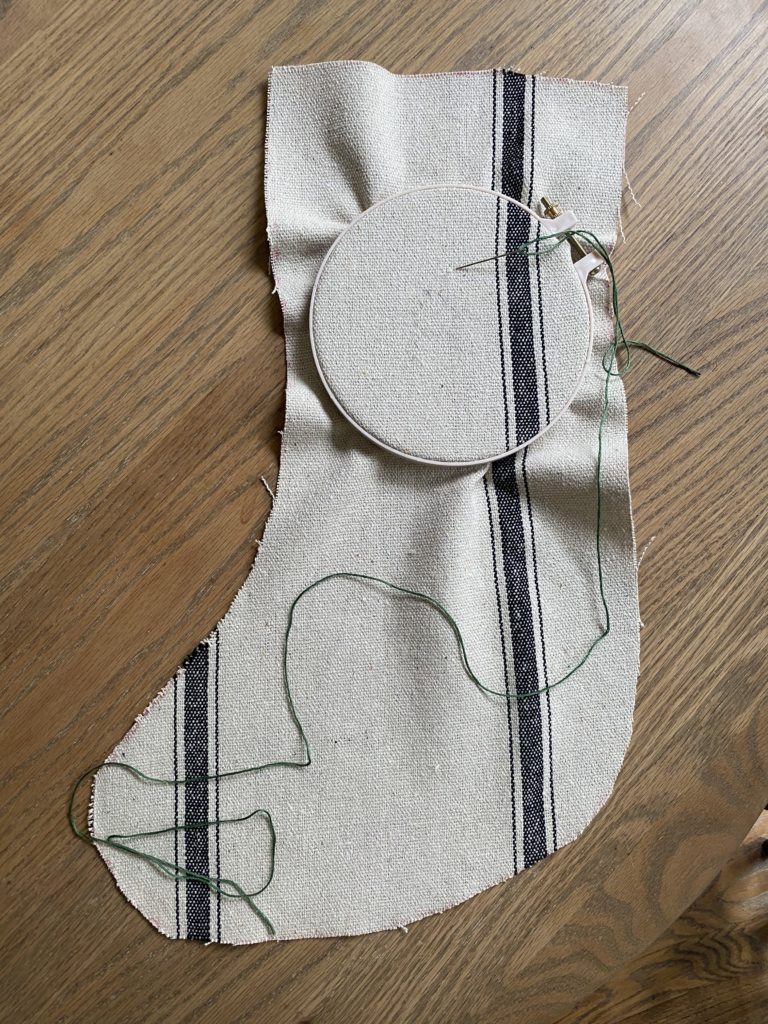
- For the Embroidery, I used an Embroidery hoop. I placed the hoop On the stocking so that where I wanted the initial was in the centre of the hoop.
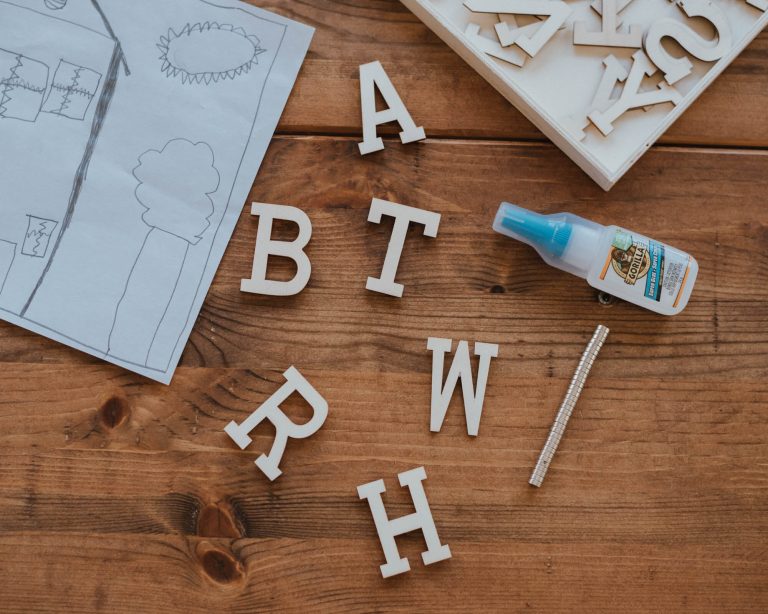
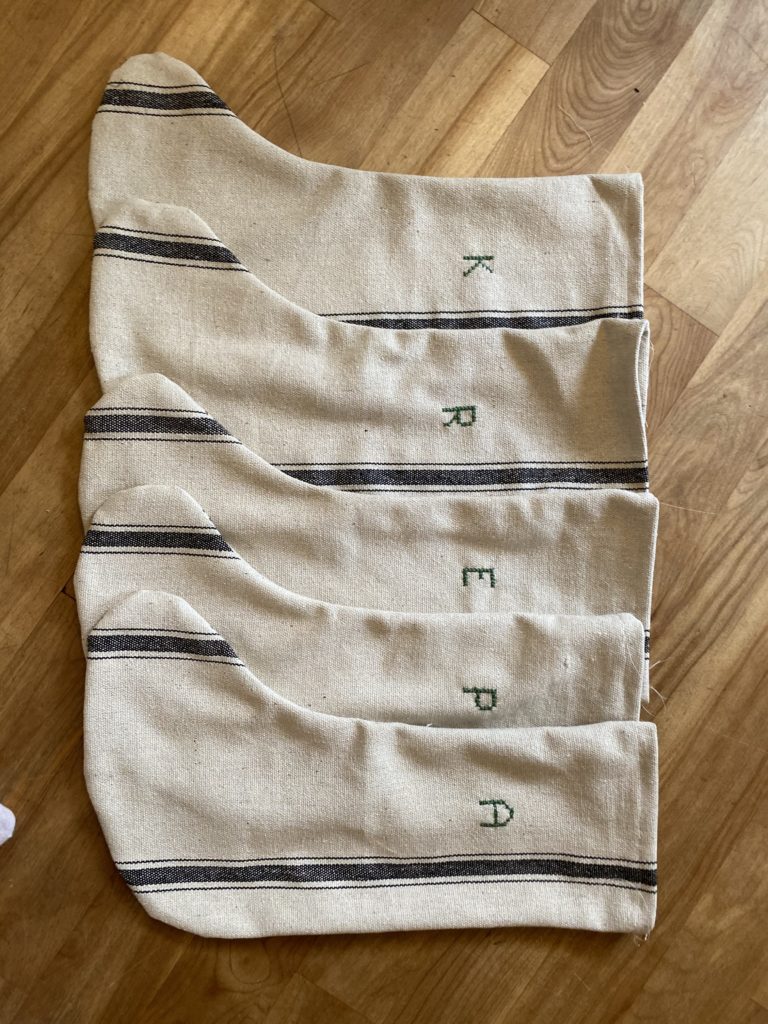
- Using the full thickness of green embroidery thread, and an embroidery needle, I stitched our letters into each stocking. I made larger versions of the letters I found here. Or, if you good cross stitch letter template, you can find your own.


- once you have crossstitched your letters, pin your 2 sides together and sew the sides leaving the top open with a 1/4 inch from the seam to the materials edge.


- remove pins and fold top down. For this fold, I used an iron to press the fold. I then pinned the folded edge and sewed it down.
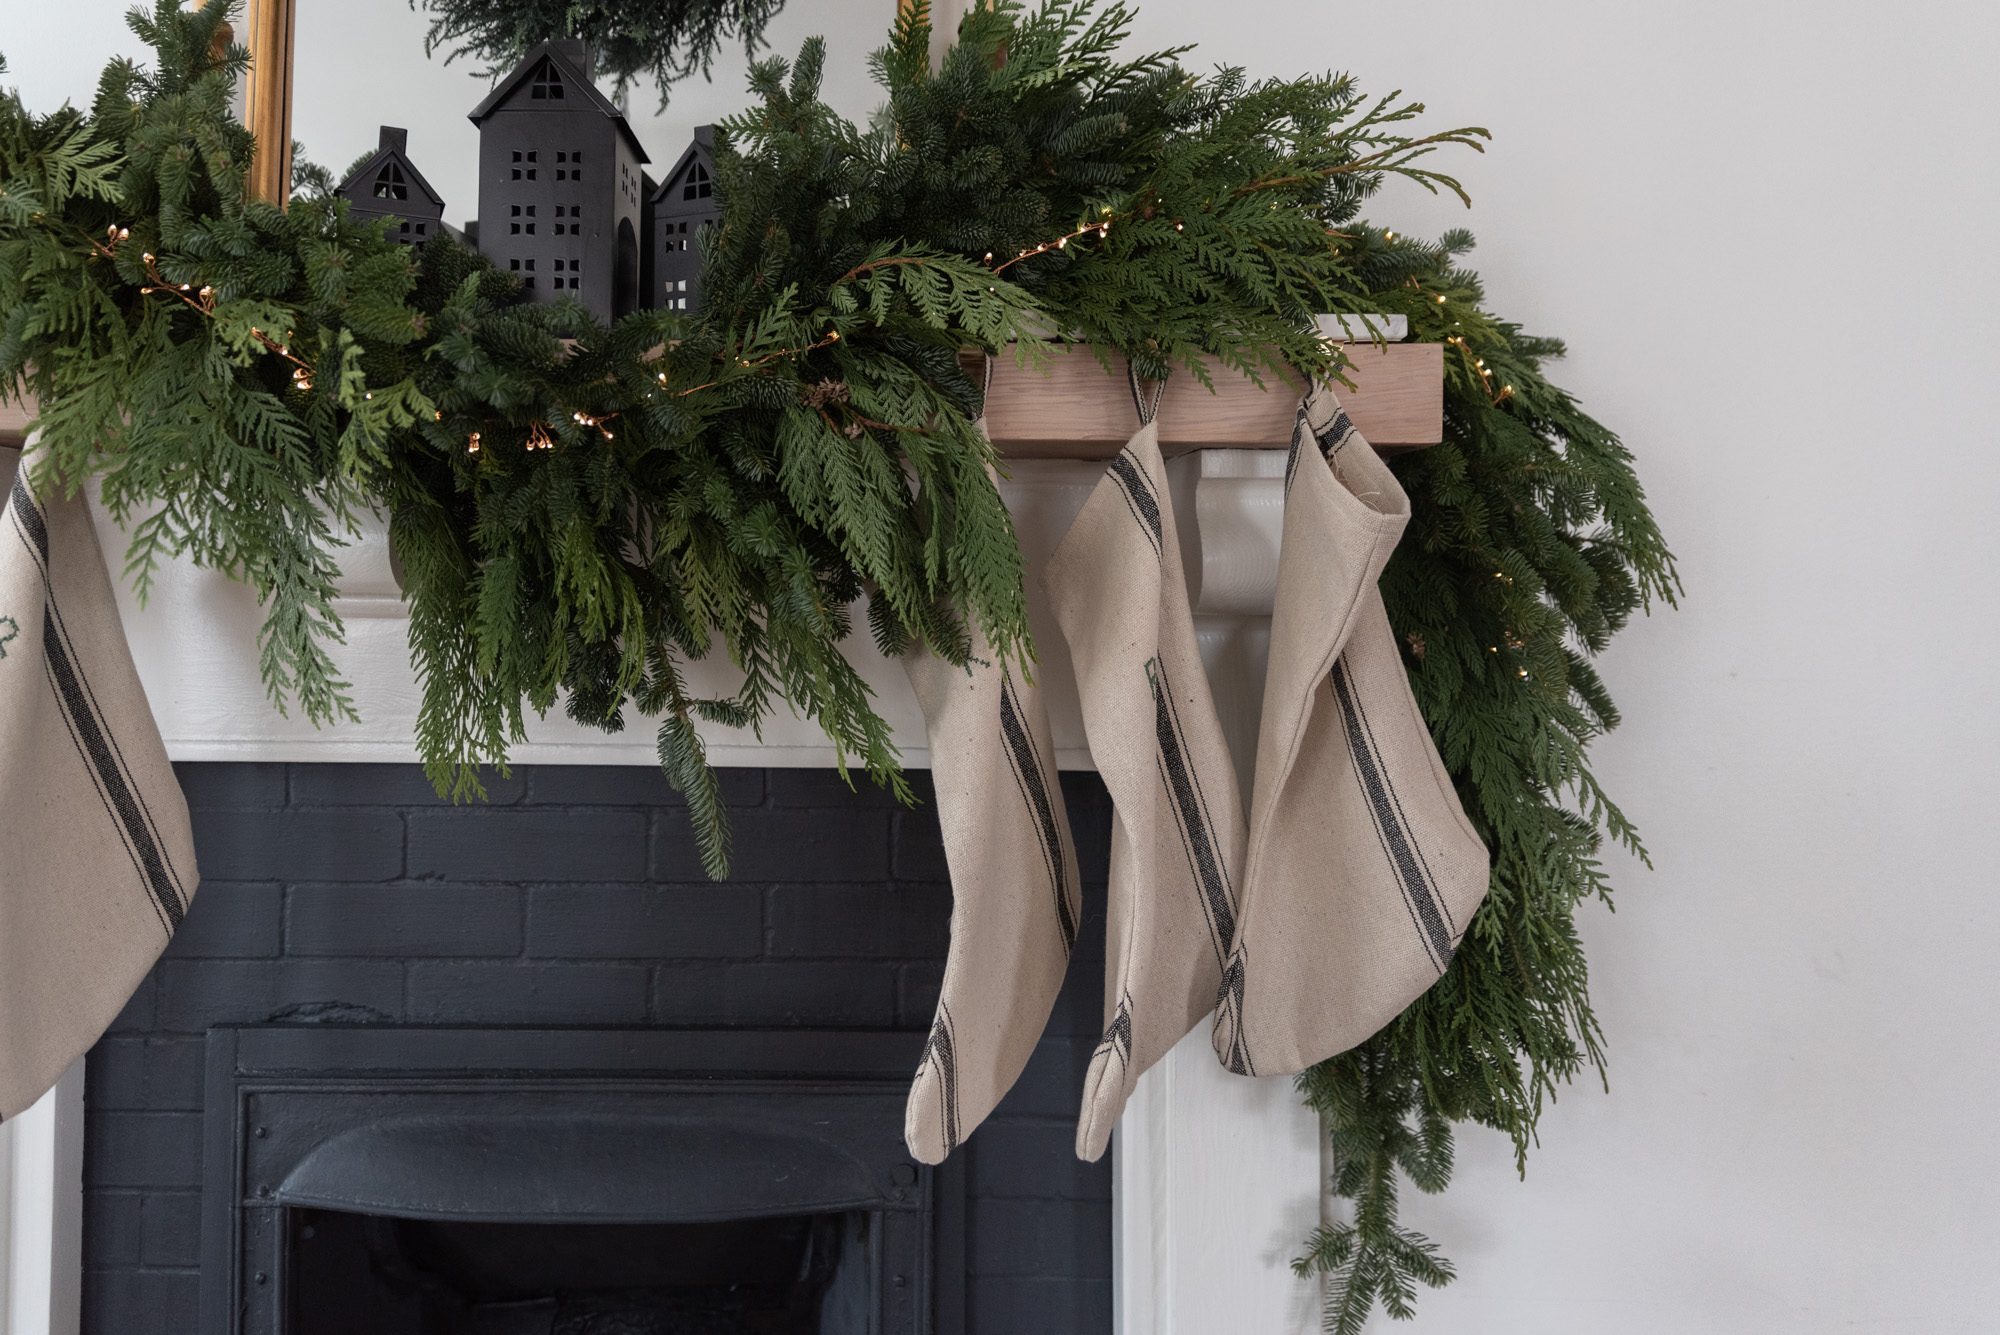
- flip right side out and you now have a stocking.
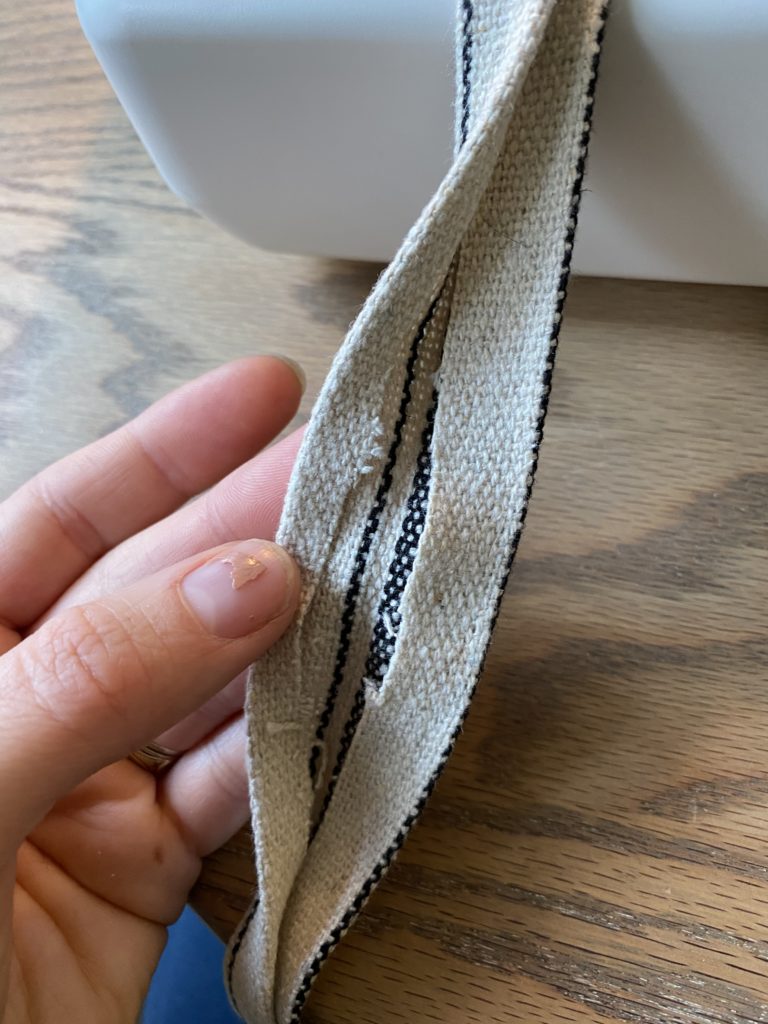
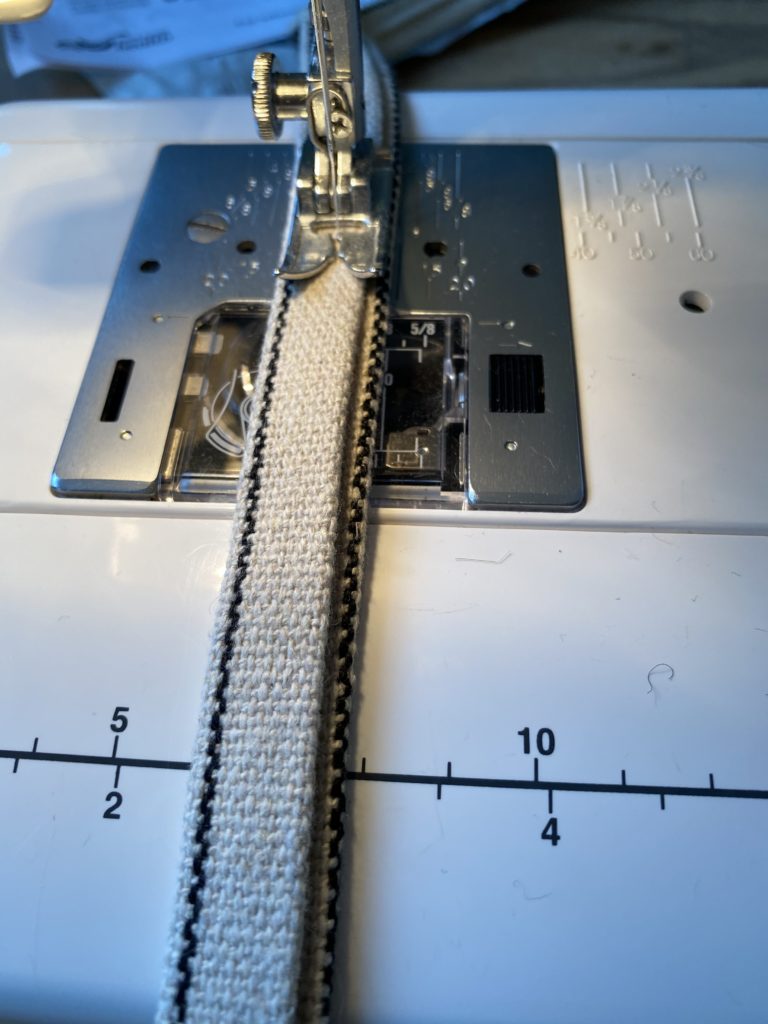
- For the hanger, I cut scrapes from the leftover fabric. I then folded the sids into the middle and then in half, using the iron to press each fold. I sewed it all together and then folding it in half, sewed it to the inside of each stocking.
- I didn’t end up lining the stockings as Covid has kept us away from the city but I do plan on adding a liner next year. To do that all you would have to do is cut the same template out of your liner material and keeping it inside out place it in the stocing before you sew the top fold.
I hope that gives you at least a start on how to create stockings like this for your own home. I know that these will be in our family for hopefully years and years to come.