How To Make A DIY Framed Vintage Rug for under $100
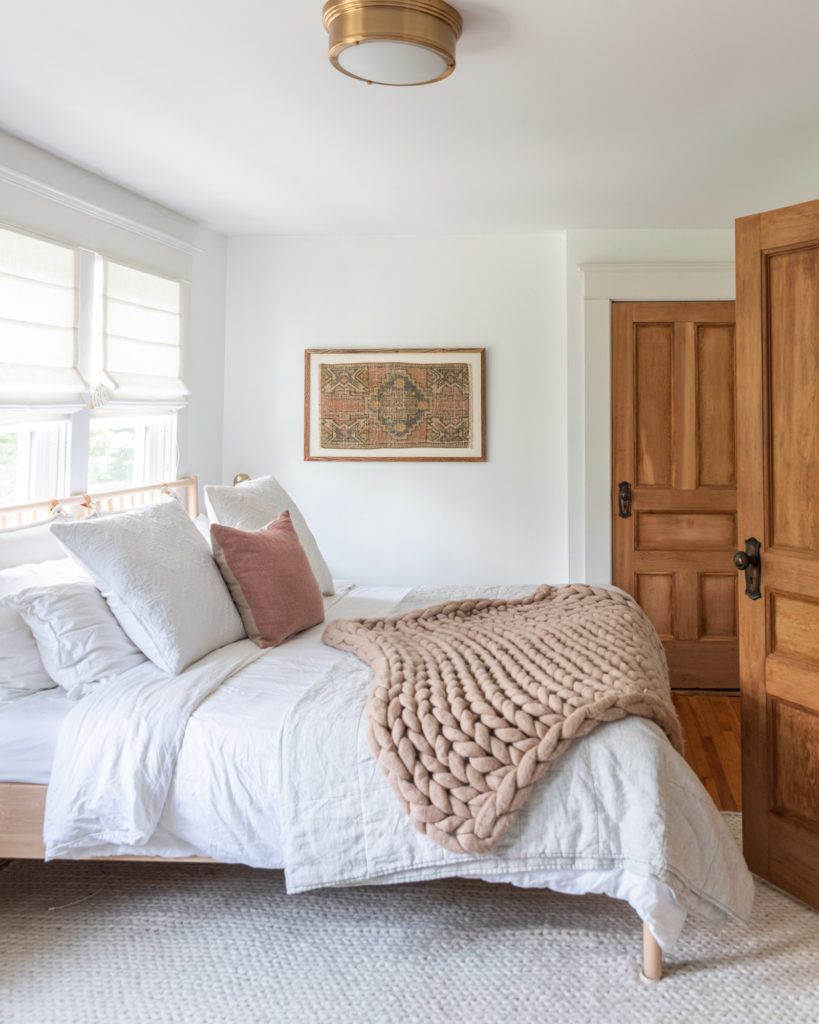
Back February, I came to you on Instagram asking for design help in our master bedroom. We had a wall on my side of the bed that was quite bare and I couldn’t figure out what to do in that space. There were so many great ideas, but we loved the one where someone recommended hanging a Vintage rug.
I dove deep into Pinterest searching for a way to hang one that would match our vibe but gave up and decided to start searching for a vintage Turkish rug for inspiration. Almost 5 months later, I FINALLY bit the bullet and bought one off of Etsy that was exactly as I had imagined.


In the months in-between the Idea and finding a rug, Mcgee & Co. came out with Framed Vintage Rugs that they sold for $1240-$1400 USD. Guys that’s almost $2000 CAD plus shipping and duties for a Rug you can get from so many small independent rug shops for under $200 and do it yourself. Now, mind you, ours doesn’t have glass to it, but we might redo the Frame in the winter when Rob has had more practice with his frame making. Glass will only cost $30 once we know how to make the frame to hold it. So this project will still be under $150.
So how exactly did we make this? Im going to break it all down for you now:
How To Make A DIY Framed Vintage Rug for under $100
What you need:
Supplies:
- Wood you would like to used for your frame. We used pallet wood that we ripped down into 1 inch strips. (free)
- Cover board or something similar ($5 for a 4’x8′)
- Vintage Turkish Rug ($80-120)
- Paint (free as we had left over but its $8 for a sample can which would be plenty)
- Small paint roller or paint brush (free as we had some but usually $5-$10)
- Picture framing kit ( free as we always have them on hand but kit itself was $6)
- 1 1/4 inch Brad nails (free since we had them but the box is around $5)
- wood glue
- painters tape
Tools:
- Table saw or jig saw to cut down your cover board
- Mitre Saw to cut your frame to length and angle them
- Nail Gun
Step One:
Purchase a mini rug from your favourite rug store. Etsy is a great place for this. We scored this one for $80. Just make sure you are ok with the size for the space you’d like to hang it. Mini rugs are great because they are usually 2′ x 3′, less expensive and can become a focal point in a room or on a mantel.
Step two:
Now that you have your mini rug in your possession, you can measure for the frame size. To do this lay your rug on the floor and figure out how much of a “mat” (the white board we have on ours) you want showing. We went with 2 inches as it allows the rug to still have your full attention. Then add the additional inches for how thick your frame is that you want. We went with a 1 inch minimal frame. You then times those measurements by two (two sides) and you have your lengths for your frame cuts. For example, our rug is 33inches long, with 2 inches mat and 1 inch frame, that is 3inchs x 2 so I add 6 inches to the 33 inches which makes my long sides cut to 39 inches.
Step Three:
You now need to mitre your edges to have them come to a 45 degree angle. that way together, they will make a perfect 90 squared angle. We used our mitre saw for this making sure the longest edge stayed the right measurement.
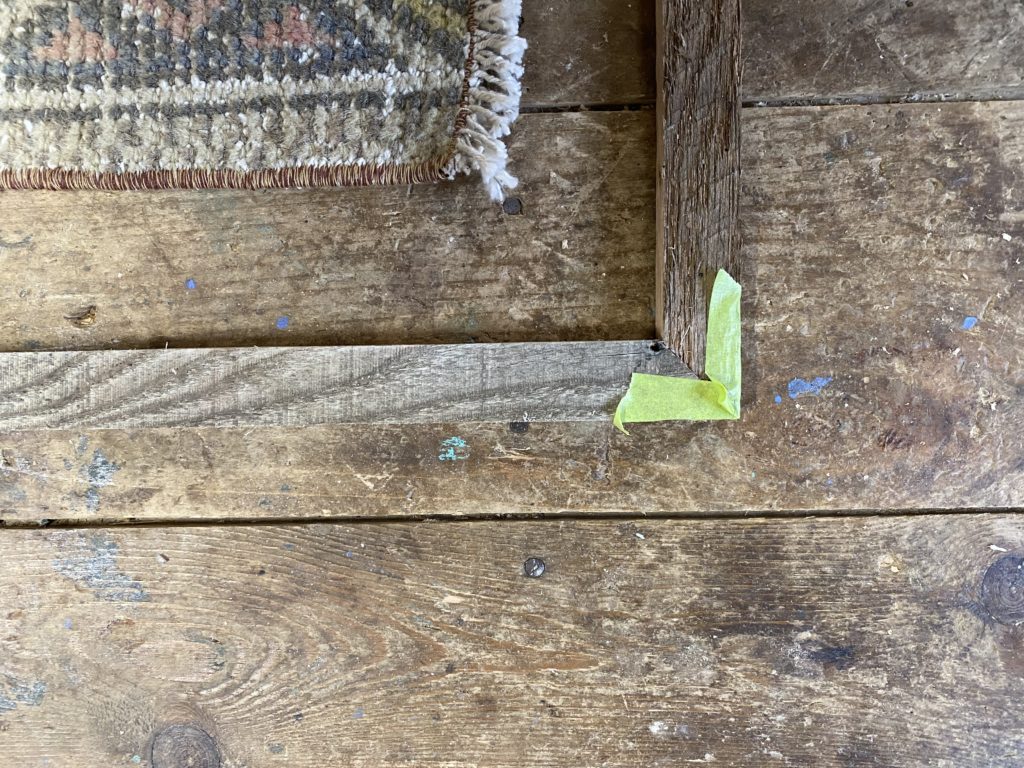
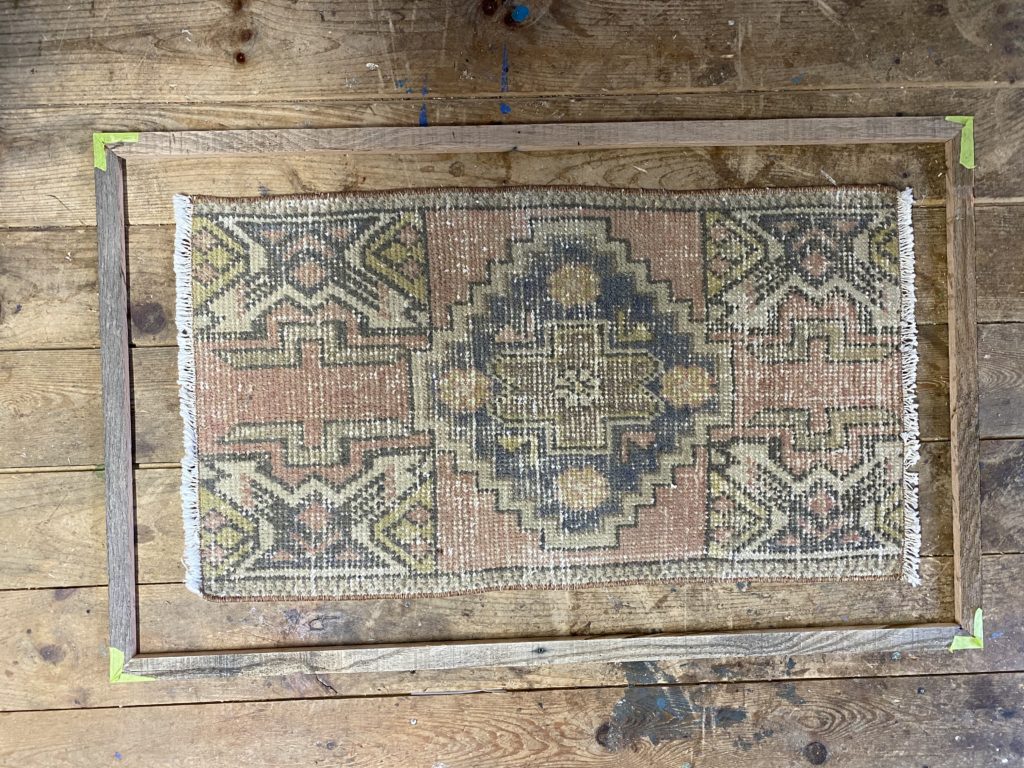
Step Four:
Attached the frame together. You can do this in many different ways but we went with using wood glue between the wood pieces and used painters tape to keep the corner in place. We then used our nail gun with a 1 1/4 inch brad nail on an angle to secure it in place.
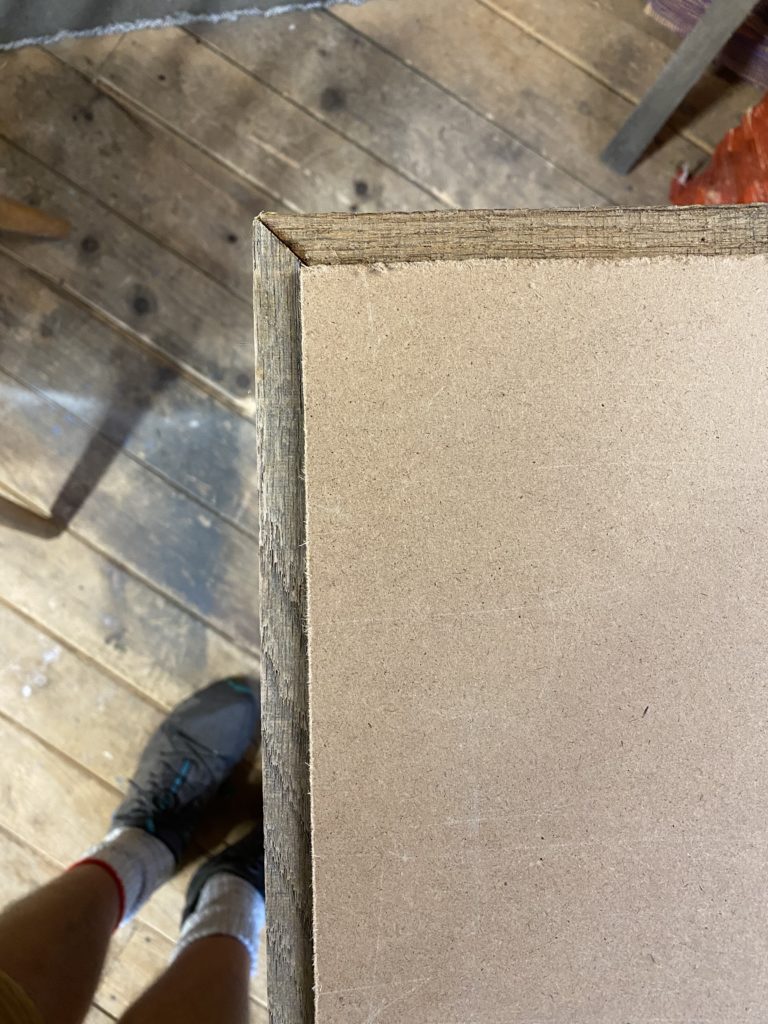
Step Five:
Once your frame’s glue is cured, take off the painters tape and measure out your cut on the cover board. Then measure 1/4 of an inch smaller on both cut sizes and use the smaller measurement for your cut. This allows the board to not sit flush with the frame.
Step Six:
It’s time to paint your cover board. We went with a cream so that the Rug really pops off the back of the board and we went matte which we would highly recommend. Do about 2 coats and you should be good.
Step Seven:
Its time to piece it all together. Place the frame, good side down on your surface. Next, place your Dried, painted Cover board down on the Frame paint side down evenly spaced to the frame. Using a staple gun, attach the back to the frame, making sure to staple right along the edges so that it doesn’t show on the other side and hits through the frame.
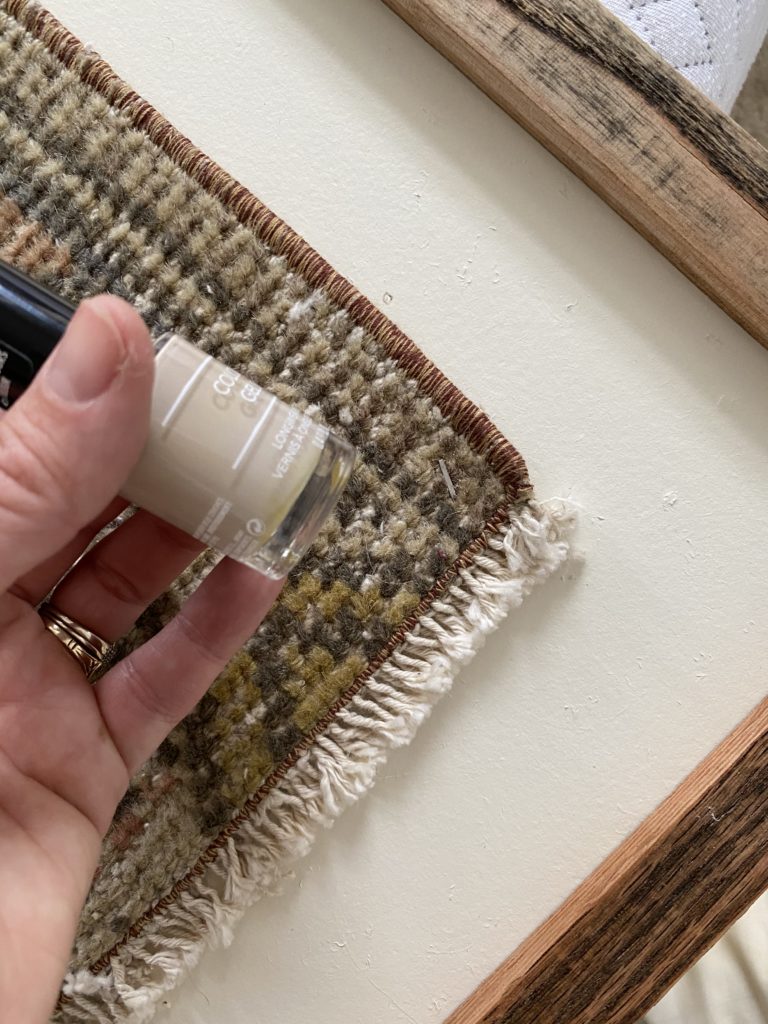
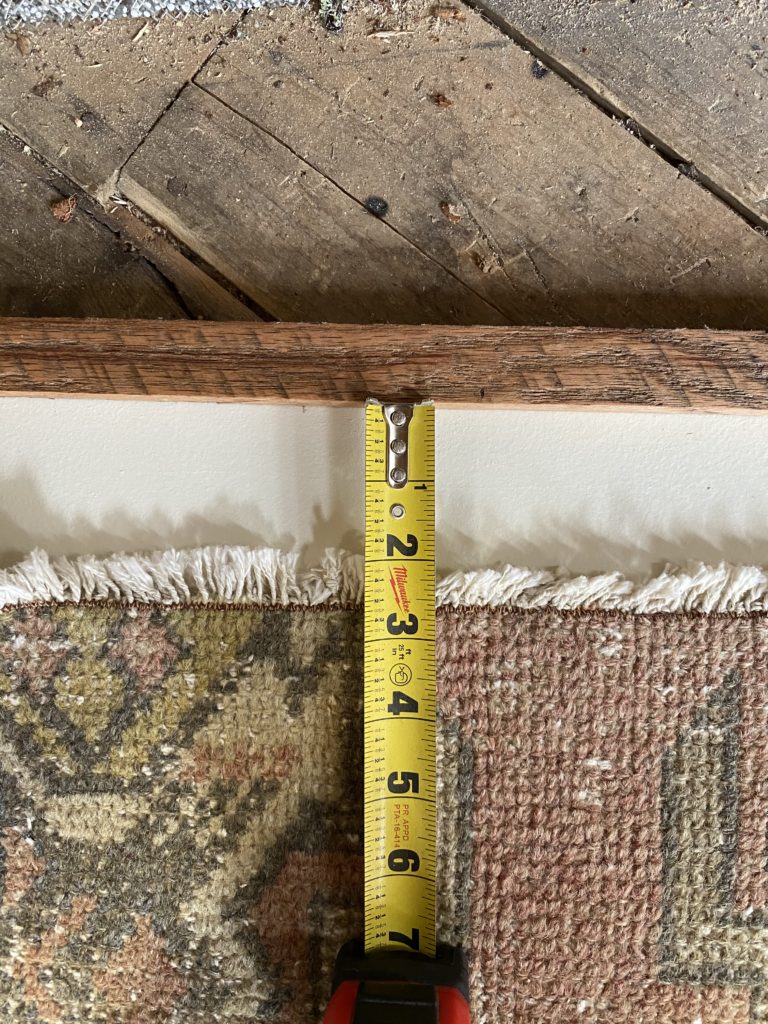
Step Eight:
Flip the finished frame right side up and place your rug inside. Measure the distance between the rug and the frame to make sure it is evenly spaced in the centre of the frame and then attach it to the painted cover board with your staple gun in the corners and in the centre of the long edges if necessary. I, then took nail polish that matched the color of the rug and carefully painted over the staples to have them blend in better and have no shine. you don’t have to do this but we found it gave a more put together look.
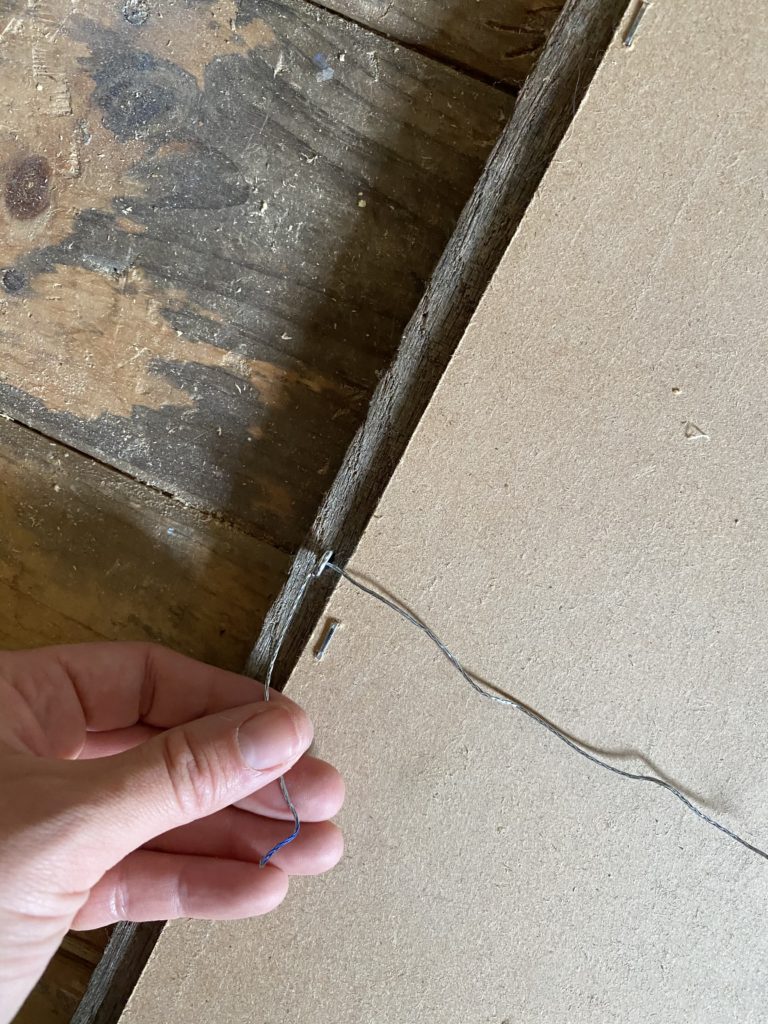
Step Nine:
Add a wire using a picture hanging kit to the back and hang it up to enjoy.
We love sharing these type of DIY’s with you and hope that we share more in the future. But what’s even more special to our heart is when we inspire you to actually put them in motion. If you do this DIY we would love to see your finished product so make sure you tag us on Instagram @thewilddecoelis 😉