Tips on How To Tile Your Backsplash

Holy moly! We are at the finish line for this one portion of the kitchen finally.
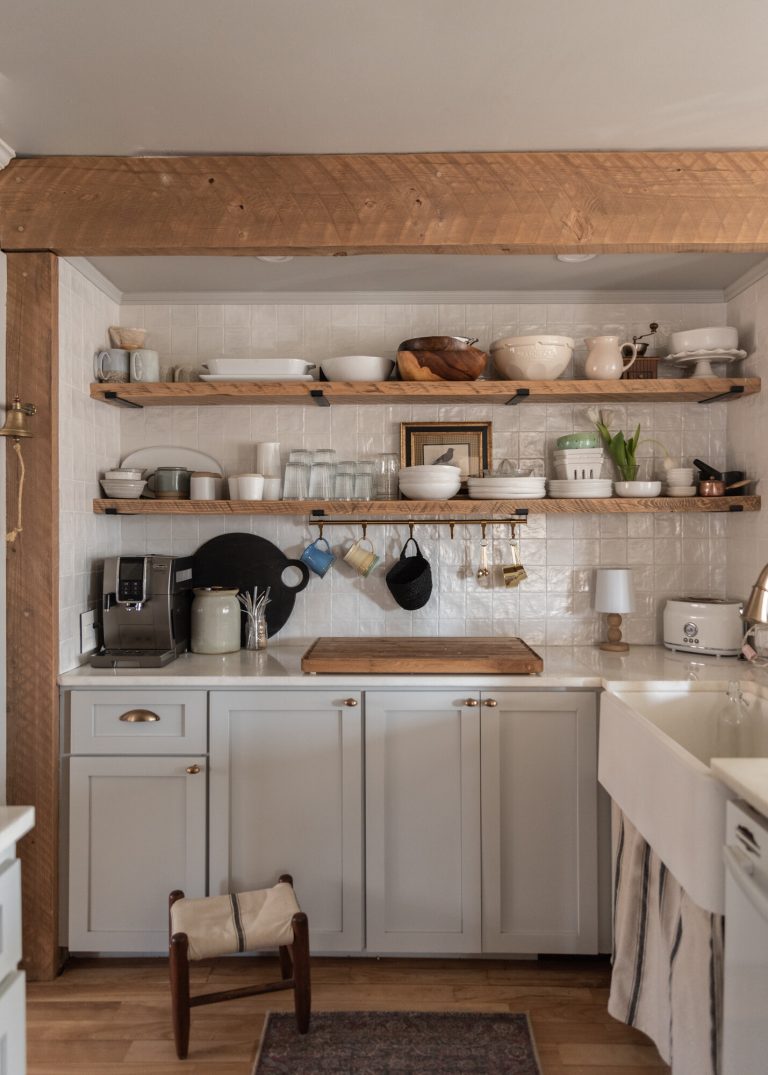
As you guys know from when we first started this process back in March, we have been dying to have floating shelves in our kitchen. It’s actually the first thing I wanted to do when we first purchased this home. I ripped out the uppers everywhere else besides the alcove because Rob really liked the glass fronts of the cabinets. I did too. But, after living with them for two years, we realized how much in bad shape they really were and they were so loud to close and open that it would wake our sleeping newborn up in the upstairs of the home. So for a year and a half I lived with the cabinet doors off. It was a great way to test out if I truly liked the idea of open shelving. I did!

So, back in the winter, we ripped out the cabinets, re-drywalled the entire alcove and made floating shelves from lumber we purchased off a mill lot. We also began the hunt for the perfect backsplash. The backsplash that was here when we first moved in was hideous brown tiles so we quickly switched it out for a classic oversized subway tile. But this time we wanted some thing a little different, a little more organic, and something that would add a modern touch but old world at the same time. We found the tile at Centura, Ita their Mallorca square in white. But, it was being loaded onto a container ship from Portugal and wasn’t going to be here for two months. We loved it so much we decided to wait. Unfortunately, the wait turned into four months.
We were able to finally pick up the tile about 3 weeks ago and got it up right away. We re-cut the shelving to fit the new opening and couldn’t be happier. Now we’re going to be tiling the entire wall behind the stove and once all of the tile is up we will add moulding to both the alcove and the stove wall to finish the top area because #oldhousenothingisstraight.


One thing that we had to decide on and thankfully our Instagram community helped was how to lay the tile. We loved the classic look of staggering like a subway tile but we also knew that this tile has so much character to it that we could do a different lay than normal. We went stacked which turned out fantastic. What’s also great about doing a stacked lay with tile is that you have less waste and less cuts. We only have a manual tile cutter so this was fantastic for us as the most we had to cut was tiles in half.
When it came to choosing the grout, we really wanted to have something that would blend the tile together not to make each tile stand out. There’s so much texture in the tile as it is that we wanted the texture to be the thing that caught your eye, not the grout. We ended up going with snow white that we purchased from Home Depot.
Here are some tips for How To Tile your own tile backsplash:
- Get a tile you LOVE but also is timeless
- Make sure your tile matches your countertops (I always ask for a sample to bring home before I order)
- Go for a grout that matchen the tile and the color of your cabinets
- If you have a simple cut job, invest in a manual cutter
- If you have a complex cut job, rent a wet tile saw
- Make sure your mortar is the right type for the tile
- Each type of tile needs a special size and pattern of trowel. make sure you get the right one.
- take your time.
- Devour Youtube how-tos. So many good pros share how to do tiling.